Manfrotto 190XPROB Handleiding
Bekijk gratis de handleiding van Manfrotto 190XPROB (2 pagina’s), behorend tot de categorie Statief. Deze gids werd als nuttig beoordeeld door 61 mensen en kreeg gemiddeld 4.3 sterren uit 8 reviews. Heb je een vraag over Manfrotto 190XPROB of wil je andere gebruikers van dit product iets vragen? Stel een vraag
Pagina 1/2
TRANSPORTATION (8)
The tripod has an hanging ring “T” for optional carrying strap
LEG LOCK TENSION ADJUSTMENT
If the telescopic leg extensions slip even after having tightened the locking lever “A”,
the locking tension will need to be adjusted.
In order to do this:
-remove cap “K”
-release lock lever “A”
-turn the screw “P” clockwise using the special key “N” provided on one of the tripod
legs.
Normally a third of a turn will be sufficient to achieve the correct locking tension.
Cod. 055,585 - 04/07Copyright © 2006 Manfrotto Bassano Italy
146 cm 1,8 kg5 kg
57.5” 4 lbs11 lbs
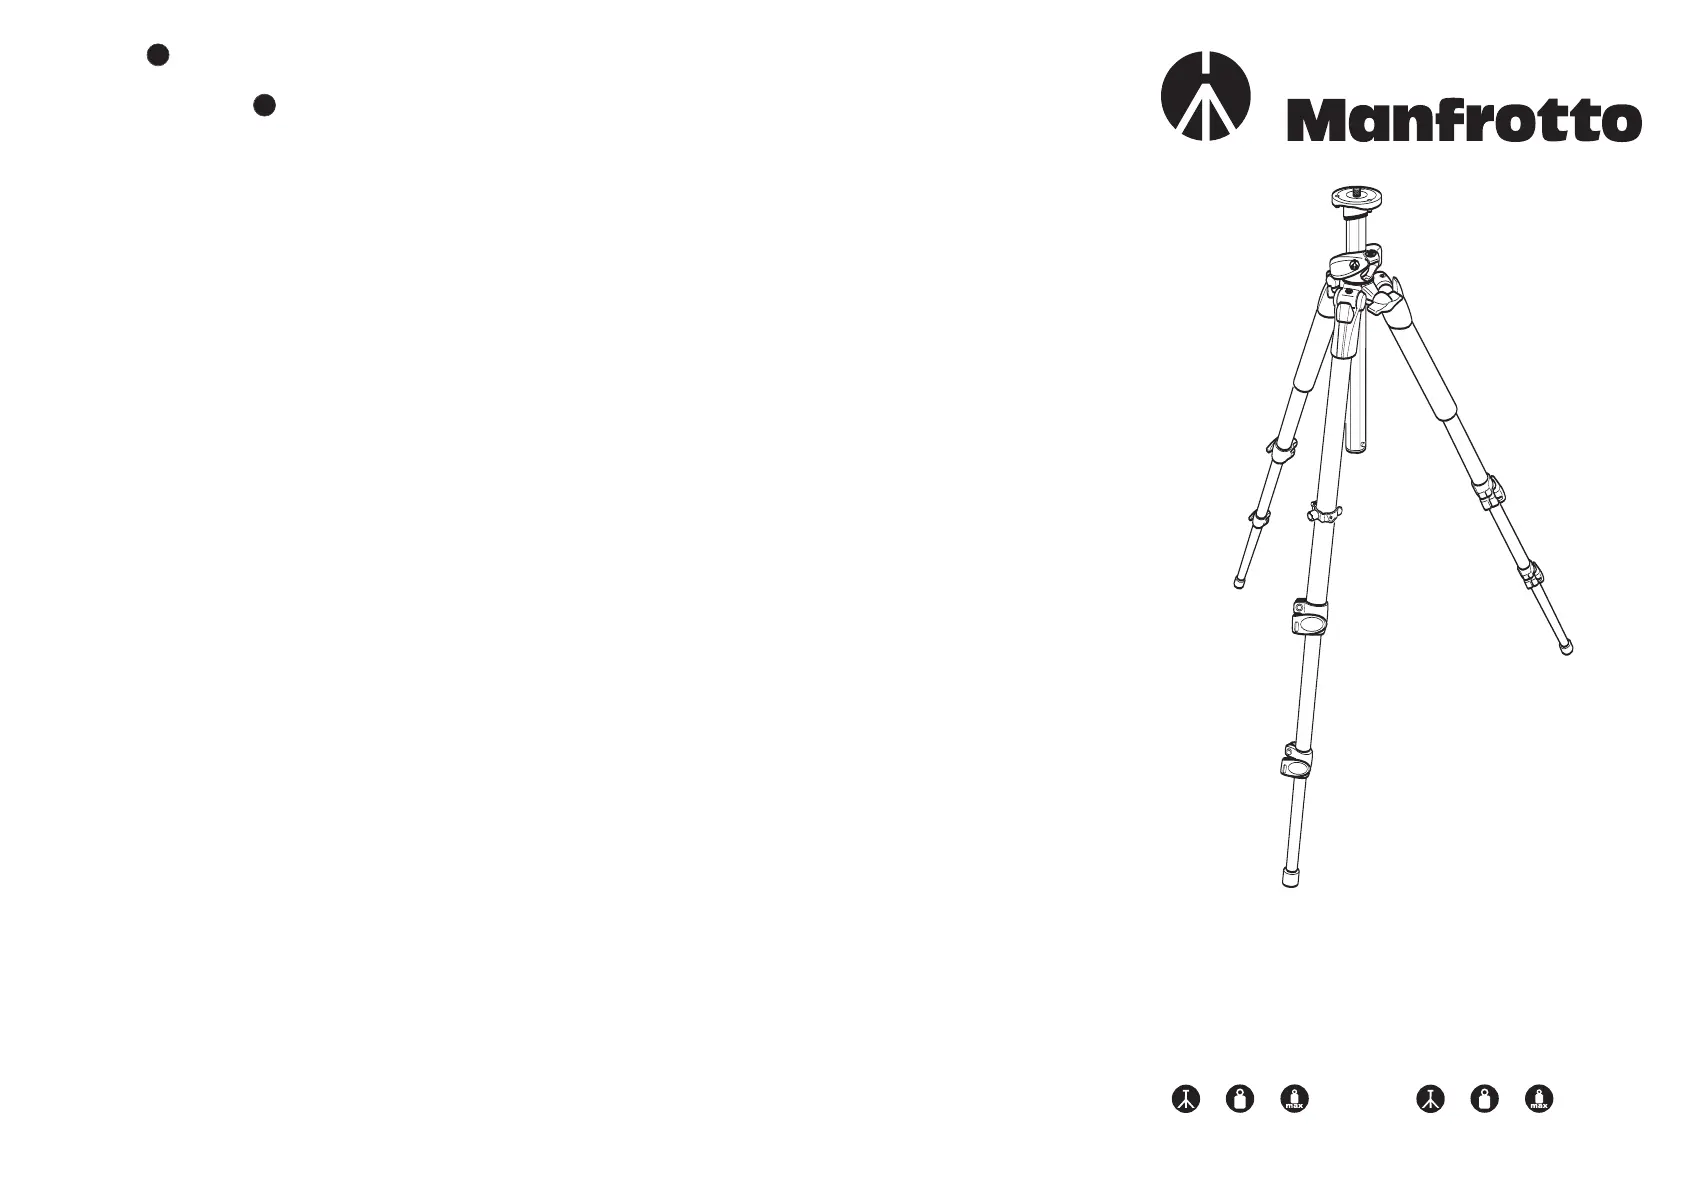
INSTRUCTIONS
190XPROB
178,5 cm 2,4 kg 7 kg
70.3”5.3 lbs15.4 lbs
055XPROB
8
9
Product specificaties
| Merk: | Manfrotto |
| Categorie: | Statief |
| Model: | 190XPROB |
| Kleur van het product: | Zwart |
| Gewicht: | 1800 g |
| Hoogte (max): | 1460 mm |
| Materiaal: | Aluminium |
Heb je hulp nodig?
Als je hulp nodig hebt met Manfrotto 190XPROB stel dan hieronder een vraag en andere gebruikers zullen je antwoorden
Handleiding Statief Manfrotto

12 November 2025
19 Oktober 2025
29 Juli 2025
29 Maart 2025
28 Maart 2025
28 Maart 2025
28 Maart 2025
28 Maart 2025
28 Maart 2025
28 Maart 2025
Handleiding Statief
Nieuwste handleidingen voor Statief
19 April 2026
13 April 2026
13 April 2026
28 Maart 2026
27 Maart 2026
27 Maart 2026
27 Maart 2026
25 Maart 2026
25 Maart 2026
25 Maart 2026