Bionaire BWM5075 Handleiding
Bekijk gratis de handleiding van Bionaire BWM5075 (34 pagina’s), behorend tot de categorie Luchtbevochtiger-Luchtontvochtiger. Deze gids werd als nuttig beoordeeld door 10 mensen en kreeg gemiddeld 4.9 sterren uit 5 reviews. Heb je een vraag over Bionaire BWM5075 of wil je andere gebruikers van dit product iets vragen? Stel een vraag
Pagina 1/34
English2
Français/French6
Deutsch/German11
Nederlands/Dutch15
Suomi/Finnish20
Norsk/Norwegian24
Dansk/Danish28
Svenska/Swedish32
Español/Spanish36
Italiano/Italian40
PYCCKNÑ/Russian44
Magyar/Hungarian49
"esky/Czech53
EKKHNIKA/Greek57
Polski/Polish62
Holmes Products (Europe) Ltd
1 Francis Grove
London SW19 4DT
England
Fax:+44 (0)20 8947 8272
Email:info-europe@theholmesgroup.com
UK - Filter Sales Order Line - 0870 759 9000
Website address:www.bionaire.com
UK - Free phone Customer Service Helpline – 0800 052 3615
Holmes Products France
1015,Rue du Maréchal Juin
Z.I Vaux - Le - Pénil
77000 Melun – France
Phone:+33 1 64 10 45 80
Fax:+33 1 64 10 02 32
FRANCE - SERVICE CONSOMMATEURS
Belgium +32 38 70 86 86
Czech Republic +420 48 513 03 03
Denmark +45 45 93 43 73
Finland +358 98 70 870
Greece +30 2 10 61 56 400
Hungary +36 72 482 017
Netherlands +31 079-3637310
Norway +47 51 66 99 00
Poland +48 22 847 8968
Russia +7 095 334 82 21
Spain +34 91 64 27 020
Sweden +46 31 29 09 80
0 825 85 85 82
9100030003674
BWM5075/5075CI/IUK06MLM1
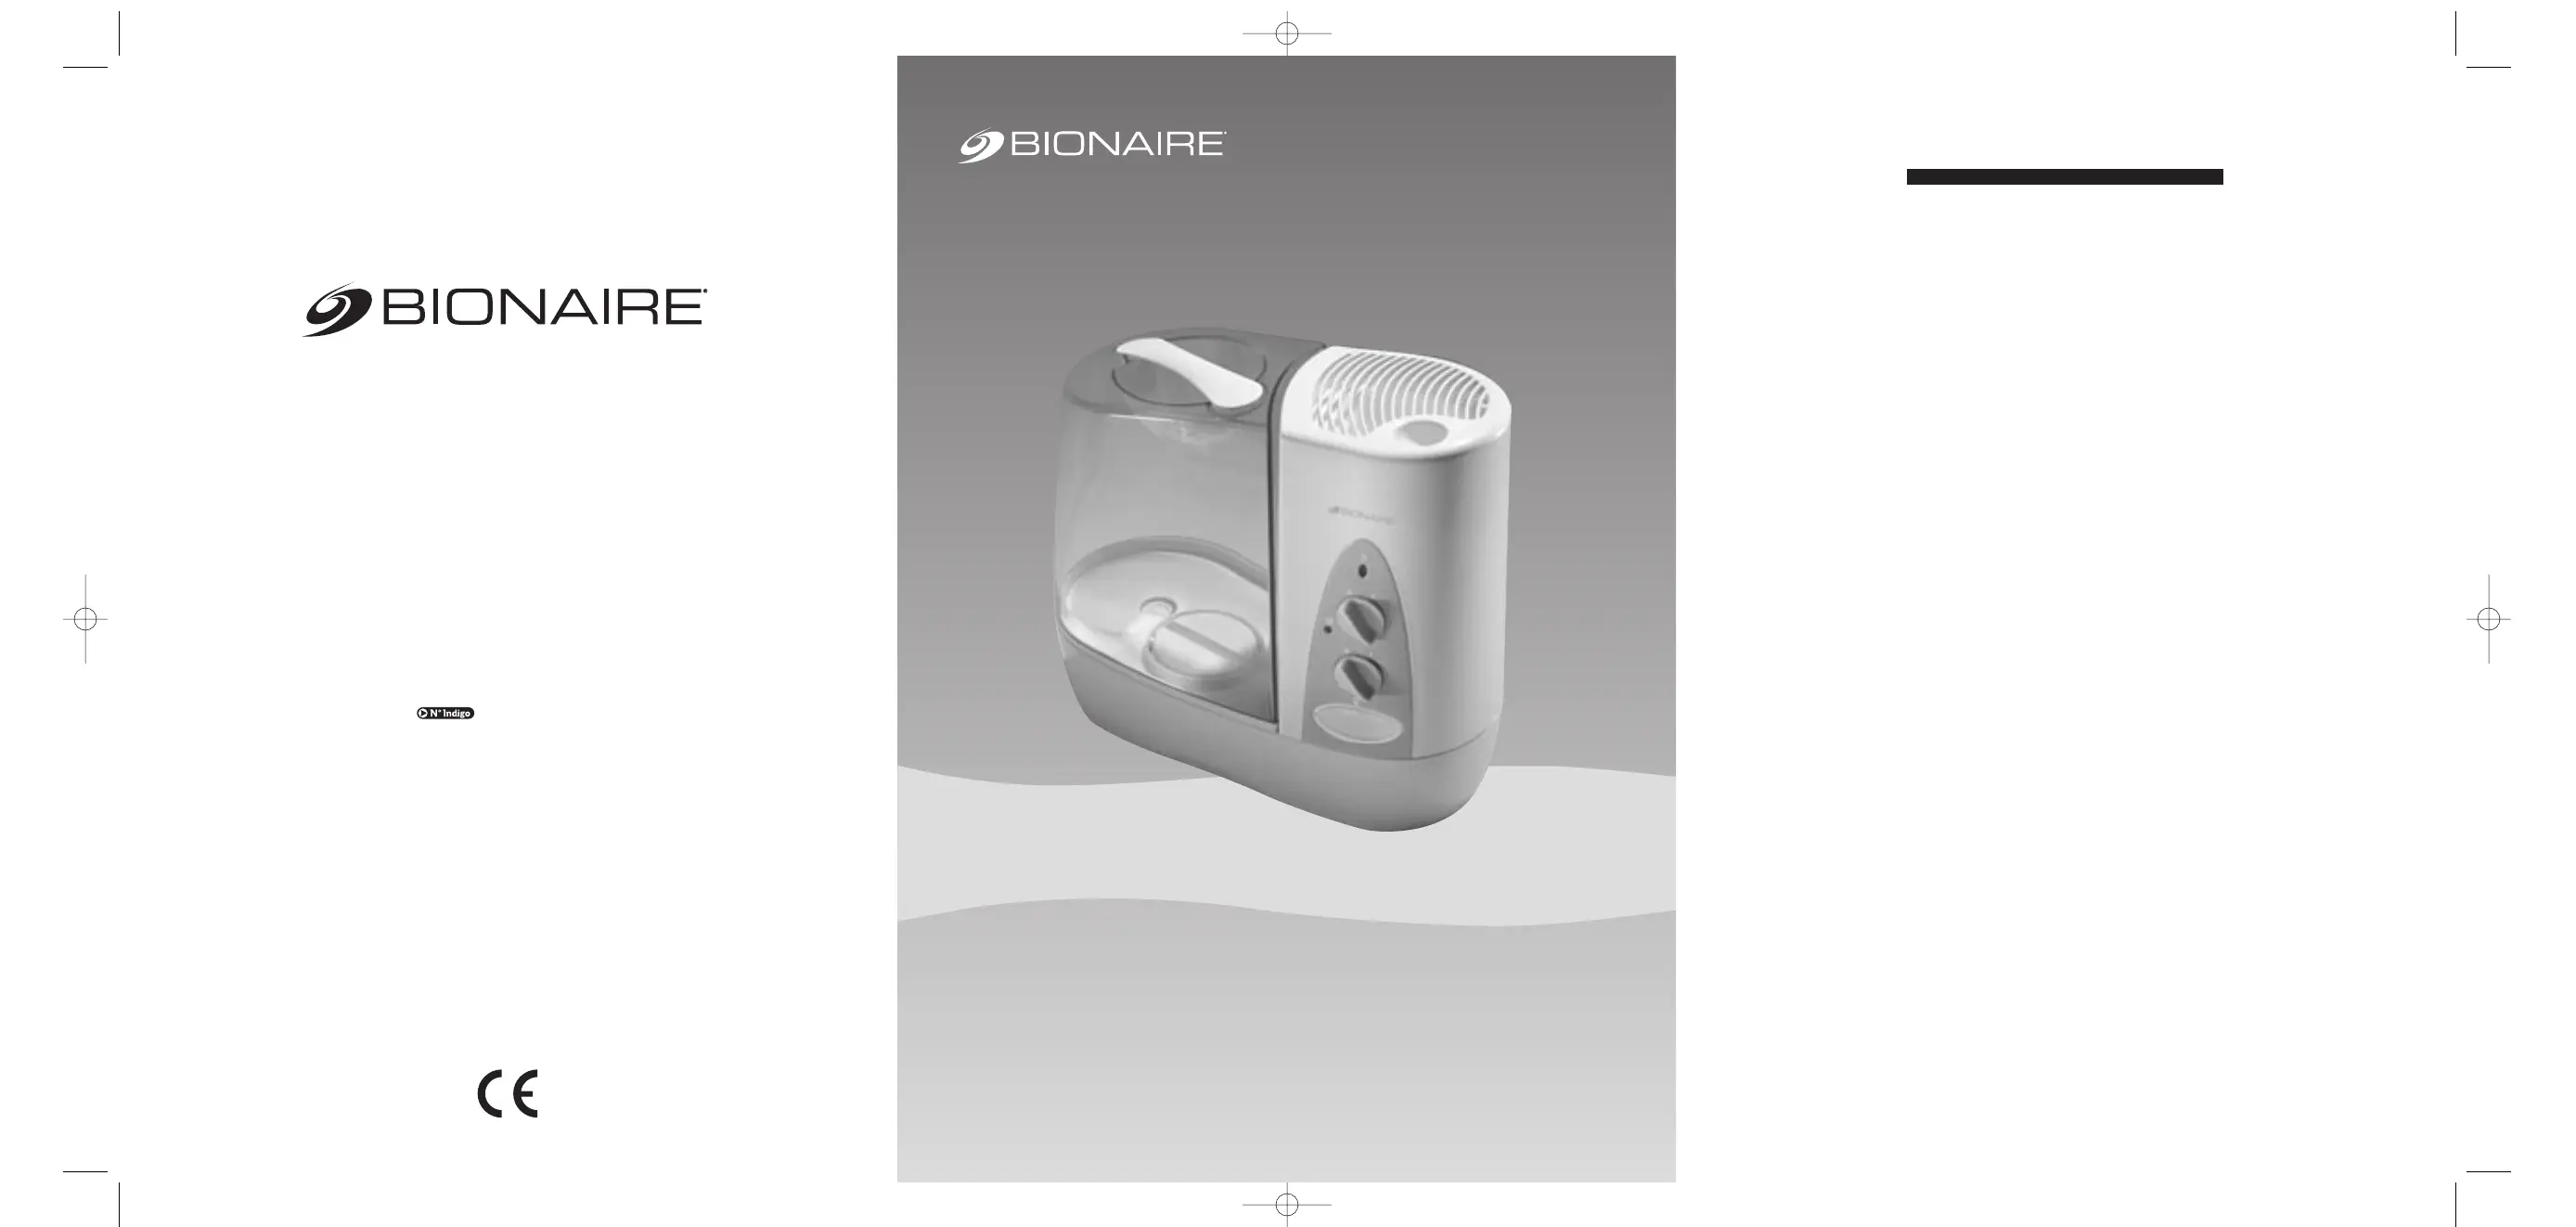
Warm Mist
Humidifier
BWM5075
BWM5075C
INSTRUCTION MANUAL
MANUEL D’UTILISATION
BENUTZERHANDBUCH
HANDLEIDING
KÄYTTÄJÄN OHJEKIRJA
BRUGSANVISNING
BRUKSANVISNING
MANUAL DE INSTRUCCIONES
MANUALE DI ISTRUZIONI
PYKOBOДCTBO
HASZNÁLATI UTASÍTÁS
NÁVOD K OBSLUZE
ECVEIIDIO ODGCIXM VQGRGR
INSTRUKCJA
MANUAL DE INSTRUÇÕES
©2006 JCS/THG, LLC
Bionaire
®
and the Bionaire logo
TM
are trademarks of JCS/THG, LLC.
BWM5075/5075CI/IUK06MLM1 v.qxd 3/3/06 11:35 Page 1
Product specificaties
| Merk: | Bionaire |
| Categorie: | Luchtbevochtiger-Luchtontvochtiger |
| Model: | BWM5075 |
Heb je hulp nodig?
Als je hulp nodig hebt met Bionaire BWM5075 stel dan hieronder een vraag en andere gebruikers zullen je antwoorden
Handleiding Luchtbevochtiger-Luchtontvochtiger Bionaire

27 November 2022
27 November 2022
27 November 2022
26 November 2022
27 November 2022
26 November 2022
27 November 2022
27 November 2022
26 November 2022
26 November 2022
Handleiding Luchtbevochtiger-Luchtontvochtiger
Nieuwste handleidingen voor Luchtbevochtiger-Luchtontvochtiger
9 Juli 2024
9 Juli 2024
16 November 2023
23 Oktober 2023
23 Oktober 2023
16 Oktober 2023
16 Oktober 2023
16 Oktober 2023
16 Oktober 2023
16 Oktober 2023