Joy-it RB-StromPi3-Case Handleiding
Joy-it Computerbehuizing RB-StromPi3-Case
Bekijk gratis de handleiding van Joy-it RB-StromPi3-Case (11 pagina’s), behorend tot de categorie Computerbehuizing. Deze gids werd als nuttig beoordeeld door 13 mensen en kreeg gemiddeld 4.9 sterren uit 5 reviews. Heb je een vraag over Joy-it RB-StromPi3-Case of wil je andere gebruikers van dit product iets vragen? Stel een vraag
Pagina 1/11
www.joy-it.net
Pascalstr. 8 47506 Neukirchen-Vluyn
STROMPI 3 CASE
RB-StromPi3-Case
1. GENERAL INFORMATION
Dear costumer,
Thank you for buying our product. The structure and functions of the
StromPi3 are explained in the following chapters. We show you which
settings must be adjusted that the Raspberry Pi will work with the Strom-
Pi perfectly.
If you get any diiculties with the usage with the device, do not hesitate
to conact us.
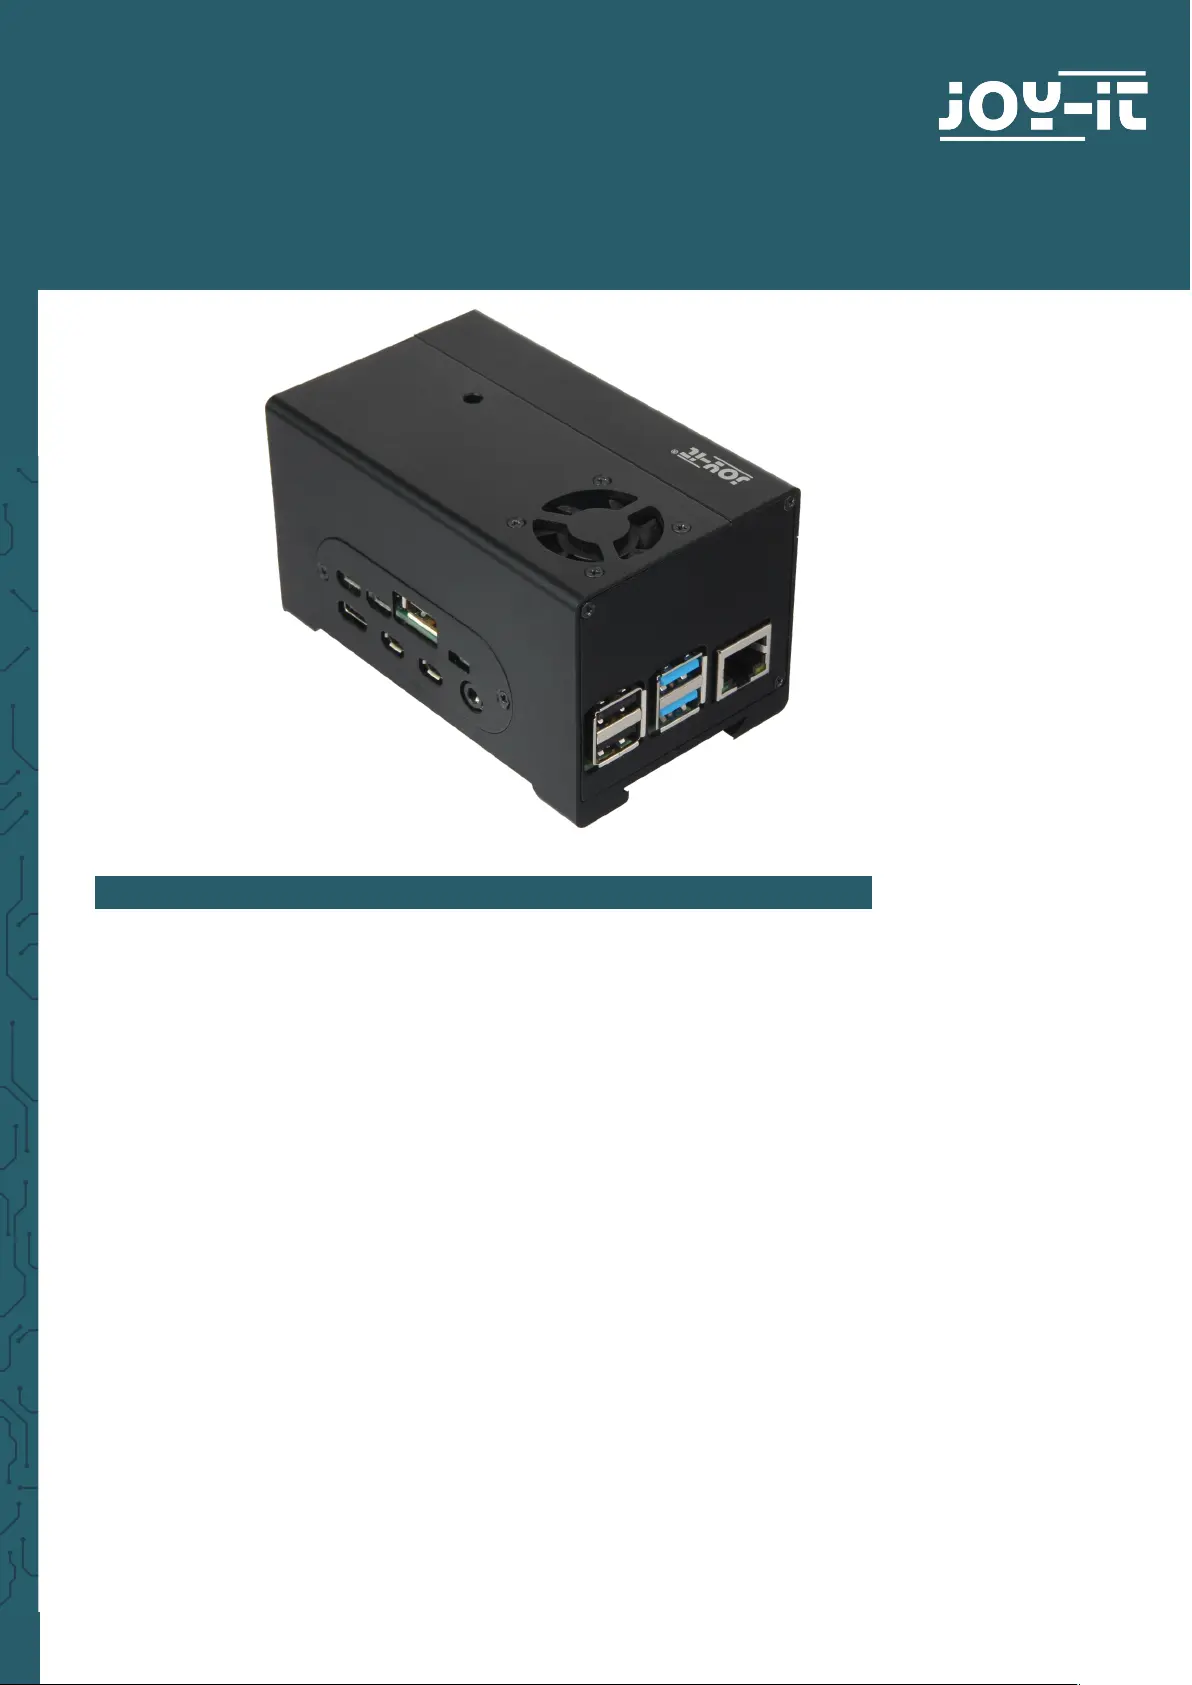
This high-quality aluminium case oers space for your Raspberry Pi incl.
StromPi 3 and Battery Hat (-XL also). A removable cover above the GPIO bar
keeps it easily accessible.
The RB-StromPi3-PCB allows the use of the power button function. In additi-
on, the fan can be operated with this board and optionally controlled.
Product specificaties
| Merk: | Joy-it |
| Categorie: | Computerbehuizing |
| Model: | RB-StromPi3-Case |
| Kleur van het product: | Zwart |
| Breedte: | 59 mm |
| Diepte: | 105 mm |
| Hoogte: | 64 mm |
| Materiaal: | Aluminium |
| Merkcompatibiliteit: | Raspberry Pi |
| Compatibiliteit: | Raspberry Pi |
| Type product: | Opbergtas |
Heb je hulp nodig?
Als je hulp nodig hebt met Joy-it RB-StromPi3-Case stel dan hieronder een vraag en andere gebruikers zullen je antwoorden
Handleiding Computerbehuizing Joy-it

18 November 2024
Handleiding Computerbehuizing
Nieuwste handleidingen voor Computerbehuizing
21 April 2026
20 April 2026
3 April 2026
3 April 2026
1 April 2026
31 Maart 2026
31 Maart 2026
31 Maart 2026
31 Maart 2026
31 Maart 2026