Digital Watchdog DWC-PV20ADPW Handleiding
Digital Watchdog Niet gecategoriseerd DWC-PV20ADPW
Bekijk gratis de handleiding van Digital Watchdog DWC-PV20ADPW (2 pagina’s), behorend tot de categorie Niet gecategoriseerd. Deze gids werd als nuttig beoordeeld door 41 mensen en kreeg gemiddeld 4.1 sterren uit 7 reviews. Heb je een vraag over Digital Watchdog DWC-PV20ADPW of wil je andere gebruikers van dit product iets vragen? Stel een vraag
Pagina 1/2
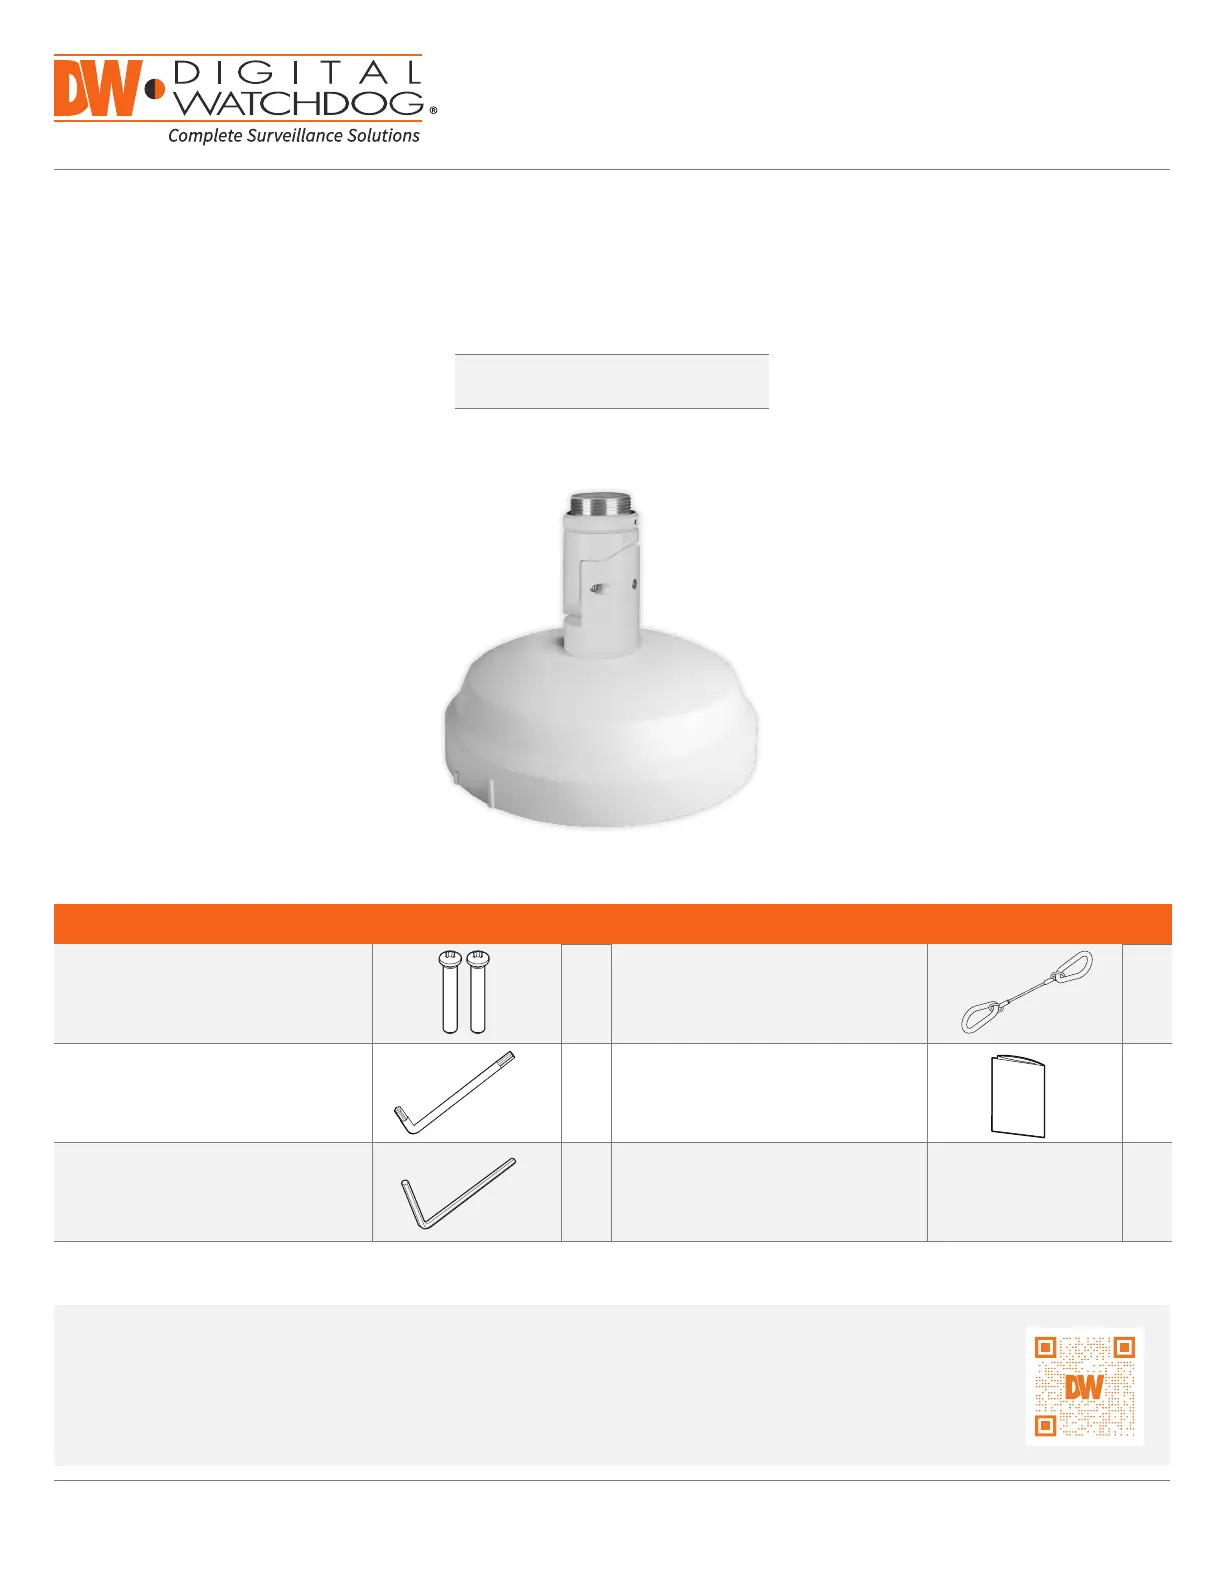
DWC-PV20ADPW
Tilting adapter for multi-sensor camera with vari-focal lens modules and
DWC-PZPARAM
Quick Start Guide
Tel: +1 (866) 446-3595 / (813) 888-9555
Technical Support Hours: 9:00AM – 8:00PM EST, Monday through Friday
digital-watchdog.com
NOTE:Download all your support materials and tools in one place.
1. Go to: http://www.digital-watchdog.com/resources
2. Search your product by entering the part number in the ‘Search by Product’ search bar. Results
for applicable part numbers will populate automatically based on the part number you enter.
3. Click ‘Search’. All supported materials, including manuals
and quick start guide (QSGs) will appear in the results.
WHAT’S IN THE BOX
Tilt Mounting Screws
2
Safety Wire
1
Star Wrench1Quick Setup Guide1
Hexagonal Wrench1
Product specificaties
| Merk: | Digital Watchdog |
| Categorie: | Niet gecategoriseerd |
| Model: | DWC-PV20ADPW |
Heb je hulp nodig?
Als je hulp nodig hebt met Digital Watchdog DWC-PV20ADPW stel dan hieronder een vraag en andere gebruikers zullen je antwoorden
Handleiding Niet gecategoriseerd Digital Watchdog

9 November 2025
30 September 2025
29 September 2025
29 September 2025
2 April 2025
27 Januari 2025
17 Januari 2024
16 Januari 2024
16 Januari 2024
16 Januari 2024
Handleiding Niet gecategoriseerd
Nieuwste handleidingen voor Niet gecategoriseerd
25 April 2026
25 April 2026
25 April 2026
25 April 2026
25 April 2026
25 April 2026
25 April 2026
25 April 2026
25 April 2026
24 April 2026