Denver CCT-1300 Handleiding
Bekijk gratis de handleiding van Denver CCT-1300 (40 pagina’s), behorend tot de categorie Dashcam. Deze gids werd als nuttig beoordeeld door 32 mensen en kreeg gemiddeld 5.0 sterren uit 3 reviews. Heb je een vraag over Denver CCT-1300 of wil je andere gebruikers van dit product iets vragen? Stel een vraag
Pagina 1/40
Portable HDCarDVR
User Manual
Thank you for choosing our HD720P Car DVR. Please read this user manual carefully beforeoperangthe device.
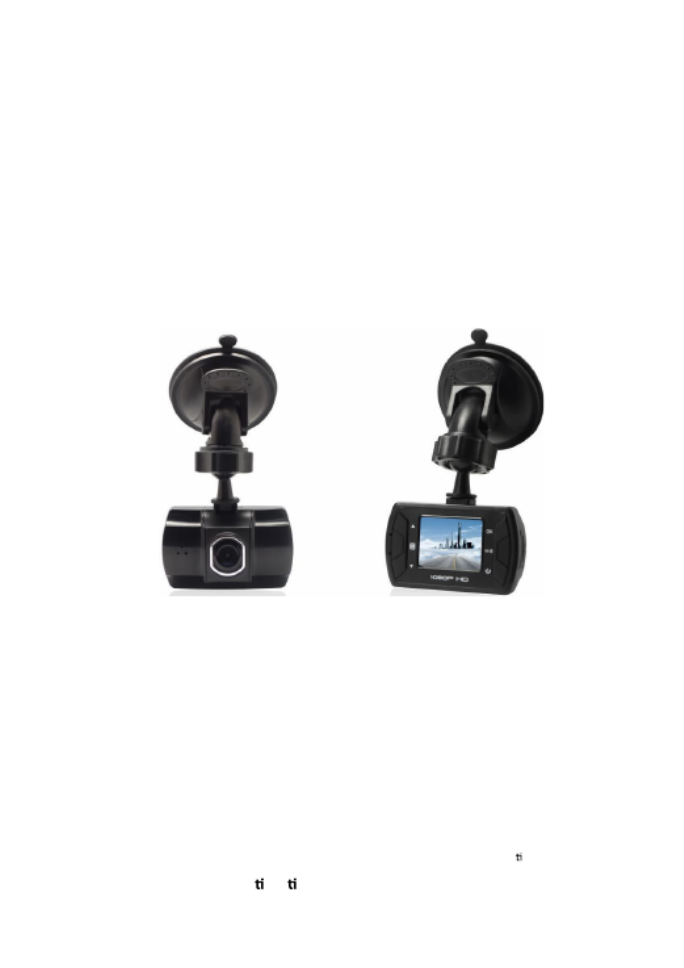
Product ImageandFeatureIdencaon.fi
-ENG 01-
Product specificaties
| Merk: | Denver |
| Categorie: | Dashcam |
| Model: | CCT-1300 |
Heb je hulp nodig?
Als je hulp nodig hebt met Denver CCT-1300 stel dan hieronder een vraag en andere gebruikers zullen je antwoorden
Handleiding Dashcam Denver

25 Juni 2023
9 Mei 2023
29 April 2023
4 April 2023
4 April 2023
17 Februari 2023
2 Februari 2023
18 Januari 2023
29 November 2022
20 Oktober 2022
Handleiding Dashcam
Nieuwste handleidingen voor Dashcam
19 Januari 2026
12 Januari 2026
12 Januari 2026
7 Januari 2026
4 Januari 2026
31 December 2026
30 December 2026
17 December 2025
2 December 2025
26 November 2025