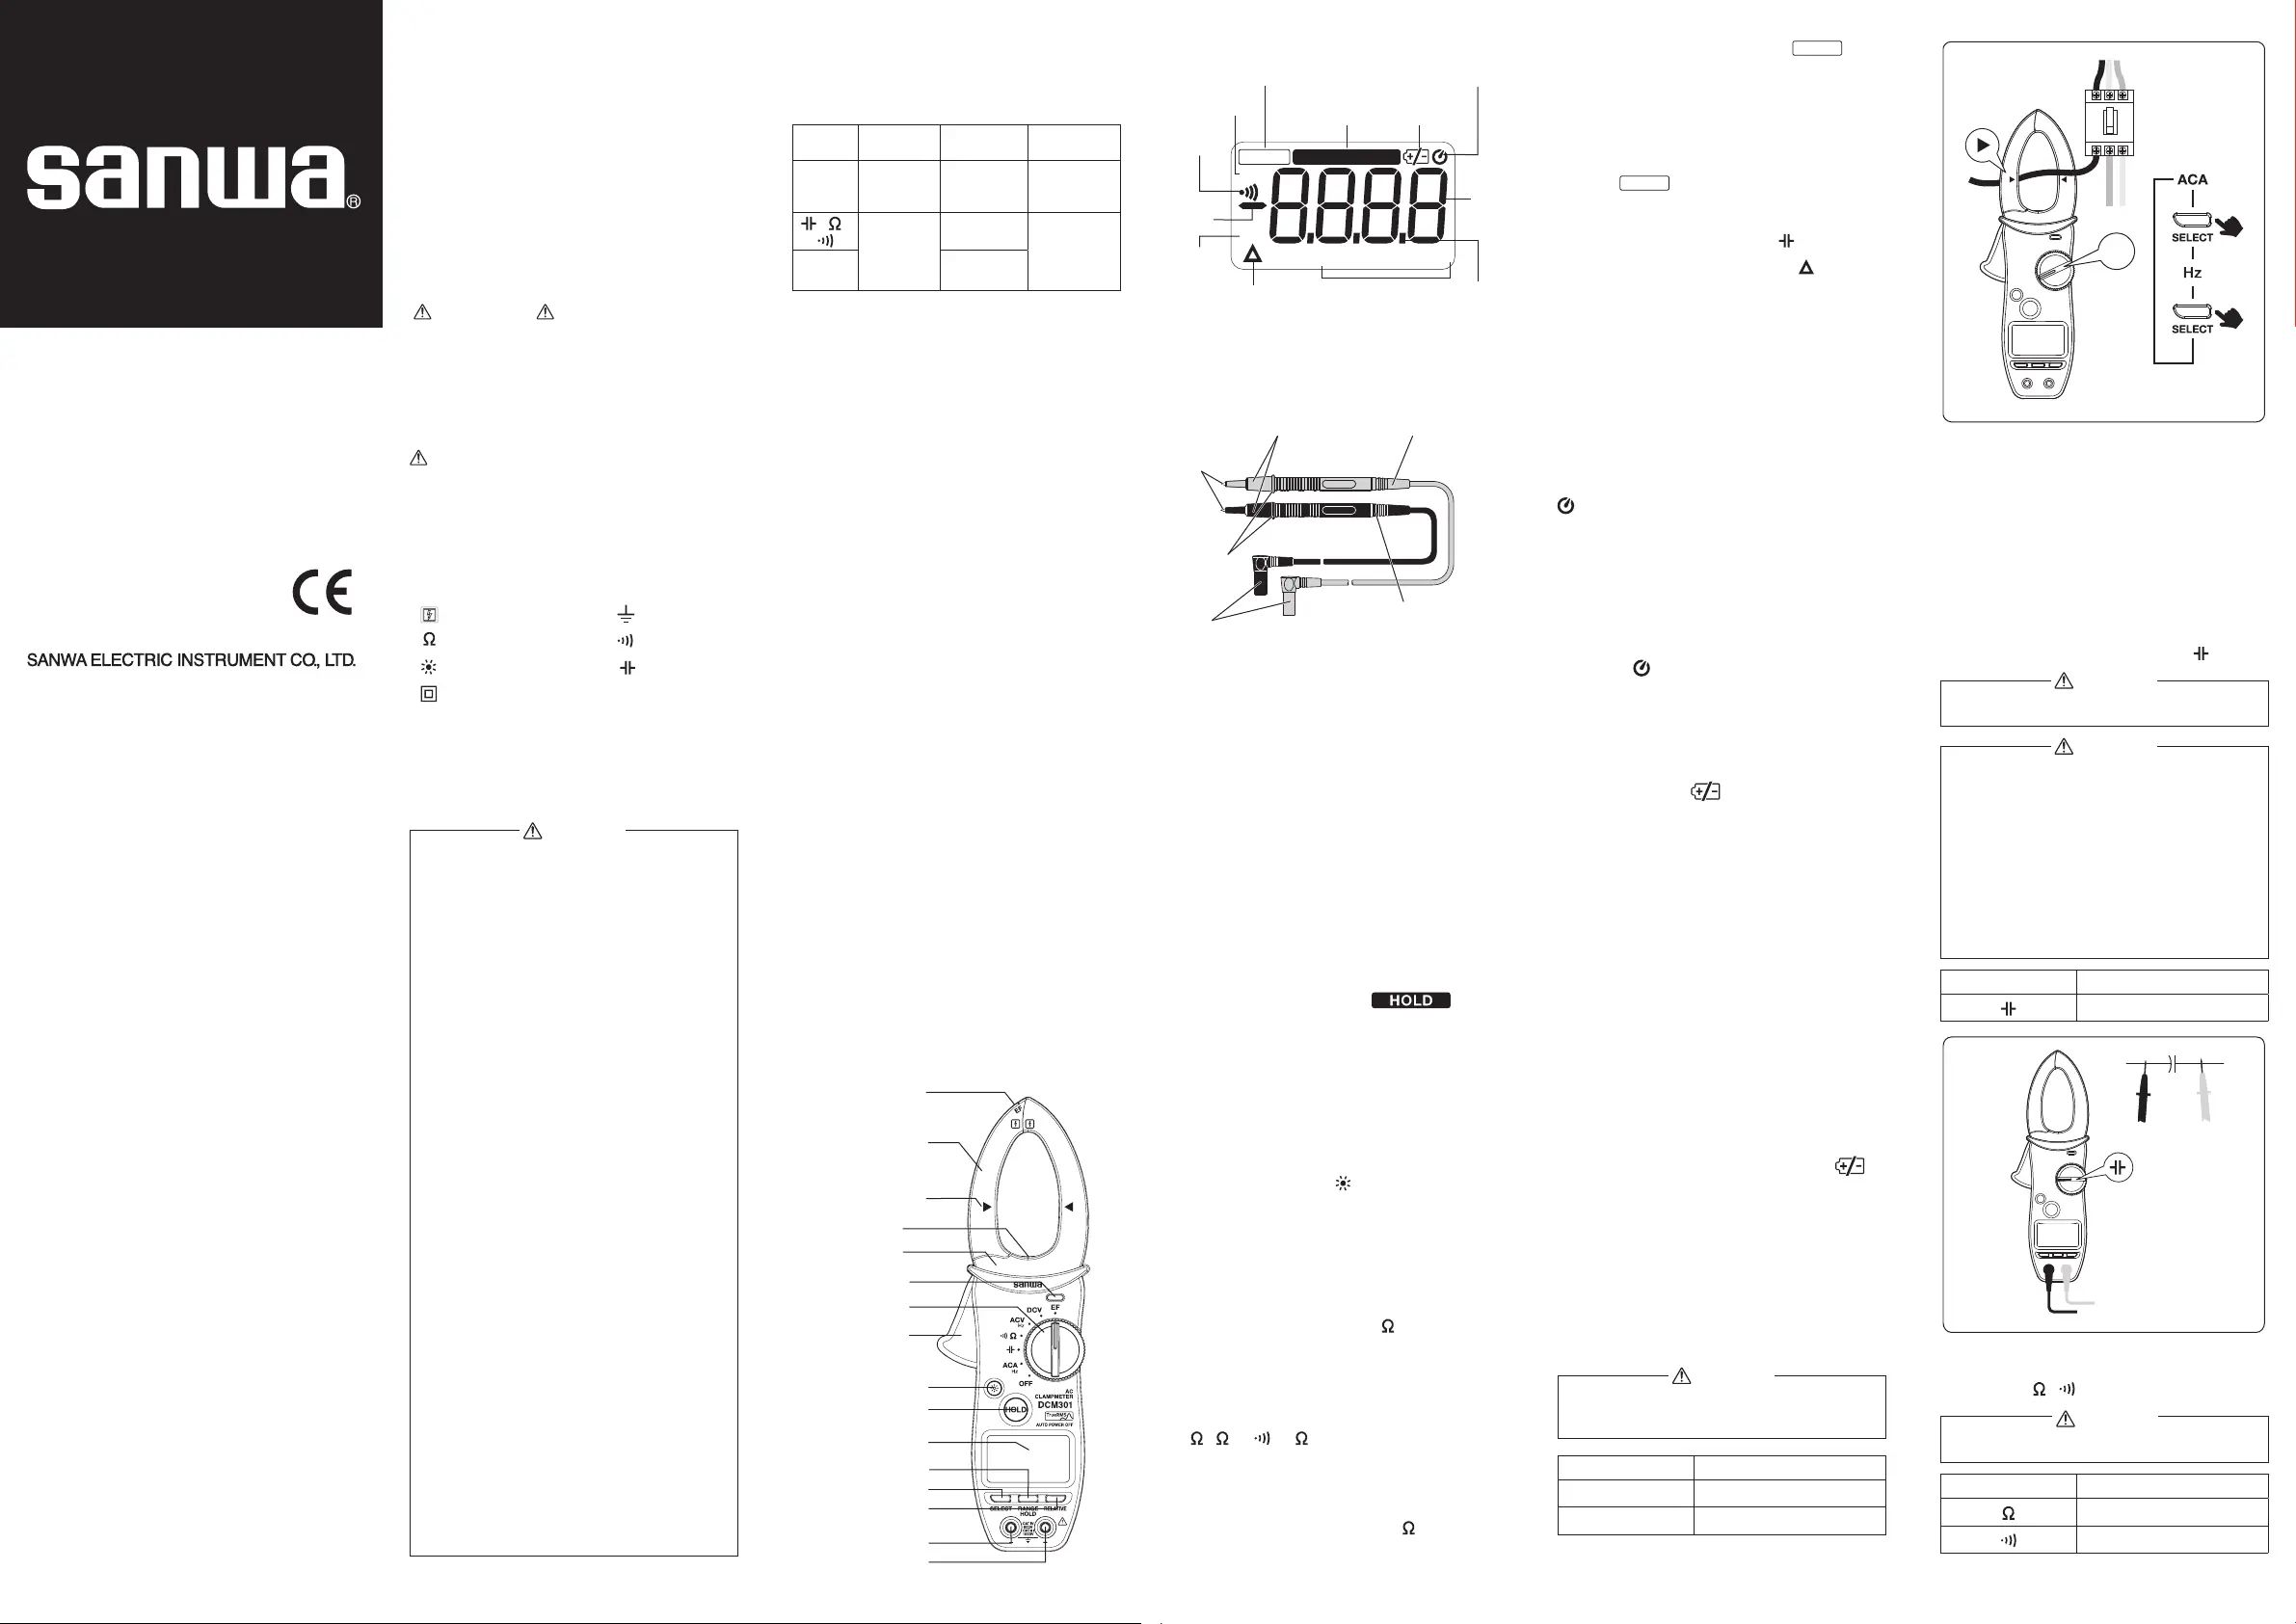
Sanwa DCM301 Handleiding


Lees hieronder de 📖 handleiding in het Nederlandse voor Sanwa DCM301 (3 pagina's) in de categorie Meetapparatuur. Deze handleiding was nuttig voor 27 personen en werd door 2 gebruikers gemiddeld met 4.5 sterren beoordeeld

Pagina 1/3
02-2302 2040 6014
− 1 − − 2 − − 3 − − 4 − − 5 −
[1] SAFETY PRECAUTIONS
*Before use, read the following safety
precautions.
This instruction manual explains how to use
your digital clamp meter DCM301. Before use,
please read this manual thoroughly to ensure
correct and safe use. After reading it, keep it
together with the product for reference to it
when necessary.
Using the product in a manner not specified in
this manual may cause damage to the protection
function of the product.
The instructions given under the headings of
WARNING and CAUTION must be followed
to prevent accidental and burn electric shock.
1-1 Explanation of Warning Symbols
The meanings of the symbols used in this
manual and attached to the product are as
follows:
: Very important instructions for safe use.
The warning messages are intended to
prevent accidents to operating personnel
such as burn and electric shock.
The caution messages are intended to
prevent incorrect handling which may
damage the product.
: High voltage hazard : Ground
: Resistance : Buzzer
: Light : Capacitor
: Double insulation or reinforced insulation
1-2 Warning Messages for Safe Use
The following instructions are intended to
prevent personal injury such as burn and
electric shock.
Be sure to follow them when using the meter.
1. This is a clamp meter for low-voltage
circuits. Never use it on a power line that
exceeds 1000 Vrms voltage to ground.
2. Voltages over AC 30 Vrms (42.4 Vpeak)
or DC 60 V are hazardous to human
body. Take care so as not to touch them.
3. Never input signals exceeding the
maximum rated input value (see 1-3).
4. Never use the meter near equipment
which generates strong electromagnetic
waves or is charged.
5. Never use the meter if the meter or test
leads are damaged or broken.
6. Never use the meter with the case or
battery lid removed.
7. During measurement, keep your fingers
behind the finger guard of test leads
and the barrier of the meter.
8. During measurement, do not change
function switch of the meter.
9. Before starting measurement, make
sure that the function and range are
properly set.
10. Never use the meter when it is wet or
with wet hands.
11.
Be sure to use the specified type of test leads.
12. Never attempt repair or modification,
except for battery replacement.
13. Always conduct start-up inspection and
check the meter at least once a year.
14. This meter is for indoor use only.
1-3 Maximum Overload Protection Input
The maximum rated input value and overload
protection have been established for the input
terminals of each function.
Function
Signal Input
Terminal
Max. Rated
Input Value
Max. Overload
Protection
ACA
Clamp type
current
sensor (CT)
AC
1000 Arms
AC
1000 Arms
, ,
Between +
and –
terminals
Do not input
voltage DC/AC
1000 Vrms
ACV,
DCV, EF
DC/AC
1000 Vrms
[2] APPLICATIONS AND FEATURES
2-1 Applications
This is a digital AC clamp meter designed for
measurement of low-voltage circuits in the
application range of 1000 V CAT. III, 600 V CAT.
IV. It is suited to current and voltage measurement
of power lines, electrical equipment, and electrical
facilities less than 1000 Vrms to ground.
2-2 Features
The CT shape makes it easier to clamp cable
in crowded.
Complies with IEC61010 CAT. IV and can
measure up to 1000 A AC for use in various sites.
True RMS reading for measurement of even
distorted waveforms.
An electric field (EF) function is incorporated
in the tip of the CT to enable detection of
about AC 90V or more.
Clamp opening diameter of 34 mm at maximum.
Large, easy-to-press HOLD button.
Equipped with LCD backlight convenient for
measurement in dark places. Also incorporates an
LED light to illuminate the measurement target.
Measurement categories (Overvoltage
categories)
CAT. II :
Primary circuit of equipment with a power
cord to be connected to a mains socket.
CAT.III :
Primary circuit of equipment that inputs power
directly from the distributor and the circuit
from the distributor to the mains socket.
CAT.IV :
Circuit from the leading wire to the distributor.
[3] NAMES OF COMPONENT UNITS
3-1 Main unit
3-2 Display
VAΩm
HOLDAUTO
AC
DC
nµ FMk Hz
3-3 Test Lead
In case of test pins cover attached:
CAT.IV 600 V, CAT.III 1000 V
In case of test pins cover removed:
CAT.II 1000 V
[4] DESCRIPTION OF FUNCTION
4-1 Power Switch and function switch
(for all functions)
Turn this switch to turn on and off the power
and select a measuring function.
4-2 Data Hold function: HOLD button
(for functions except EF)
When the HOLD button is pressed, the reading
indicated will be held with on the
display. The indicated reading will not change if
the input signal is changed. When this button is
pressed again, the function will be disabled and
the meter will return to the measurement mode.
Remarks:
The function will be canceled at changing
measurement functions.
4-3 LIGHT function: Light button
Press the LIGHT button to turn on the display’s
backlight and the LED light. Press it again to
turn them off. The lights will go off automatically
after 30 seconds.
4-4
How to select the measurement function:
SELECT button (ACA, , ACV)
Press the SELECT button to cycle through the
functions in the order shown below.
 ACA : ACA Hz ACA
  :
 ACV : ACV → Hz ACV
4-5 Range Hold function:
RANGE HOLD button (ACA, , ACV, DCV)
Press the RANGE HOLD button to enter the
Manual mode and set the range ( AUTO in the
display disappears). In the Manual mode, the
range changes every time this button is pressed.
Select the appropriate range while checking the
displayed unit and position of the decimal point
in the digits. To restore the Auto Range mode,
press and hold this button for more than 1
second ( AUTO is displayed in the display).
4-6
Relative function:
RELATIVE button (ACA, , ACV, DCV)
Press the RELATIVE button; will be
displayed in the display and the digits will show
a relative value which is derived from the
input value when the button is pressed set at 0
(reference). Press the button again to cancel
this function.
4-7 AUTO POWER OFF function
The meter will go to AUTO POWER OFF function
to save battery life about 10 minutes after the
last function switch or button operation. To wake
up the meter, press any button or re-power on.
turns on while activating the function.
Remarks:
Even in the AUTO POWER OFF mode, the tiny
power is still consumed. When the meter is not
going to be used for an extended period of
time, be sure to turn off the power switch.
To disable the function, turn on the power of
meter while holding the SELECT button
pressed. on the display is turned off when
the AUTO POWER OFF function is disabled.
4-8 Low Battery indication
W h en t he b u il t - i n b a t t e r i es h a ve b e en
discharged and the voltage has dropped to
below about 3.6 V, appears on the display.
When the mark flickers or lights, replace both
three batteries with new ones.
[5] MEASURING PROCEDURE
5-1 Start-up Inspection
A l w ays p er for m t h e f o l lowi n g s t a r t - u p
inspection to ensure safety.
External appearance: Make sure that there
are no visible abnormalities on the meter that
may have been caused by dropping it or
other mishandling.
Accessories: Make sure that the test leads
a n d o t h e r a c c e s s or i e s a r e f r e e f r o m
breakage, cracks, or any damage.
Make sure that the low battery indication is
not di s p l ayed in t h e dis p l a y. If is
displayed, replace the batteries with new
ones. Before first use, install the batteries.
Make sure that neither the meter nor your
hand is wet.
* If nothing is displayed in the display, the
batteries may be drained.
5-2 AC Current / Frequency Measurement:
ACA / Hz
Remove the test leads from the measuring
terminals to avoid electric shock.
Function Max. Rated Input Value
ACA 1000 A
Hz 2 kHz
DIGITAL CLAMP METER
INSTRUCTION MANUAL
DCM301
AC
A
Remarks:
Clamp the conductor (cable) to measure in the
middle of the center position mark on the CT.
Clamp only one cable. If several cables are
clam ped together or du pl ex, t riplex or
quadruplex cable are clamped, current
cannot be measured accurately.
The meter may malfunction in places where a
strong magnetic field is present.
Do not apply voltage and current at the same time.
5-3 Capacitance Measurement:
Never apply a voltage to the input terminals.
1. Di s c h a r g e t h e c a p a c i t o r s b e f or e
measurement.
2. This meter uses a measurement method
that applies currents to the measured
capacitor. It is not suitable for measurement
of electrolytic capacitors with high leakage
currents since errors will be too large.
3. It takes longer to measure capacitors with
large capacitance.
Function Max. Rated Input Value
60.00 mF
5-4 Resistance Measurement, Continuity
Check:
Never apply a voltage to the input terminals.
Function Max. Rated Input Value
60.00
600.0 Ω
Dempa Bldg., 4-4 Sotokanda 2-Chome Chiyoda-ku, Tokyo, Japan
- MEMO - WARNING
WARNING
WARNING
CAUTION
WARNING
AUTO RANGE
AC
Continuity
check
Polarity
(-)
Decimal
point
Digit
DC
Relative value UNIT
DATA HOLD
Removal test pins cover Test probe(red)
Test probe(black)
Test pins
Finger
guards
Plugs
Low battery
indication
AUTO POWER OFF
Clamp type current
sensor (CT)
LED light
Center position mark
Electric Field (EF)
sensor position mark
Power /
Function switch
EF detection LED
Barrier
CT trigger
Light button
HOLD button
Display
RANGEHOLD button
SELECT button
RELATIVE button
Input Terminal ( - )
Input Terminal (+)
Please contact Sanwa au th orized agent /
distributor / service provider, listed in our
website, in your country with above information.
An instrument sent to Sanwa / agent / distributor
without above information will be returned to the
customer.
Remarks:
1) Prior to requesting repair, please check the
following: Capacity of the built-in battery, polarity
of installation and discontinuity of the test leads.
2)
Repair during the warranty period: The failed meter
will be repaired in accordance with the conditions
stipulated in 7-1 Warranty and Provision.
3)
Repair after the warranty period has expired: In
some cases, repair and transportation cost may
become higher than the price of the product.
Please contact Sanwa authorized agent /
distributor / service provider in advance.
The minimum retention period of service functional
parts is 6 years after the discontinuation of
manufacture. This retention period is the repair
warranty period. Please note, however, if such
functional parts become unavailable for reasons of
discontinuation of manufacture, etc., the retention
period may become shorter accordingly.
4)
Precautions when sending the product to be
repaired.
To ensure the safety of the product during
transportation, place the product in a box that is
larger than the product 5 times or more in
volume and fill cushion materials fully and then
clearly mark “Repair Product Enclosed on the
box surface. The cost of sending and returning
the product shall be borne by the customer.
7-3 SANWA web site
https://www.sanwa-meter.co.jp
E-mail: exp_sales@sanwa-meter.co.jp
[8] SPECIFICATIONS
5-5 AC Voltage / Currency Measurement:
ACV / Hz
DC Voltage Measurement: DCV
Never u s e t he met er in p ow e r l i n e s
exceeding 1000 V to ground.
Function Max. Rated Input Value
ACV 1000 V
Hz 10 kHz
Function Max. Rated Input Value
DCV 1000 V
AC
V
DC
V
5-6
Detection of Electricity:
EF (Electric Field)
1. Before performing detection of electricity,
check that the meter works properly with
a known power source.
2. When performing detection of electricity,
do not hold t he met er at any point
beyond the barrier.
3. Even if no voltage is detected, do not
touch the conductors or devices because
a voltage below sensing threshold may
be present. Always use caution.
EF
Bring the "EF" marking on the CT close to or in
contact with the object to be measured. When the
sensor is brought to the ungrounded (hot) side, “-”
is displayed in front of the digits in the display, the
buzzer sounds, and the EF detection LED flickers.
On the grounded side, “EF” remains displayed
and the buzzer does not sound. The higher the
voltage to be detected, the larger the “-digits in
the display. The rate of intermittent activation of
the buzzer and LED will also increase.
Notes:
In case the wiring is long, etc, EF may switch to "-"
digits even on the ground wire.
If the EF sensor is brought in contact with the
housing of ungrounded measured equipment or if
you touch it with your hand when “EF” displayed in
the display, “-” digits may be displayed and the
buzzer may sound.
The "-" may be displayed even tens of cm away
from equipment such as a high-frequency devices
since the function is high sensitivity.
[6] MAINTENANCE
1. The following instructions are very
important for safety. Read this manual
thoroughly to ensure correct maintenance.
2. Calibrate and inspect the meter at least
once a year to ensure safety and maintain
its accuracy.
6-1 Maintenance and Inspection
1) Appearance:
Is the meter not damaged due to falling or
other cause?
2) Test leads:
Are the core wires not exposed at any place
of the test leads?
Is the plug when inserted to the input
terminal not loose?
If any of the above problems exists, stop using
the meter and request for repair.
6-2 Calibration and Inspection
For more information, please contact Sanwa’ s
authorized agent / distributor service provider,
listed in our website. See section 7-3.
6-3 Storage
1. The panel and case are not resistant to
volatile solvent and must not be cleaned
with thinner or alcohol.
2. The panel and case are not resistant to
heat. Do not place the meter near heat-
generating devices.
3. Do not store the meter in a place where
it may be subjected to vibration or from
where it may fall.
4. Do not store the meter in places under
direct sunlight, or hot, cold or humid
places or places where condensation is
anticipated.
5. If the meter will not be used for a long
time, remove the batteries.
6-4 Battery Replacement
To avoid electric shock, do not remove the
battery lid with an input being applied to
the measuring terminals. Also, before
starting replacement, make sure the power
of the meter is OFF.
1. Turn the fixing screw (x1) on the battery lid
with a Phillips screwdriver.
2. When the battery lid becomes loose, remove it.
3. Replace all 3 batteries in the battery holder
with new ones. Ensure correct polarity.
4. Place the battery lid on the battery holder
and tighten the fixing screw to secure.
[7] AFTER-SALE SERVICE
− 7 − − 8 − − 9 − − 10 − − 11 −
7-1 Warranty and Provision
Sanwa offers comprehensive warranty services
to its end-users and to its product resellers.
Under Sanwa's general warranty policy, each
instrument is warranted to be free from defects
in workmanship or material under normal use for
the period of one (1) year from the date of
purchase.
This warranty policy is valid within the country of
purchase only, and applied only to the product
purchased from Sanwa authorized agent or
distributor.
Sanwa reserves the right to inspect all warranty
claims to determine the extent to which the
warranty policy shall apply. This warranty shall
not apply to disposables batteries, or any
product or parts, which have been subject to
one of the following causes:
1. A failure due to improper handling or use that
deviates from the instruction manual.
2.
A failure due to inadequate repair or modification
by people other than Sanwa service personnel.
3.
A failure due to causes not attributable to this
product such as fire, flood and other natural
disaster.
4. Non-operation due to a discharged battery.
5. A failure or damage due to transportation,
relocation or dropping after the purchase.
7-2 Repair
Customers are asked to provide the following
information when requesting services:
1. Cu stomer nam e, address, an d contact
information
2. Description of problem
3. Description of product configuration
4. Model Number
5. Product Serial Number
6. Proof of Date-of-Purchase
7. Where you purchased the product
8-1 General Specifications
Operation
method
Δ—∑ method
AC measuring True RMS method
Display 6000 counts max.
(ACA, , , , ACV,
DCV functions)
9999 counts max.
(Hz function)
Sampling rate Approx. 3 times / sec.
Over-range “OL” indication
Range selection Auto and Manual
Polarity switching Auto (- indication)
Low Battery
indication
lights when built-in battery
voltage is 3.6 V or below
Current
measurement
system
Clamp type current sensor
(CT)
Max. clamp
conductor
diameter
Opening diameter
— Approx. ø34 mm
Environmental
condition
Altitude — 2000 m or less,
indoor use, environmental
pollution degree II
Operating
temperature
5 ºC to 40 ºC.
Humidity range is as
follows (without
condensation):
Max. 80 %RH for
temperatures up to
31 °C decreasing linearly
to 50 % RH at 40 °C
Storage
temperature
-10 ºC to 40 ºC: ≤80 %RH
(without condensation).
40 ºC to 50 ºC: ≤70 %RH
(without condensation).
Power supply LR03 (AAA alkaline
battery) x 3
Auto Power Off Power turned off approx.
10 min. after last operation
TYP 15 µA or less
Current
consumption/
Battery life
App r ox. 3.8 mA T Y P /
Approx. 200 hours
ACA function, no load,
when backlight is off
Dimensions &
mass
H
252 x
W
85 x
D
40 mm
Approx. 360 g (batteries
included)
Safety standards IEC61010-1 CAT. 1000
V, CAT. 600 V
IEC61010-2-032
IEC61010-031
EMC Directive/
RoHS Directive
IEC61326-1 EMC( )
EN50581 RoHS( )
Standard
Accessories
Manual,
LR03 (AAA alkaline
battery) x 3
Test leads (ATL101),
Carrying case (C202)
8-2 Measuring Range and Accuracy
Accuracy assurance temperature/humidity range:
23 ±5 °C, 80 % RH or less (no condensation)
Battery voltage — 3.6 V or more
rdg (reading): Read value
dgt (digit): Number of counts of last digit
ACA
Function
Range Accuracy
ACA
60.00 A 50 / 60 Hz :
± (2.5 %rdg + 5 dgt)
45 Hz
400 Hz
± (3.0 %rdg + 5 dgt)
600.0 A
1000 A
Notes:
T he accuracy shown above is when the
conductor to be measured is in the center of
the CT.
If it is not in the center, add 3 % to the above
accuracy values.
ACA : Less than 10 % of each ranges full
sc ale valu e is not sub jec t t o ac cura cy
assurance.
Crest factor : 2 or less (full scale)
4 or less (half scale)
Capacitance :
Function
Range Accuracy
60.00 nF
± 4.0 %rdg + 3 dgt( )
600.0 nF
6.000 µF
60.00 µF
600.0 µF
6.000 mF
60.00 mF
±6.0 %rdg + 3 dgt
Resistance :
Function
Range Accuracy
6.000
± 2.0 %rdg + 5 dgt( )
60.00
600.0
6.000
60.00 ± 5.0 %rdg + 5 dgt( )
600.0 Ω Buzzer sounds at approx.
30 Ω or less
Note:
Open-circuit voltage: Approx. 1 V or less.
ACV
Function
Range Accuracy
ACV
6.000 V
45 Hz 1 kHz~ :
  ( ± 1.5 %rdg + 3 dgt
60.00 V
600.0 V
1000 V
Notes:
ACV: Less than 10% of each ranges full
sc ale valu e is not sub jec t t o ac cura cy
assurance.
Crest factor : 2 or less (full scale)
4 or less (half scale)
DCV
Function
Range Accuracy
DCV
6.000 V
± 1.0 %rdg + 3 dgt( )
60.00 V
600.0 V
1000 V
Frequency: Hz
Range Input
sensitivity
Measurable
frequency
Accuracy
6.000 V 3 V
10 Hz
10 kHz
±(1.0 %rdg +
5 dgt)
60.00 V 10 V
600.0 V 100 V
1000 V 100 V
60.00 A 2 A
10 Hz
2 kHz
600.0 A 10 A
1000 A 100 A
Note:
The input sensitivity is specified as the RMS
value of the sine wave.
Detection of Electricity: EF (Electric Field)
Detects AC voltage and electric field of approx.
90 V or more
Note:
Detectable frequency: 50 Hz / 60 Hz.
Accuracy calculation method
Example) AC voltage measurement (ACV)
Displayed value: 100.0 V
Range accuracy: 600.0 V range ±(1.5 %rdg + 3 dgt)
Error: ±(100.0 V x 1.5% + 3 dgt) = ±1.8 V
True value: 100.0 V ±1.8 V (between 98.2 ~ 101.8 V)
* In the 600.0 V range, 3 dgt corresponds to 0.3 V
Specifications and external appearance of
the product described above may be
revised for modification without prior notice.
− 6 −
WARNING
WARNING
WARNING
WARNING
CAUTION
below 30 ohm
Sensor position
“EF”
Ungrounded (hot)
side
battery lid
Battery holder
Fixing screw


Product specificaties

Merk: Sanwa
Categorie: Meetapparatuur
Model: DCM301

Heb je hulp nodig?

Als je hulp nodig hebt met Sanwa DCM301 stel dan hieronder een vraag en andere gebruikers zullen je antwoorden


Handleiding Meetapparatuur Sanwa

Sanwa

Sanwa PDR302 Handleiding

6 Januari 2024
Sanwa

Sanwa PDR4000 Handleiding

5 Januari 2024
Sanwa

Sanwa KDP10 Handleiding

5 Januari 2024
Sanwa

Sanwa SE300 Handleiding

29 December 2023
Sanwa

Sanwa SE9100 Handleiding

29 December 2023
Sanwa

Sanwa LX20 Handleiding

28 December 2023
Sanwa

Sanwa LP10 Handleiding

28 December 2023
Sanwa

Sanwa DCL31DR Handleiding

27 December 2023
Sanwa

Sanwa MG5000 Handleiding

27 December 2023
Sanwa

Sanwa HG561H Handleiding

27 December 2023

Handleiding Meetapparatuur

Nieuwste handleidingen voor Meetapparatuur