Mikrotik CRS326-24G-2S+IN Handleiding
Mikrotik Niet gecategoriseerd CRS326-24G-2S+IN
Bekijk gratis de handleiding van Mikrotik CRS326-24G-2S+IN (4 pagina’s), behorend tot de categorie Niet gecategoriseerd. Deze gids werd als nuttig beoordeeld door 31 mensen en kreeg gemiddeld 4.6 sterren uit 7 reviews. Heb je een vraag over Mikrotik CRS326-24G-2S+IN of wil je andere gebruikers van dit product iets vragen? Stel een vraag
Pagina 1/4
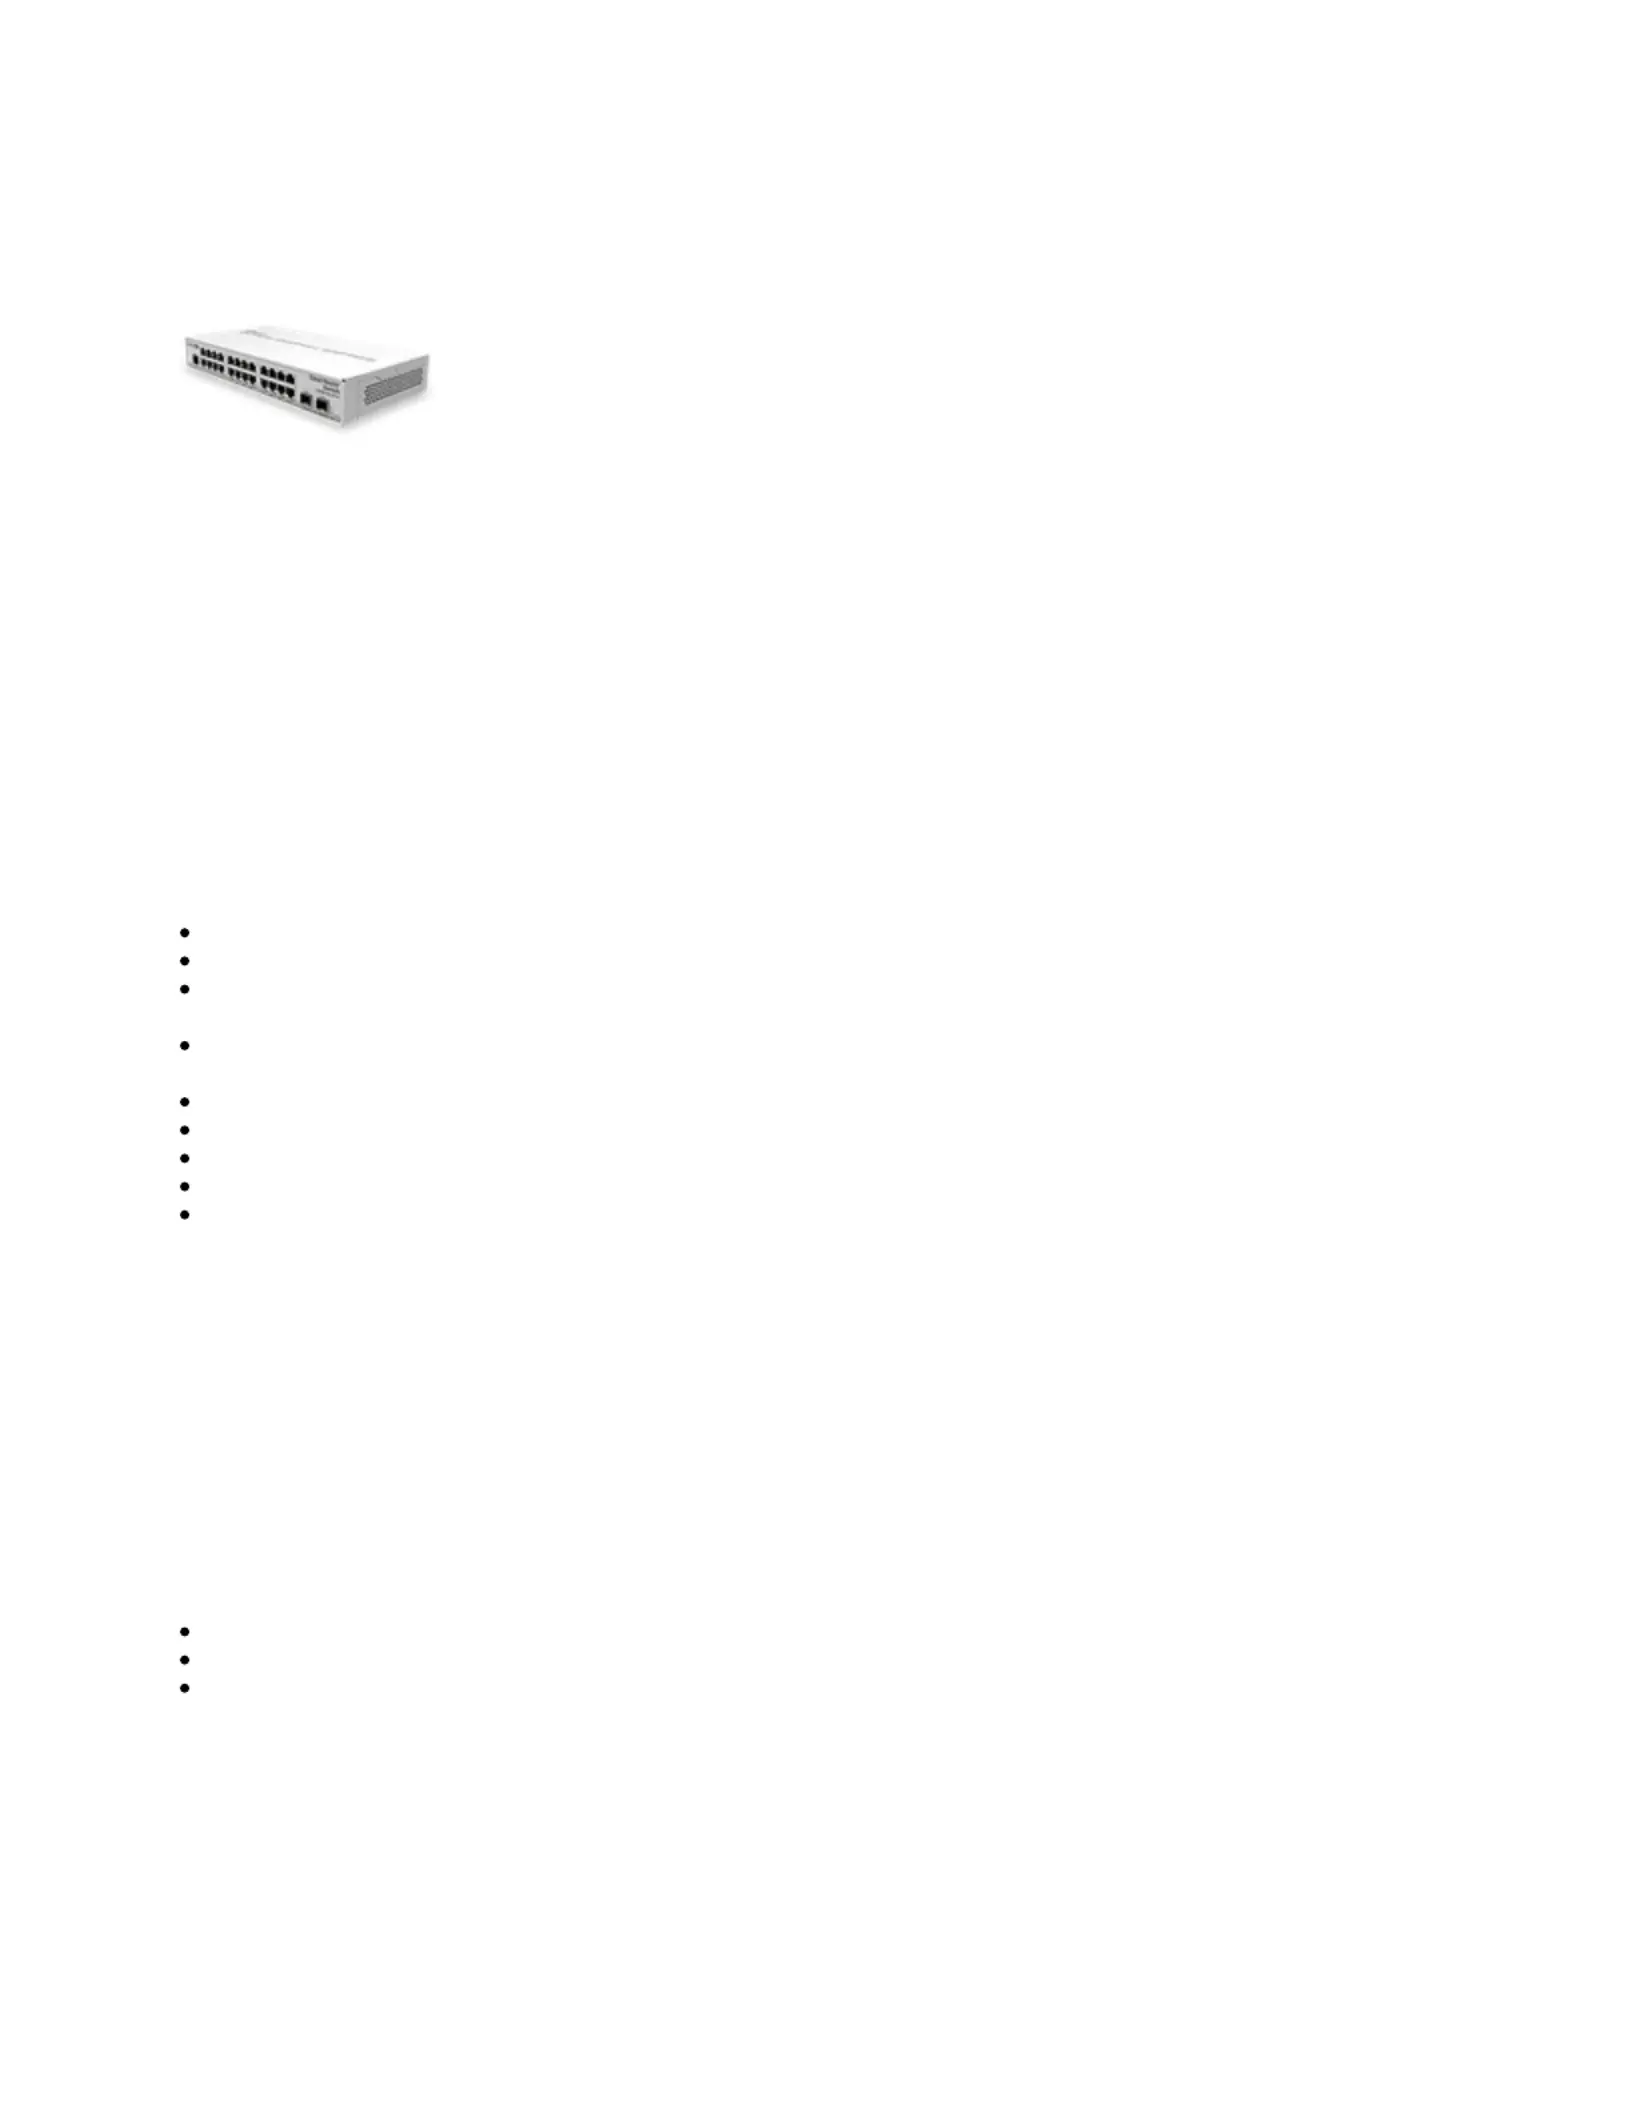
CRS326-24G-2S+IN
CRS326-24G-2S+IN
Safety Warnings
Before you work on any equipment, be aware of the hazards involved with electrical circuitry, and be familiar with standard practices for preventing
accidents.
Ultimate disposal of this product should be handled according to all national laws and regulations.
The Installation of the equipment must comply with local and national electrical codes.
This unit is intended to be installed in the rackmount. Please read the mounting instructions carefully before beginning installation. Failure to use the
correct hardware or to follow the correct procedures could result in a hazardous situation to people and damage to the system.
This product is intended to be installed indoors. Keep this product away from water, fire, humidity or hot environments.
Use only the power supply and accessories approved by the manufacturer, and which can be found in the original packaging of this product.
Read the installation instructions before connecting the system to the power source.
We cannot guarantee that no accidents or damage will occur due to the improper use of the device. Please use this product with care and operate at your
own risk!
In the case of device failure, please disconnect it from power. The fastest way to do so is by unplugging the power plug from the power outlet.
It is the customer's responsibility to follow local country regulations, including operation within legal frequency channels, output power, cabling
requirements, and Dynamic Frequency Selection (DFS) requirements. All Mikrotik devices must be professionally installed.
Quick start
Connect two powering units to the AC source using power cords.
The Initial connection has to be done via the Ethernet cable, using the MikroTik Winbox utility.
Use Winbox to connect to the default IP address of 192.168.88.1 from any port, with the username and no password
admin
(or, for some models,
. If IP is no available choose the Neighbors tab and connect to the device using the MAC check user and wireless passwords on the sticker)
address.
We recommend clicking the "Check for updates" button and updating your RouterOS software to the latest version to ensure the best
performance and stability. The device needs to have an active internet connection.
To upgrade manually go to our download page https://mikrotik.com/download
Choose packaged based on your device model.
Download to your PC.
Upload packages to the Files menu in WinBox and reboot the device.
Set up your password to secure the device.
Mounting
The device is designed to use indoors and it can be placed on the desktop.
The device has no protection from water contamination, please ensure the placement of the device in a dry and ventilated environment.
We recommend Cat6 cables for our devices.
Mounting and configuration of this device should be done by a qualified person.
Extension slots and ports
24 of Gigabit Ethernet ports.
Two 10G SFP+ ports.
1x RJ45 console port (set at 115200bits/s, 8 data bits, 1 stop bit no parity).
Product specificaties
| Merk: | Mikrotik |
| Categorie: | Niet gecategoriseerd |
| Model: | CRS326-24G-2S+IN |
| Kleur van het product: | Wit |
| Breedte: | 285 mm |
| Diepte: | 144 mm |
| Hoogte: | 44 mm |
| Stroom: | 1.2 A |
| Vermogensverbruik (max): | 21 W |
| DC voltage input: | 10 - 30 V |
| Certificering: | CE/RED, EAC, ROHS |
| Intern geheugen: | 512 MB |
| Type processor: | Ja |
| Ethernet LAN, data-overdrachtsnelheden: | 1000 Mbit/s |
| Rack-montage: | Ja |
| MAC adres filtering: | Ja |
| Aantal voedingen: | 2 |
| Flash memory: | 16 MB |
| Vermogenstoevoer inclusief: | Ja |
| VLAN=ondersteuning: | Ja |
| Power over Ethernet (PoE): | Ja |
| Type geheugen: | DDR3-SDRAM |
| Switchingcapaciteit: | - Gbit/s |
| MAC-adrestabel: | - entries |
| 10G support: | Ja |
| Rate limiting: | Ja |
| Switch type: | Managed |
| Aantal basis-switching RJ-45 Ethernet-poorten: | 24 |
| Type basis-switching RJ-45 Ethernet-poorten: | Gigabit Ethernet (10/100/1000) |
| Aantal moduleslots SPF: | 2 |
| Port mirroring: | Ja |
| IP routing: | Ja |
| Bedrijfstemperatuur (T-T): | -40 - 60 °C |
| Stroom via Ethernet (PoE): | 30 V |
| Type Power over Ethernet (PoE) ondersteunt: | Passive PoE |
Heb je hulp nodig?
Als je hulp nodig hebt met Mikrotik CRS326-24G-2S+IN stel dan hieronder een vraag en andere gebruikers zullen je antwoorden
Handleiding Niet gecategoriseerd Mikrotik

13 Maart 2026
10 Maart 2026
8 Januari 2026
7 Januari 2026
6 Januari 2026
6 Januari 2026
6 Januari 2026
24 December 2025
23 December 2025
22 December 2025
Handleiding Niet gecategoriseerd
Nieuwste handleidingen voor Niet gecategoriseerd
30 Mei 2026
30 Mei 2026
30 Mei 2026
30 Mei 2026
30 Mei 2026
30 Mei 2026
30 Mei 2026
30 Mei 2026
30 Mei 2026
30 Mei 2026