Ledlenser H14R.2 Handleiding
Bekijk gratis de handleiding van Ledlenser H14R.2 (55 pagina’s), behorend tot de categorie Zaklamp. Deze gids werd als nuttig beoordeeld door 73 mensen en kreeg gemiddeld 4.6 sterren uit 7 reviews. Heb je een vraag over Ledlenser H14R.2 of wil je andere gebruikers van dit product iets vragen? Stel een vraag
Pagina 1/55
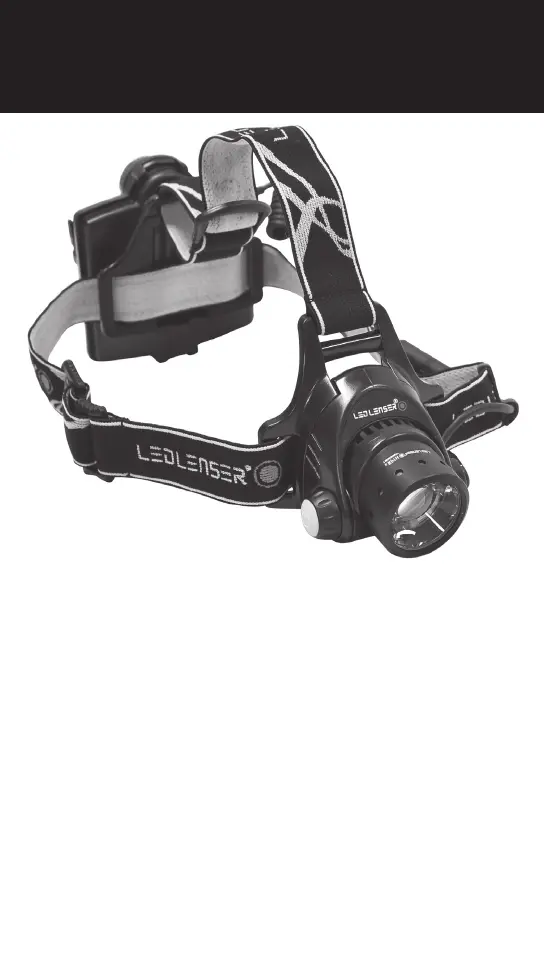
LED LENSER® * h14R.2
Operating instructions
Bedienungsanleitung
Instrucciones de uso
Mode d‘emploi
Gebruiksaanwijzing
Istruzioni per l‘uso
Käyttöohje
Bruksanvisning
Руководство по эксплуатации
수동
取扱説明書
手册
Product specificaties
| Merk: | Ledlenser |
| Categorie: | Zaklamp |
| Model: | H14R.2 |
| Soort bediening: | Buttons, Rotary |
| Kleur van het product: | Zwart |
| Gewicht: | 340 g |
| Aantal lampen: | 1 lampen |
| Soort lamp: | LED |
| Aan/uitschakelaar: | Ja |
| Zoomcapaciteit: | Ja |
| Ondersteund aantal accu's/batterijen: | 1 |
| Aantal per verpakking: | 1 stuk(s) |
| Levensduur batterij: | 40 uur |
| Lichtopbrengst (max): | 1000 lm |
| Batterijtechnologie: | Lithium-Ion (Li-Ion) |
| Type zaklamp: | Lantaarn aan hoofdband |
| Lichtbundelafstand (max): | 300 m |
| Verstelbare hoofdband: | Ja |
Heb je hulp nodig?
Als je hulp nodig hebt met Ledlenser H14R.2 stel dan hieronder een vraag en andere gebruikers zullen je antwoorden
Handleiding Zaklamp Ledlenser

25 November 2025
24 November 2025
24 November 2025
24 November 2025
8 Mei 2025
8 Mei 2025
8 Mei 2025
8 Mei 2025
8 Mei 2025
28 Januari 2025
Handleiding Zaklamp
Nieuwste handleidingen voor Zaklamp
14 April 2026
13 April 2026
10 April 2026
6 April 2026
6 April 2026
5 April 2026
27 Maart 2026
26 Maart 2026
26 Maart 2026
26 Maart 2026