Flir Firefly S Handleiding
Flir Niet gecategoriseerd Firefly S
Bekijk gratis de handleiding van Flir Firefly S (2 pagina’s), behorend tot de categorie Niet gecategoriseerd. Deze gids werd als nuttig beoordeeld door 330 mensen en kreeg gemiddeld 5.0 sterren uit 5 reviews. Heb je een vraag over Flir Firefly S of wil je andere gebruikers van dit product iets vragen? Stel een vraag
Pagina 1/2
GETTING
GETTING
GETTING
GETTINGGETTING
STARTED
STARTED
STARTED
STARTEDSTARTED
FIREFLY®
USB3 Vision
Will
Will
Will
WillWill your
your
your
youryour system
system
system
systemsystem support
support
support
supportsupport the
the
the
thethe camera?
camera?
camera?
camera?camera?
Recommended System Configuration:
nOS—Windowsor Linux (32- or 64-bit)
nCPU— Intel i5 or greater
nRAM—4GB
nPorts—USB3 host controller
nSoftware—Microsoft Visual Studio 2015 (to runand compile example code)
Do
Do
Do
DoDo you
you
you
youyou have
have
have
havehave a
a
a
aa downloads
downloads
downloads
downloadsdownloads account?
account?
account?
account?account?
A downloads account is required to download software and firmware.
1.Go to.www.flir.com/account
2.Enter youremail address and click Continue.
3.Complete the Create an account form and click Continue.
4.You will receive an email with a link to activate your account.
5.Onceactivated, you can login usingthe credentials you've created.
Thehasmany links to help youoperate your cameraFirefly resources page
effectively, including:
nSpinnaker®SDKsoftware,including drivers(login required)
nFirmware updatesand release notes (login required)
nDimensional drawings andCADmodels
nDocumentation
Do
Do
Do
DoDo you
you
you
youyou have
have
have
havehave all
all
all
allall the
the
the
thethe parts
parts
parts
partsparts you
you
you
youyou need?
need?
need?
need?need?
Toinstallyour camera you need thefollowing components:
nUSB3 cable
nGPIOcable
nLens(typeof lens mount is model dependent)
nTripodadapter (optional)
nInterface card
Teledyne FLIR sells a number of theadditional parts required for installation. To
purchase,visit the.Accessories page
Camera
Camera
Camera
CameraCamera Care
Care
Care
CareCare
To clean the imaging surface of your camera, follow the steps outlined in Cleaning
the imaging surface ofyourcamera.
Extended exposure to bright sunlight, rain, dusty environments, etc.may cause
problems withthe electronicsand optics of the system.
Avoid excessive shaking, dropping, ormishandlingofthedevice.
Warning! Donot open the camerahousing.Doingso voids the Hardware
Warranty.
Avoid electrostaticcharging.
Installing
Installing
Installing
InstallingInstalling your
your
your
youryour Interface
Interface
Interface
InterfaceInterface Card
Card
Card
CardCard and
and
and
andand Software
Software
Software
SoftwareSoftware
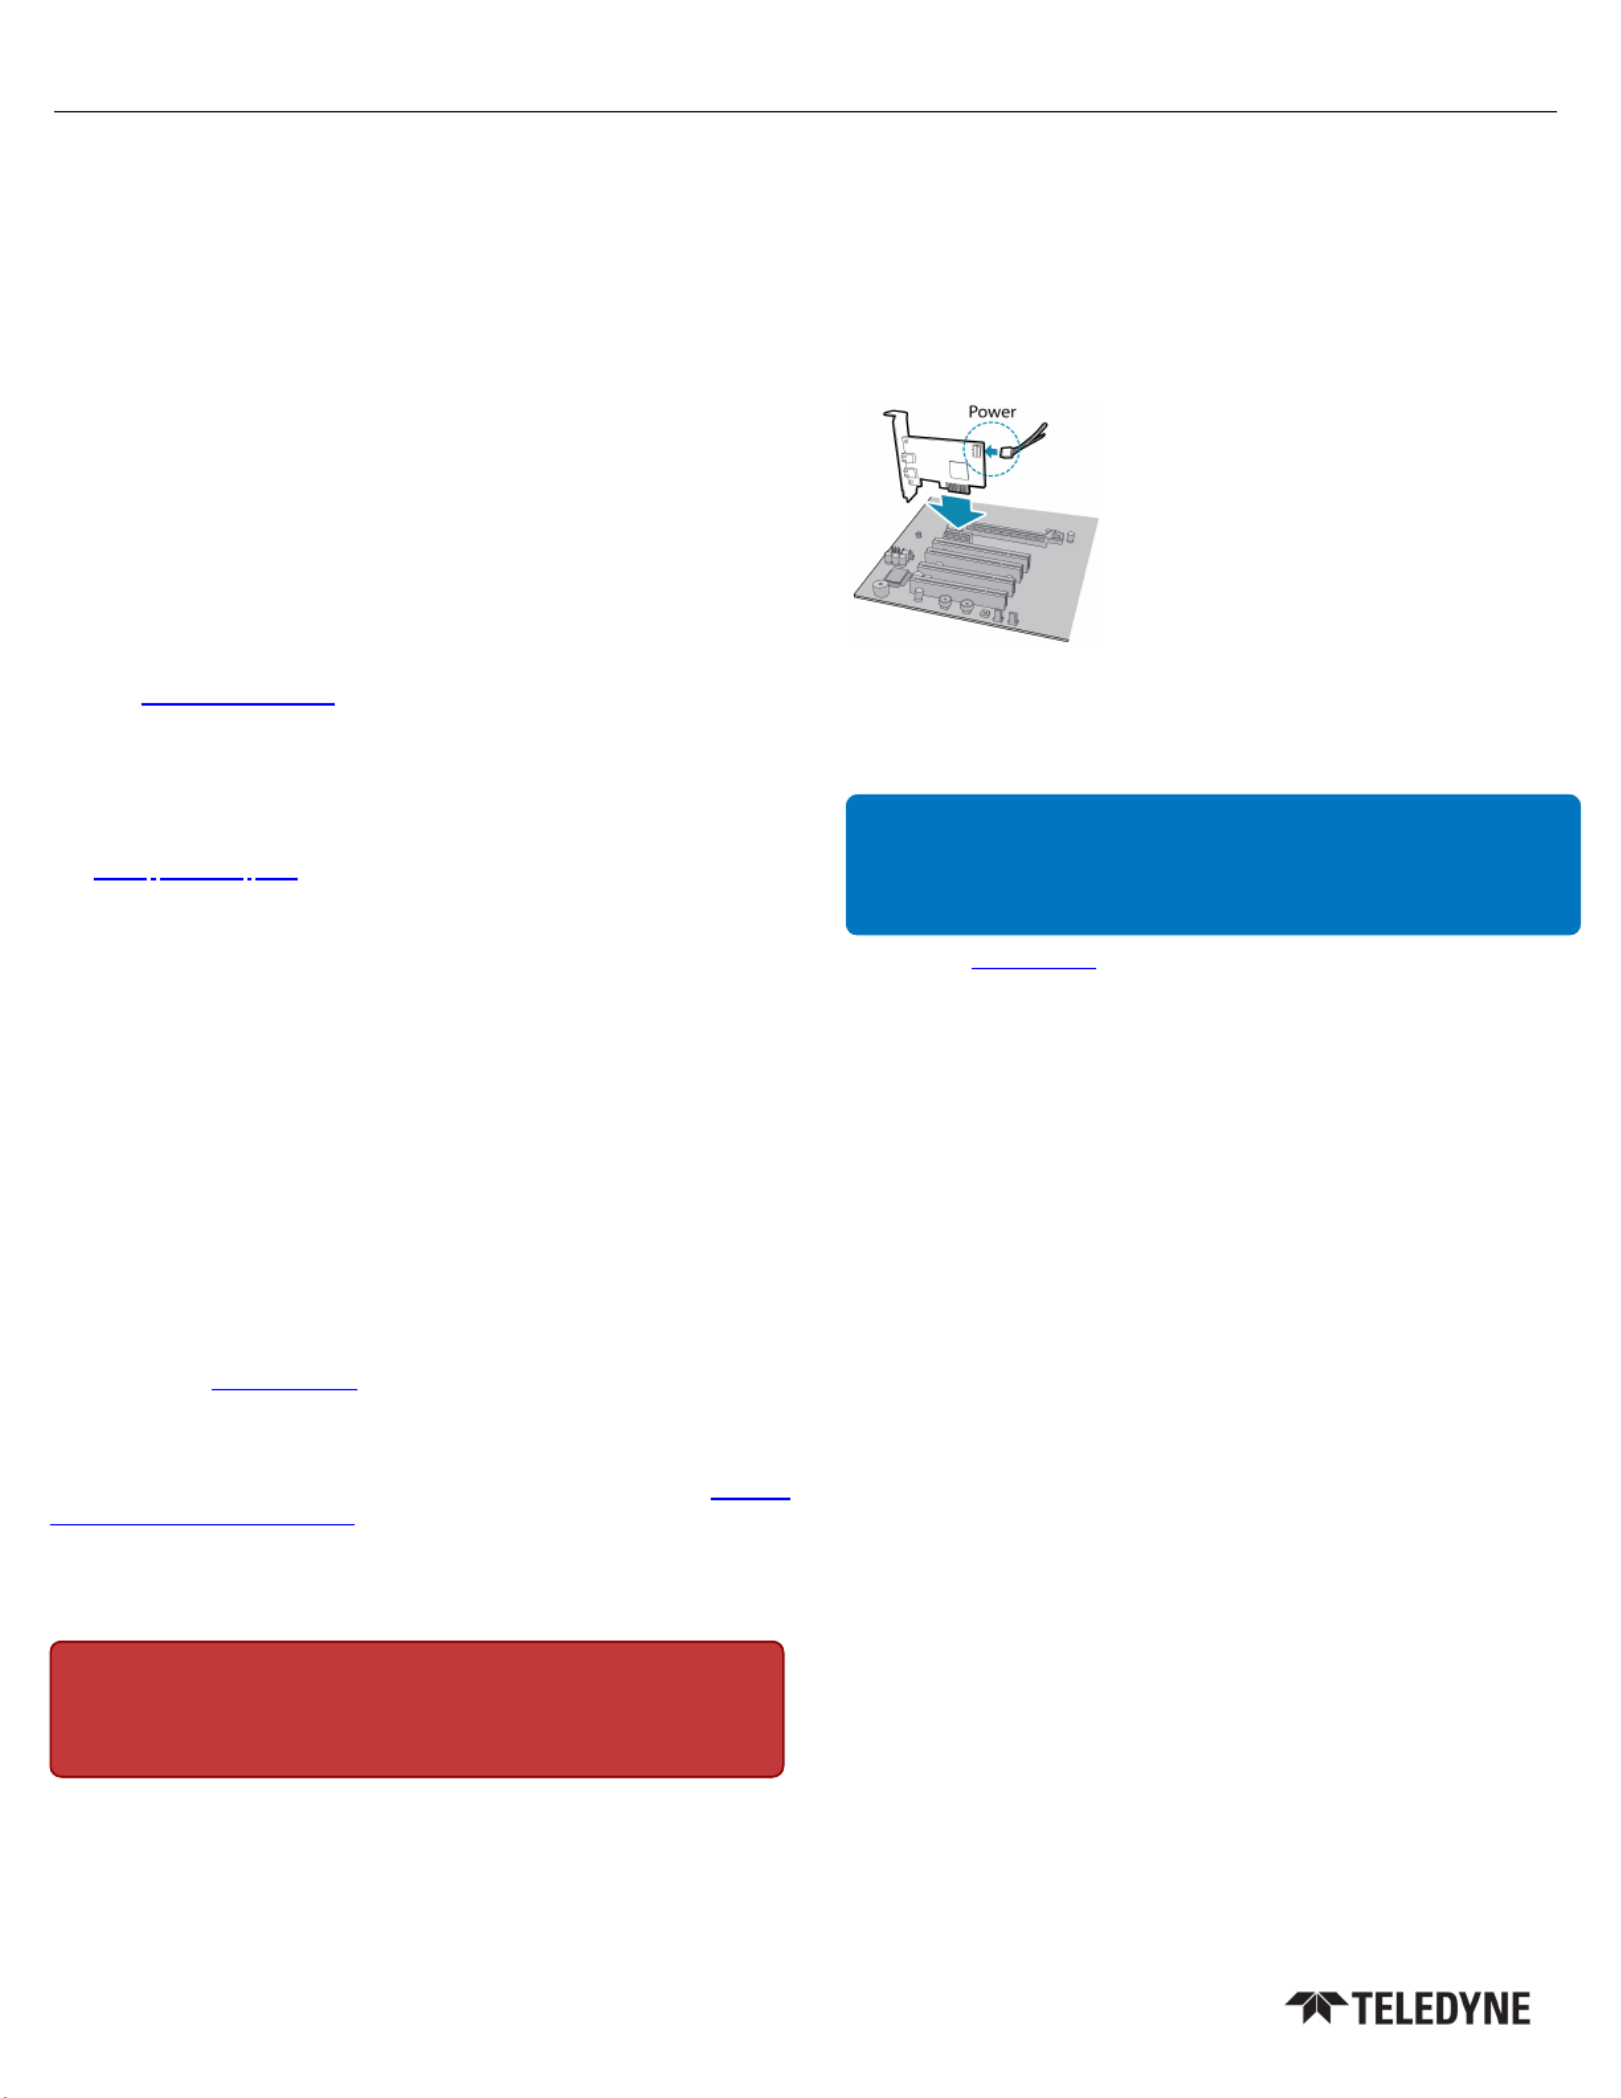
1. InstallyourInterfaceCard
Ensure the card is installed per the
manufacturer's instructions.
Connect the internal IDE or SATApower
connector on the cardto the computer power
supply.
Alternatively,useyourPC'sbuilt- inhost
controller,if equipped.
Open the Windows Device Manager. Ensure the card isproperlyinstalled.USB3
cardsappear under.Anexclamation point(!) nextUniversalSerial BusControllers
tothecard indicates the driver has not yet been installed.
2. InstalltheSpinnaker® SDK Software
Note: Forexistinguserswhoalreadyhave Spinnaker installed, werecommend
ensuring you have the latest version for optimal performance of your camera. If
you do not need to install Spinnaker, use SpinView to install andenable drivers
for your card.
a.Go tothepage.Spinnaker SDK
b.ClicktheDownloadbutton.You are prompted to login, if not already.
c.Select your operating system. Depending onyourselectiontheremaybeother
versions to select.
d.Afterdownloadis complete, open the file to start the Spinnaker setup wizard.
e.Followthestepsin each setup dialog.
Using
Using
Using
UsingUsing the
the
the
thethe Spinnaker
Spinnaker
Spinnaker
SpinnakerSpinnaker®
®
®
®® SDK
SDK
SDK
SDKSDK
You canmonitor or controlfeatures of the camerathrough Spinnaker APIexamples
provided in the Spinnaker SDK, or through the SpinView camera evaluation
application. Ais included in the installation.Programmer's Guide andAPIReference
5/18/2023
Namesand marks appearingon theproducts herein areeither registered
trademarks ortrademarks of FLIRIntegrated Imaging SolutionsInc.
and/or itssubsidiaries.
© 2015-2023FLIR Integrated Imaging SolutionsInc. Allrights reserved.
Product specificaties
| Merk: | Flir |
| Categorie: | Niet gecategoriseerd |
| Model: | Firefly S |
Heb je hulp nodig?
Als je hulp nodig hebt met Flir Firefly S stel dan hieronder een vraag en andere gebruikers zullen je antwoorden
Handleiding Niet gecategoriseerd Flir

29 December 2026
7 December 2025
5 December 2025
5 December 2025
5 December 2025
4 December 2025
4 December 2025
4 December 2025
1 December 2025
30 November 2025
Handleiding Niet gecategoriseerd
Nieuwste handleidingen voor Niet gecategoriseerd
23 Juli 2026
23 Juli 2026
23 Juli 2026
23 Juli 2026
23 Juli 2026
22 Juli 2026
22 Juli 2026
22 Juli 2026
22 Juli 2026
22 Juli 2026