SmartAVI FDX-S2US Handleiding
SmartAVI AV extender FDX-S2US
Bekijk gratis de handleiding van SmartAVI FDX-S2US (2 pagina’s), behorend tot de categorie AV extender. Deze gids werd als nuttig beoordeeld door 8 mensen en kreeg gemiddeld 4.2 sterren uit 5 reviews. Heb je een vraag over SmartAVI FDX-S2US of wil je andere gebruikers van dit product iets vragen? Stel een vraag
Pagina 1/2
USER MANUAL
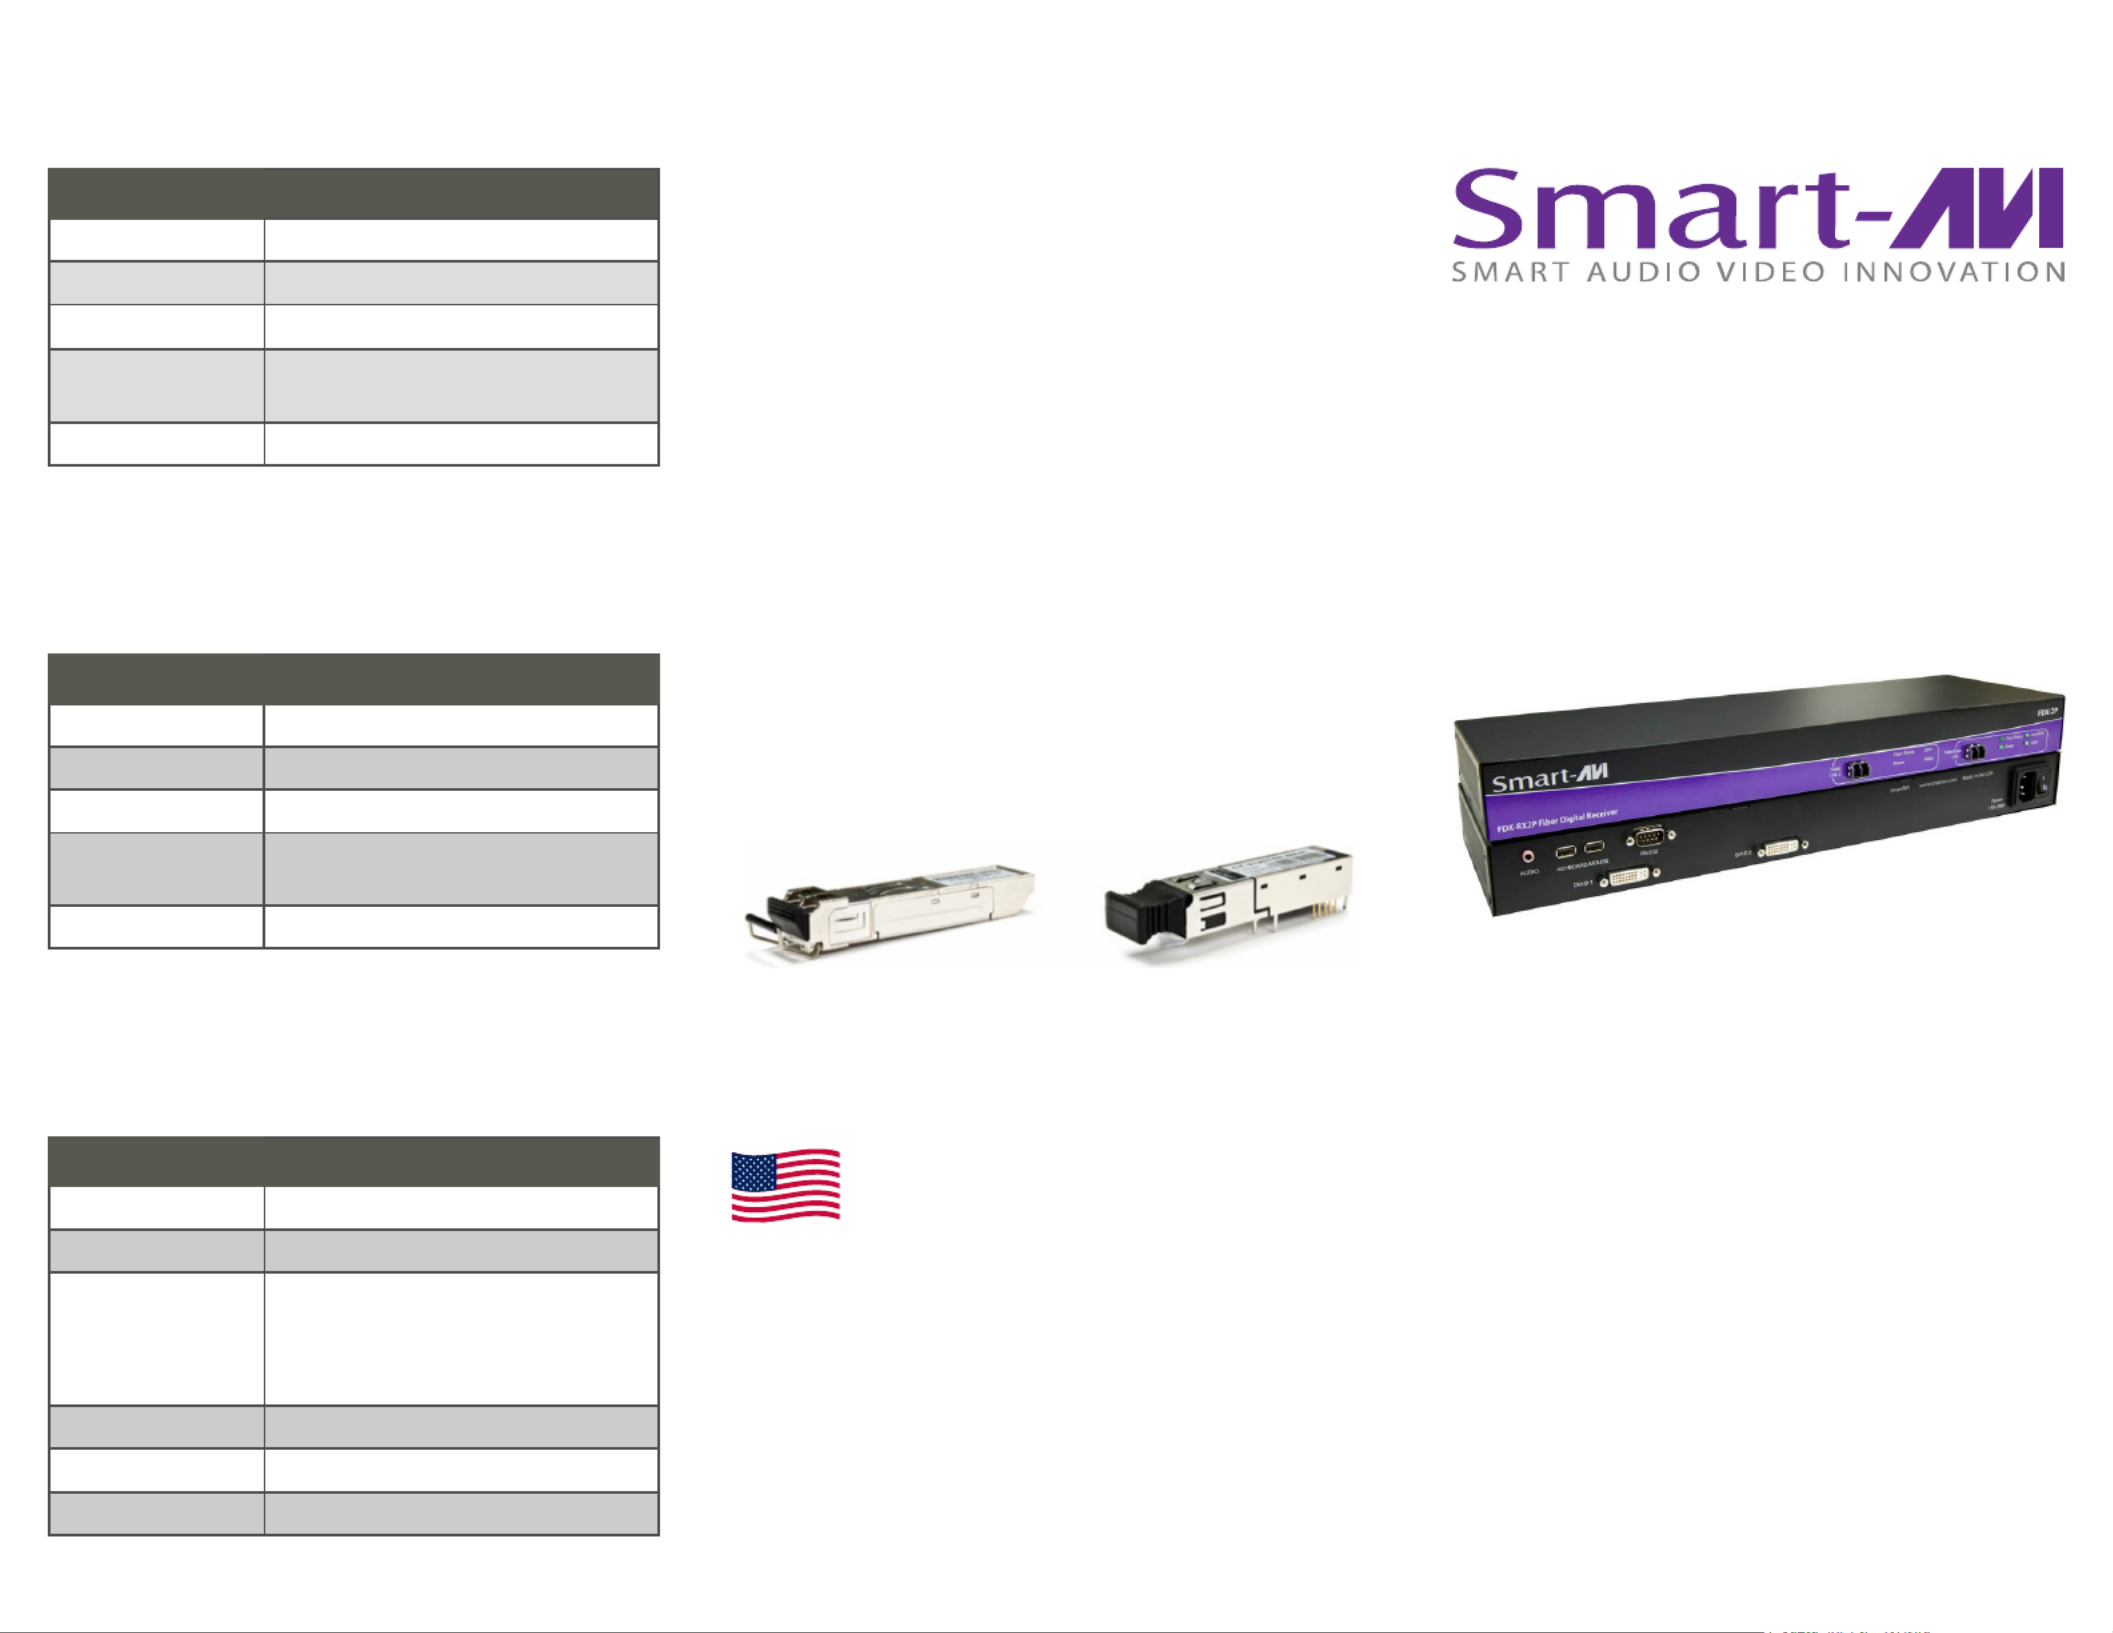
FDX-S2U
Dual DVI-D Fiber Extender with Audio
and USB Keyboard and Mouse
VIDEO
Input Interface (2) DVI-D 29-Pin Female
Output Interface (2) DVI-D 29-Pin Female
Max Resolution 1920x1200 @ 60Hz
DDC Internal Table;
Can be reprogrammed
Format DVI-D Single-Link
TECHNICAL SPECIFICATIONS
800.AVI.2131
Tel: (818) 503-6200 Fax: (818) 503-6208
11651 Vanowen St. North Hollywood, CA 91605
SmartAVI.com
Designed and Manufactured in the USA Extends two DVI-D Signals, Audio and
USB Keyboard & Mouse up to 10 miles over two
Fiber Optic Cables
OTHER
RS-232 Data up to 115200bps
USB USB Keyboard and Mouse ONLY
Fiber Extender Fiber
• 225m @ Single mode 62,5µ
• 450m @ Single mode 50µ
• Fiber-Plug type LC
Dimensions 4.5”x5.5”x1.70”
Weight 1 lb.
Power Internal 100-240 VAC
AUDIOAUDIOAUDIOAUDIO
Signal Type Stereo Audio
Frequency
Response
20 Hz to 20 KHz
Impedance 600 Ω
Input Interface 3.5 mm Stereo Audio
Output Interface 3.5 mm Stereo Audio
WHY FIBER OPTIC?
SmartAVI has created a full line of fiber optic ex-
tender products, understanding that this technology
is superior to traditional cabling.
Fiber optic cables are:Fiber optic cables are:Fiber optic cables are:Fiber optic cables are:
•Capable of transmitting over very long distances
with no signal loss.
•Immune to electromagnetic interference. In situa-
tions where there is considerable interference, fiber
optic cabling is the only solution.
•Much more secure because they cannot be easily
tapped. For this reason, military and law enforce-
ment
agencies use fiber optic cables for the transmission
of sensitive data.
•Relatively inexpensive and small enough to be
routed through small spaces.
We only use the highest quality fiber optic transceivers
Product specificaties
| Merk: | SmartAVI |
| Categorie: | AV extender |
| Model: | FDX-S2US |
Heb je hulp nodig?
Als je hulp nodig hebt met SmartAVI FDX-S2US stel dan hieronder een vraag en andere gebruikers zullen je antwoorden
Handleiding AV extender SmartAVI

8 Juli 2023
6 Juli 2023
4 Juli 2023
3 Juli 2023
3 Juli 2023
3 Juli 2023
3 Juli 2023
30 Juni 2023
30 Juni 2023
28 Juni 2023
Handleiding AV extender
Nieuwste handleidingen voor AV extender
9 Maart 2026
7 Maart 2026
6 Januari 2026
5 Januari 2026
5 Januari 2026
1 Januari 2026
29 December 2026
21 December 2025
9 December 2025
8 December 2025