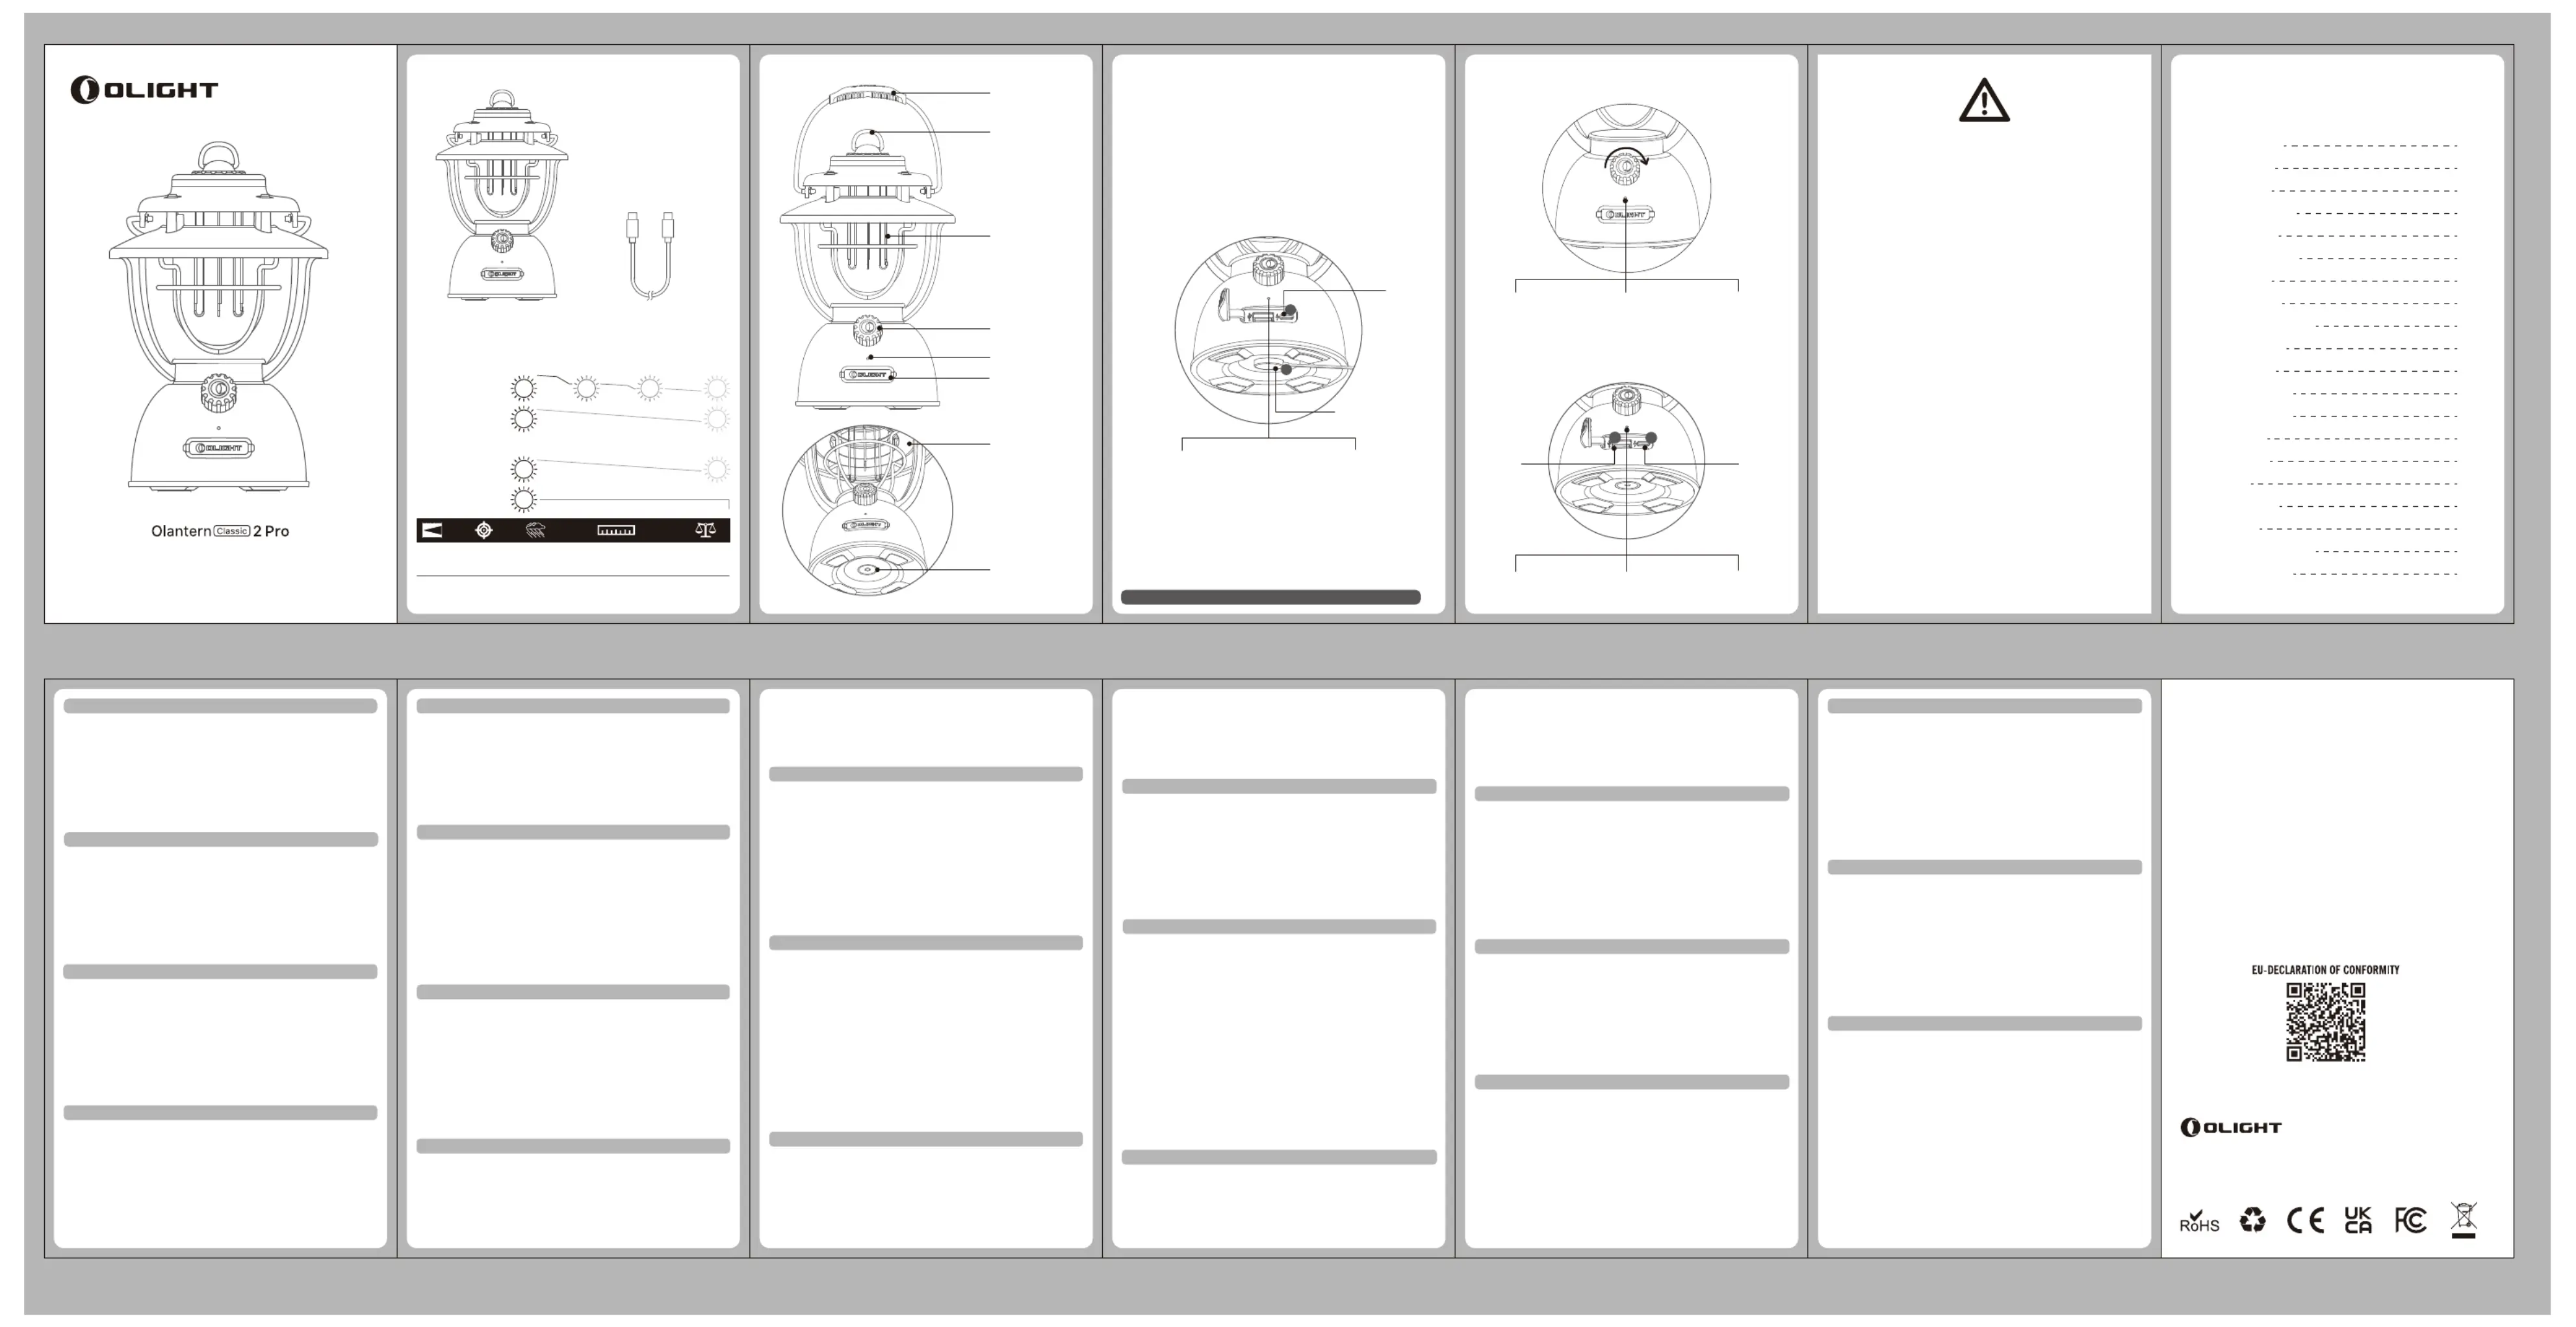
Olight Olantern Classic 2 Pro Handleiding
Olight Niet gecategoriseerd Olantern Classic 2 Pro
Bekijk gratis de handleiding van Olight Olantern Classic 2 Pro (1 pagina’s), behorend tot de categorie Niet gecategoriseerd. Deze gids werd als nuttig beoordeeld door 31 mensen en kreeg gemiddeld 4.1 sterren uit 2 reviews. Heb je een vraag over Olight Olantern Classic 2 Pro of wil je andere gebruikers van dit product iets vragen? Stel een vraag
Pagina 1/1
CHARGING
( EN ) English
( CN ) 简体中文
( FI ) Finnish
( NO ) Norwegian
( SV ) Swedish
( NL ) Nederlands
(PL ) Polska
( DE ) Deutsch
( HU ) Magyarország
( RU ) Русский
( ES ) Español
( RO ) Românesc
( UA ) Ukrainian
( JP ) 日本語
( KR )
한국어
( TH )
ไทย
( FR ) Français
(IT ) Italia
(SK ) Slovenskýjazyk
( PT ) Português
วิธีการใช้งาน
เปิด/ปิด: เปิดโดยหมุนลูกบิดหมุนตามเข็มนาฬิกา และปิดโดยหมุนทวนเข็มนาฬิกา
เปลี่ยนแสง: เมื่อไฟเปิดอยู่ให้หมุนลูกบิดหมุนตามเข็มนาฬิกาเพื่อปรับแสงน้อยลงตามลาดับ
: แสงสีส้มอ่อนแสงสีส้มสูงแสงสีขาวอบอุ่น และแสงสีขาวอบอุ่นสูงหมุนสวิตช์หมุนทวนเข็ม
นาฬิกาจะเปลี่ยนการส่งออกแสงในลาดับย้อนกลับ
USER MANUAL
Thank you for purchasing this Olight Product. Please read this manual
carefully before use and keep it for future reference!
Dongguan Olight E-Commerce Technology Co., Ltd
WARRANTY
Within 30 days of purchase: Contact the original seller for repair or
replacement.
Within 2 years of purchase: Contact Olight for repair or replacement.
This warranty does not cover normal wear and tear, modifications, misuse,
disintegrations, negligence, accidents, improper maintenance, or repair by
anyone other than an Authorized retailer or Olight itself.
USA Customer Support
Global Customer Support
Visit to see our complete product line of www.olightworld.com
portable illumination tools.
4th Floor, Building 4, Kegu Industrial Park, No 6 Zhongnan Road,
Changan Town, Dongguan City, Guangdong, China.
Made in China
EU-Declaration of Conformity can be found here :
https://olightworld.com/ec-declaration
PRODUCT OVERVIEW
SPECIFICATIONS
IN THE BOX
Before first use, please fully charge the product with either of the following two methods.
Method 1 with USB-C cable:Connect one end of the provided USB-C cable to an
external USB-C power source (power adapter not included), open the USB dust plug,
and then insert the other end of the cable into the USB-C charging port.
Method 2 with USB magnetic charging cable: Connect the USB end of the
magnetic charging cable to an external USB power source, then attach the other end
of the cable to the magnetic charging port at the bottom of the product.
While charging, the indicator below the rotary knob blinks red to indicate it is in
charging status, and the indicator turns green to indicate it is fully charged (battery
power95%).>
While powered on or dimming, the indicator below the rotary knob indicates the
battery level.
0% - 5%
Indicator Blinks Red
0% - 5%
Indicator Blinks Red
Orange LED Filament
Hang Ring
Rotary Knob Switch
Indicator
USB Dust Plug
Handle
MCC Charging Port
Warm White LEDs
BATTERY INDICATOR
REVERSE CHARGING (POWER BANK FUNCTION)
Rotate To Turn On
15% - 100%
Green Indicator
15% - 100%
Green Indicator
5% - 15%
Red Indicator
5% - 15%
Red Indicator
USB-A PortTYPE-C Port
2
1
1
2
0% - 95%
Indicator Blinks Red
95% - 100%
Green Indicator
USB-C Port
Magnetic Charging Port
• DO NOT shine the light directly into human eyes. This may cause temporary
blindness or permanent damage to the eyes.
• Please keep the MCC charging port at the bottom clean and dry.
• Please keep the product away from radios, as the PWM modulation of the rotary
knob may cause noise to the radio signals.
• If the product is charging with both the USB-C cable and MCC cable, the USB-C
charging will be prioritized.
• DO NOT store the product in the car or any place where the temperature may
exceed 60°.
• When the charging port is not in use, please keep the dust plug inserted to prevent
dust or foreign matters from entering.
• DO NOT place the product in any dusty environment. Otherwise, the dust may
enter the rotary knob switch and cause it to malfunction.
• DO NOT disassemble the product.
• DO NOT immerse the product in seawater or other corrosive media to avoid
damage to the product.
• Please prevent it from falling and handle it with care.
• Fully charge the battery before storing the light for a long period of time.
EXCLUSION CLAUSE
Olight is not liable for damages or injuries sustained resulting
from the usage of the product inconsistent with the warnings in
the manual.
DANGER
WARNING
NOTICE
HIGH
WARM WHITE LIGHT MODE
130 lumens
300 lumens
20min
480min
1000min
35h
LOW
100%
100%
67%50%10%
10%
10%
HIGH
ORANGE LIGHT MODE
10 lumens
130 lumens
180h
23h
LOW
100%
100%
The product has 2 output ports for charging other digital devices. While reverse
charging, the indicator displays the battery level.
NOTE
* Best charging efficiency with an 18W or higher-capacity power source. It takes
only 4 hours to fully charge with a 18W USB-C power source.
* Please charge with the standard USB magnetic charging cable of Olight. It takes
10 hours to fully charge with the magnetic charging. (For reference only. When
the USB power source is insufficient to provide 5V 2A power capacity, the
charging time will be longer)
* The USB magnetic charging cable is not included.
CONTENTS
01
01
01
02
02
02
02
03
03
03
04
04
04
05
05
05
06
06
06
( EN ) English
( CN ) 简体中文
( FI ) Finnish
( NO ) Norwegian
( SV ) Swedish
( NL ) Nederlands
( PL ) Polska
( DE ) Deutsch
( HU ) Magyarország
( RU ) Русский
( ES ) Español
( RO ) Romanesc
( UA ) Ukrainian
( JP ) 日本語
( KR ) 한국어
( TH ) ไทย
( FR ) Français
( IT ) Italia
( SK ) Slovenskýjazyk
( PT ) Português
01
USB-C Charging CableOlantern Classic 2 Pro
HOW TO OPERATE
ON/OFF: Turn on by rotating the rotary knob clockwise and turn off by rotating
counter-clockwise.
Change Light Output: When the light is on, keep rotating the rotary knob clockwise
for the stepless adjustment of the light output in the following order: low orange
light, high orange light, low warm white light, and high warm white light. Rotating the
rotary knob counter-clockwise will change the light output in the reverse order.
操作说明
开关机:顺时针旋转开关,开机;逆时针旋转开关机。
调光:采用无极调光,灯光由黄光最低挡逐渐到最亮,直到黄光灭
同时白光最低档点亮,继续旋转到白光最亮。逆时针旋转开关则灯
光模式及亮度与上述相反。
KÄYTTÖOHJEET
ON/OFF: Kierrä kytkintä myötäpäivään käynnistääksesi ja vastapäivään
sammuttaaksesi lampun.
Valoasetukset: Valon ollessa päällä, kierrä kytkintä myötäpäivään vaihtaaksesi
portaattomasti valoasetuksia seuraavassa järjestyksessä: himmeä oranssi, kirkas
oranssi, himmeä ja kirkas lämmin valkoinen. Vastapäivään kierrettäessä
valoasetusten järjestys on käänteinen.
HVORDAN BRUKE
PÅ / AV: Genom att roterna knappen medurs tänds lampan, rotera moturs för att
släcka.
Ändra Effektläge: När lampan är tänd, fortsätt rotera knappen medurs för att
steglöst justera mellan, lågt orange sken, starkt orange sken, lågt varmvitt sken och
starkt varmvitt sken. Vrider du knappen moturs slocknar lampan i omvänd ordning.
BEDIENUNGSANLEITUNG
AN/AUS: Zum Einschalten den Drehschalter im Uhrzeigersinn drehen und durch
Drehen gegen den Uhrzeigersinn wieder ausschalten.
Licht Einstellen: Im eingeschalteten Zustand den Drehschalter weiter im
CÓMO OPERAR
Encendido / Apagado: Enciéndala girando el interruptor giratorio en el sentido de
las agujas del reloj y apáguela girando el interruptor en sentido contrario a las
agujas del reloj.
Cambiar Salida De Luz: Cuando la luz esté encendida, siga girando el interruptor
MODALITÀ D’UTILIZZO
ON/OFF: Si accende ruotando la manopola in senso orario e si spegne ruotando in
senso antiorario.
Cambiare Potenza Di Illuminazione: Quando la luce è accesa, continuare a
ruotare la manopola in senso orario per una regolazione continua dell'emissione
luminosa nel seguente ordine: luce arancione bassa, luce arancione alta, luce
bianca calda bassa e luce bianca calda alta. Ruotando il selettore in senso
antiorario si cambia l'emissione luminosa nell'ordine inverso.
AKO OBSLUHOVAŤ
ON/OFF: Zapne sa otočením otočného gombíka v smere hodinových ručičiek a vypne
sa otočením proti smeru hodinových ručičiek.
Zmena Svetelného Výkonu: Keď je svetlo zapnuté, otáčajte otočným gombíkom v
smere hodinových ručičiek pre plynulé nastavenie svetelného výkonu v
nasledujúcom poradí: slabé oranžové svetlo, vysoké oranžové svetlo, nízke teplé
biele svetlo a vysoko teplé biele svetlo. Otočením otočného spínača proti smeru
hodinových ručičiek zmeníte výstup svetla v opačnom poradí.
COMO OPERAR
Liga/Desliga (ON/OFF): Ligue girando o botão giratório no sentido horário, desligue
girando no sentido anti-horário.
Alterar A Saída De Luz: Com a luz acesa, continue girando o botão giratório no
sentido horário para o ajuste contínuo da saída de luz na seguinte ordem: luz laranja
baixa, luz laranja alta, luz branca quente baixa e luz branca quente alta. Girar o
botão rotativo no sentido anti-horário mudará a saída de luz na ordem inversa.
使用方法について
ON/OFF:回転ノブを時計回りに回すとオンになります。ロー
タリースイッチを反時計回りに回転させると、オフになります。
작동 방법
전원ON/OFF: 회전형 노브를 시계방향으로 돌려 전원을 키고
반대방향으로 돌려 끕니다.
밝기 조절: 라이트가 켜져 있는 상태에서, 회전형 노브를
시계방향으로 지속적으로 돌려 밝기를 아래와 같이 조정합니다.
(로우 오렌지 라이트 -> 하이 오렌지 라이트 -> 로우 웜화이트
라이트 -> 하이 웜화이트 라이트) 회전형 노브를 반대쪽으로
돌리면 위의 역순의 모드로 변경됩니다.
MOD DE OPERARE
Pornire/Oprire: Pentru pornire se invarte butonul in sensul ceasului. Pentru oprire
se invarte in sensul opus ceasului.
Schimbarea Intensitatii: In timp ce lanterna este pornita, se roteste butonul in
sensul ceasului pentru a trece prin modurile de intensitate in ordinea urmatoare:
mic portocaliu, mare portocaliu, mic alb cald, mare alb cald. Atunci cand butonul
este invartit in sensul opus ceasului trece invers prin modurile de intensitate.
UTILISATION
Allumage/Extinction: Allumez la lampe en tournant le bouton rotatif dans le sens
des aiguilles d'une montre. Tournez dans le sens inverse des aiguilles d'une montre
pour l’éteindre.
Changement De Mode:Lorsque la lampe est allumée, continuez à tourner le bouton
rotatif dans le sens des aiguilles d'une montre pour régler la puissance lumineuse
selon l'ordre suivant : lumière faible en orange, lumière forte en orange, lumière
faible en blanc chaud, et lumière forte en blanc. Tourner l’interrupteur rotatif dans le
sens inverse des aiguilles d'une montre changera la puissance lumineuse dans
l'ordre inverse.
ВИКОРИСТАННЯ
Увімкнення/ Вимкнення: Для того, щоб увімкнути світильник,
обертайте коліщатко перемикача за годинниковою стрілкою.
Для того, щоб вимкнути – обертайте його проти годинникової
стрілки.
Зміна Яскравості Світіння: Коли світильник увімкнений,
продовжуйте обертати коліщатко перемикача за
годинниковою стрілкою для плавного регулювання світла в
наступному порядку: слабке помаранчеве світло, яскраве
помаранчеве світло, слабке тепле біле світло та яскраве тепле
біле світло. Обертання коліщатка перемикача проти
годинникової стрілки буде змінювати налаштування у
зворотному порядку.
A HASZNÁLAT MÓDJA
BE/KI: A bekapcsoláshoz forgassa a forgatható kapcsolót az óramutató járásával
megegyez irányba, a kikapcsoláshoz az óramutató járásával ellentétes irányba.ő
A Világítási Mód Megváltoztatása: A bekapcsolt állapotban lév lámpán forgassa ő
a kapcsolót az óramutató járásával megegyez őő irányba a világítási mód következ
sorrendben történ fokozatmentes megváltoztatásához: alacsony fényerej őű
narancssárga, magas fényerej narancssárga, alacsony fényerej meleg fehér fény, űű
magas fényerej meleg fehér fény. A kapcsoló óramutató járásával ellentétes irányú ű
forgatásakor, a világítási mód fordított sorrendben változik.
HOE TE BEDIENEN
AAN/UIT: Aanzetten door de draaiknop met de klok mee te draaien en uitzetten door
de knop tegen de klok in te draaien.
Lichtopbrengst Veranderen: Wanneer het licht aan is, blijft u de draaiknop met de
klok mee draaien voor de geleidelijke aanpassing van de lichtopbrengst in de
volgende volgorde: laag oranje licht, hoog oranje licht, laag warm wit licht, en hoog
warm wit licht. Door de draaiknop tegen de klok in te draaien, verandert de
lichtopbrengst in de omgekeerde volgorde.
INSTRUKCJA OBSŁUGI
WŁCZ/WYŁĄĄęęąśęęCZ: Przekrć gałk w prawo, aby włczyć wiatło. Przekrć gałk w
lewo, aby wyłczyć wiatło.ąś
Zmiana Poziomu Jasnoci: śKiedy czone, kr w prawo, aby śąwiatło jest włęąć gałk
zmienić poziomy jasnowiatło pomaraśęąśści w nastpujcej kolejnoci: ńczowe w
trybie niskim – czowe w trybie wysokim – światło pomarańświatło ciepłe białe w
trybie niskim – w lewo śęąwiatło ciepłe białe w trybie wysokim. Krcenie gałk
spowoduje zmian trybów w odwrotnej kolejnoci.ęś
HVORDAN OPERERE
PÅ/AV: Slå på ved å dreie den roterende bryteren med klokken og slå av ved å dreie
mot klokken.
Endring Av Lysmodus: Når lyset er på , fortsett å rotere bryteren med klokken for
trinnløs justering av lysmodus i følgende rekkefølge: lavt oransje lys, høyt oransje
lys, lavt varmt hvitt lys og høyt varmt hvitt lys. Ved å dreie bryteren mot klokken vil
lysmodus endres i motsatt rekkefølge.
ИНСТРУКЦИЯ
ВКЛ/ВЫКЛ: поверните по часовой стрелке переключатель
чтобы включить фонарь, чтобы выключить поверните его
против часовой стрелки.
Изменение Яркости: когда фонарь включен, поверните
переключатель по часовой стрелке для плавной регулировки
яркости фонаря в следующем порядке: минимальный
оранжевый свет, максимальный оранжевый свет,
минимальный теплый свет, максимальный теплый свет.
Вращение переключателя против часовой стрелки регулирует
яркость в обратном порядке.
010203040506
Uhrzeigersinn drehen, um den Lichtmodus stufenlos in der folgenden Reihenfolge
einzustellen: Niedriges warmes Licht, hohes warmes Licht, niedriges warmweißes
Licht und hohes warmweißes Licht. Durch Drehen des Drehschalters gegen den
Uhrzeigersinn wird in umgekehrter Reihenfolge durch die Modi geschaltet.
giratorio en el sentido de las agujas del reloj para una regulación continua de la
intensidad de luz en el siguiente orden: Luz naranja de baja potencia, luz naranja de
alta potencia, luz blanca cálida de baja potencia y luz blanca cálida de alta
potencia. Girar el interruptor giratorio en sentido contrario a las agujas del reloj para
cambiar la salida de luz en el orden inverso.
光出力を切り替える:ライトが点灯しているときに、回転ノブを
時計回りに回し続けると、光出力を低輝度オレンジ光、高輝度オ
レンジ光、低輝度暖白色光、高輝度暖白色光の順序で無段階に調
整できます。 ロータリースイッチを反時計回りに回すと、逆の
順序で光出力が変化します。
* All above specifications are test results based on ANSI/NEMA FL1-2009 Standard.
IPX5
50cd14m
(D)(H)mm124*186
(D)(H)in4.88*7.32
756.6g
26.69oz
Product specificaties
| Merk: | Olight |
| Categorie: | Niet gecategoriseerd |
| Model: | Olantern Classic 2 Pro |
Heb je hulp nodig?
Als je hulp nodig hebt met Olight Olantern Classic 2 Pro stel dan hieronder een vraag en andere gebruikers zullen je antwoorden
Handleiding Niet gecategoriseerd Olight

30 September 2025
11 Augustus 2025
8 April 2025
8 April 2025
8 April 2025
2 April 2025
29 Maart 2025
29 Maart 2025
29 Maart 2025
29 Maart 2025
Handleiding Niet gecategoriseerd
Nieuwste handleidingen voor Niet gecategoriseerd
2 Mei 2026
2 Mei 2026
2 Mei 2026
2 Mei 2026
2 Mei 2026
2 Mei 2026
2 Mei 2026
2 Mei 2026
2 Mei 2026
2 Mei 2026