Metra 95-8735B Handleiding
Bekijk gratis de handleiding van Metra 95-8735B (4 pagina’s), behorend tot de categorie Carkit. Deze gids werd als nuttig beoordeeld door 39 mensen en kreeg gemiddeld 5.0 sterren uit 8 reviews. Heb je een vraag over Metra 95-8735B of wil je andere gebruikers van dit product iets vragen? Stel een vraag
Pagina 1/4
Metra. The World’s Best Kits.
®
MetraOnline.com © COPYRIGHT 2020 METRA ELECTRONICS CORPORATION REV. 10/21/20 INST95-8735B
INSTALLATION INSTRUCTIONS
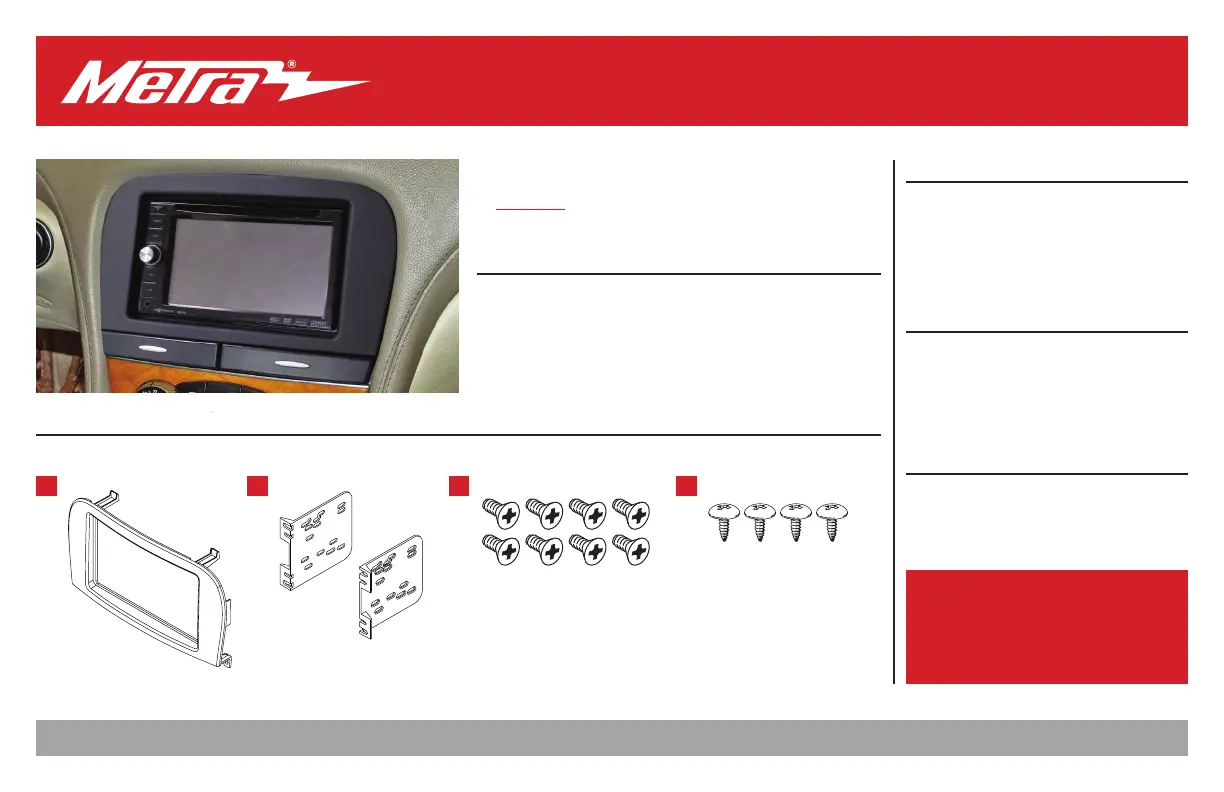
95-8735B
Attention!Let the vehicle sit with the key
out of the ignition for a few minutes before
removing the factory radio. When testing the
aftermarket equipment, ensure that all factory
equipment is connected before cycling the
key to ignition.
KIT FEATURES
• ISO DDIN radio provision
• Painted scratch resistant matte black
KIT COMPONENTS
• A) Radio trim panel • B) Radio brackets • C) (8) Flat-head ISO radio screws • D) (4) #8 x 3/8” Phillips screws
TOOLS REQUIRED
• Panel removal tool • Phillips screwdriver
• 3mm Allen screwdriver • T-20 Torx screwdriver
• Cutting tool (03-04 models) • File (03-04 models)
TABLE OF CONTENTS
Dash Disassembly
-2003-2004 .............................................................2
-2005-2008.............................................................3
Kit Assembly ..........................................................4
WIRING & ANTENNA CONNECTIONS
(sold separately)
Wiring Harness:
See metraonline.com for
wiring harness options
Antenna Adapter: 40-EU10 (05-08) • 40-VW12 (03-04)
Steering Wheel Control Interface: • ASWC-1
ABD
Mercedes SL Class 2003-2008
Visit MetraOnline.com for more detailed information about the product and up-to-date vehicle
specific applications
C
Product specificaties
| Merk: | Metra |
| Categorie: | Carkit |
| Model: | 95-8735B |
Heb je hulp nodig?
Als je hulp nodig hebt met Metra 95-8735B stel dan hieronder een vraag en andere gebruikers zullen je antwoorden
Handleiding Carkit Metra

7 Oktober 2025
7 Oktober 2025
7 Oktober 2025
6 Oktober 2025
3 Juni 2025
3 Juni 2025
7 Mei 2025
3 April 2025
3 April 2025
3 April 2025
Handleiding Carkit
Nieuwste handleidingen voor Carkit
3 November 2025
21 September 2025
4 Augustus 2025
5 Juli 2025
3 Juni 2025
2 Juni 2025
19 Mei 2025
27 April 2025
31 Maart 2025
11 Februari 2025