Eliminator Lighting Motion 60 LED Handleiding
Eliminator Lighting Niet gecategoriseerd Motion 60 LED
Bekijk gratis de handleiding van Eliminator Lighting Motion 60 LED (5 pagina’s), behorend tot de categorie Niet gecategoriseerd. Deze gids werd als nuttig beoordeeld door 33 mensen en kreeg gemiddeld 4.8 sterren uit 4 reviews. Heb je een vraag over Eliminator Lighting Motion 60 LED of wil je andere gebruikers van dit product iets vragen? Stel een vraag
Pagina 1/5
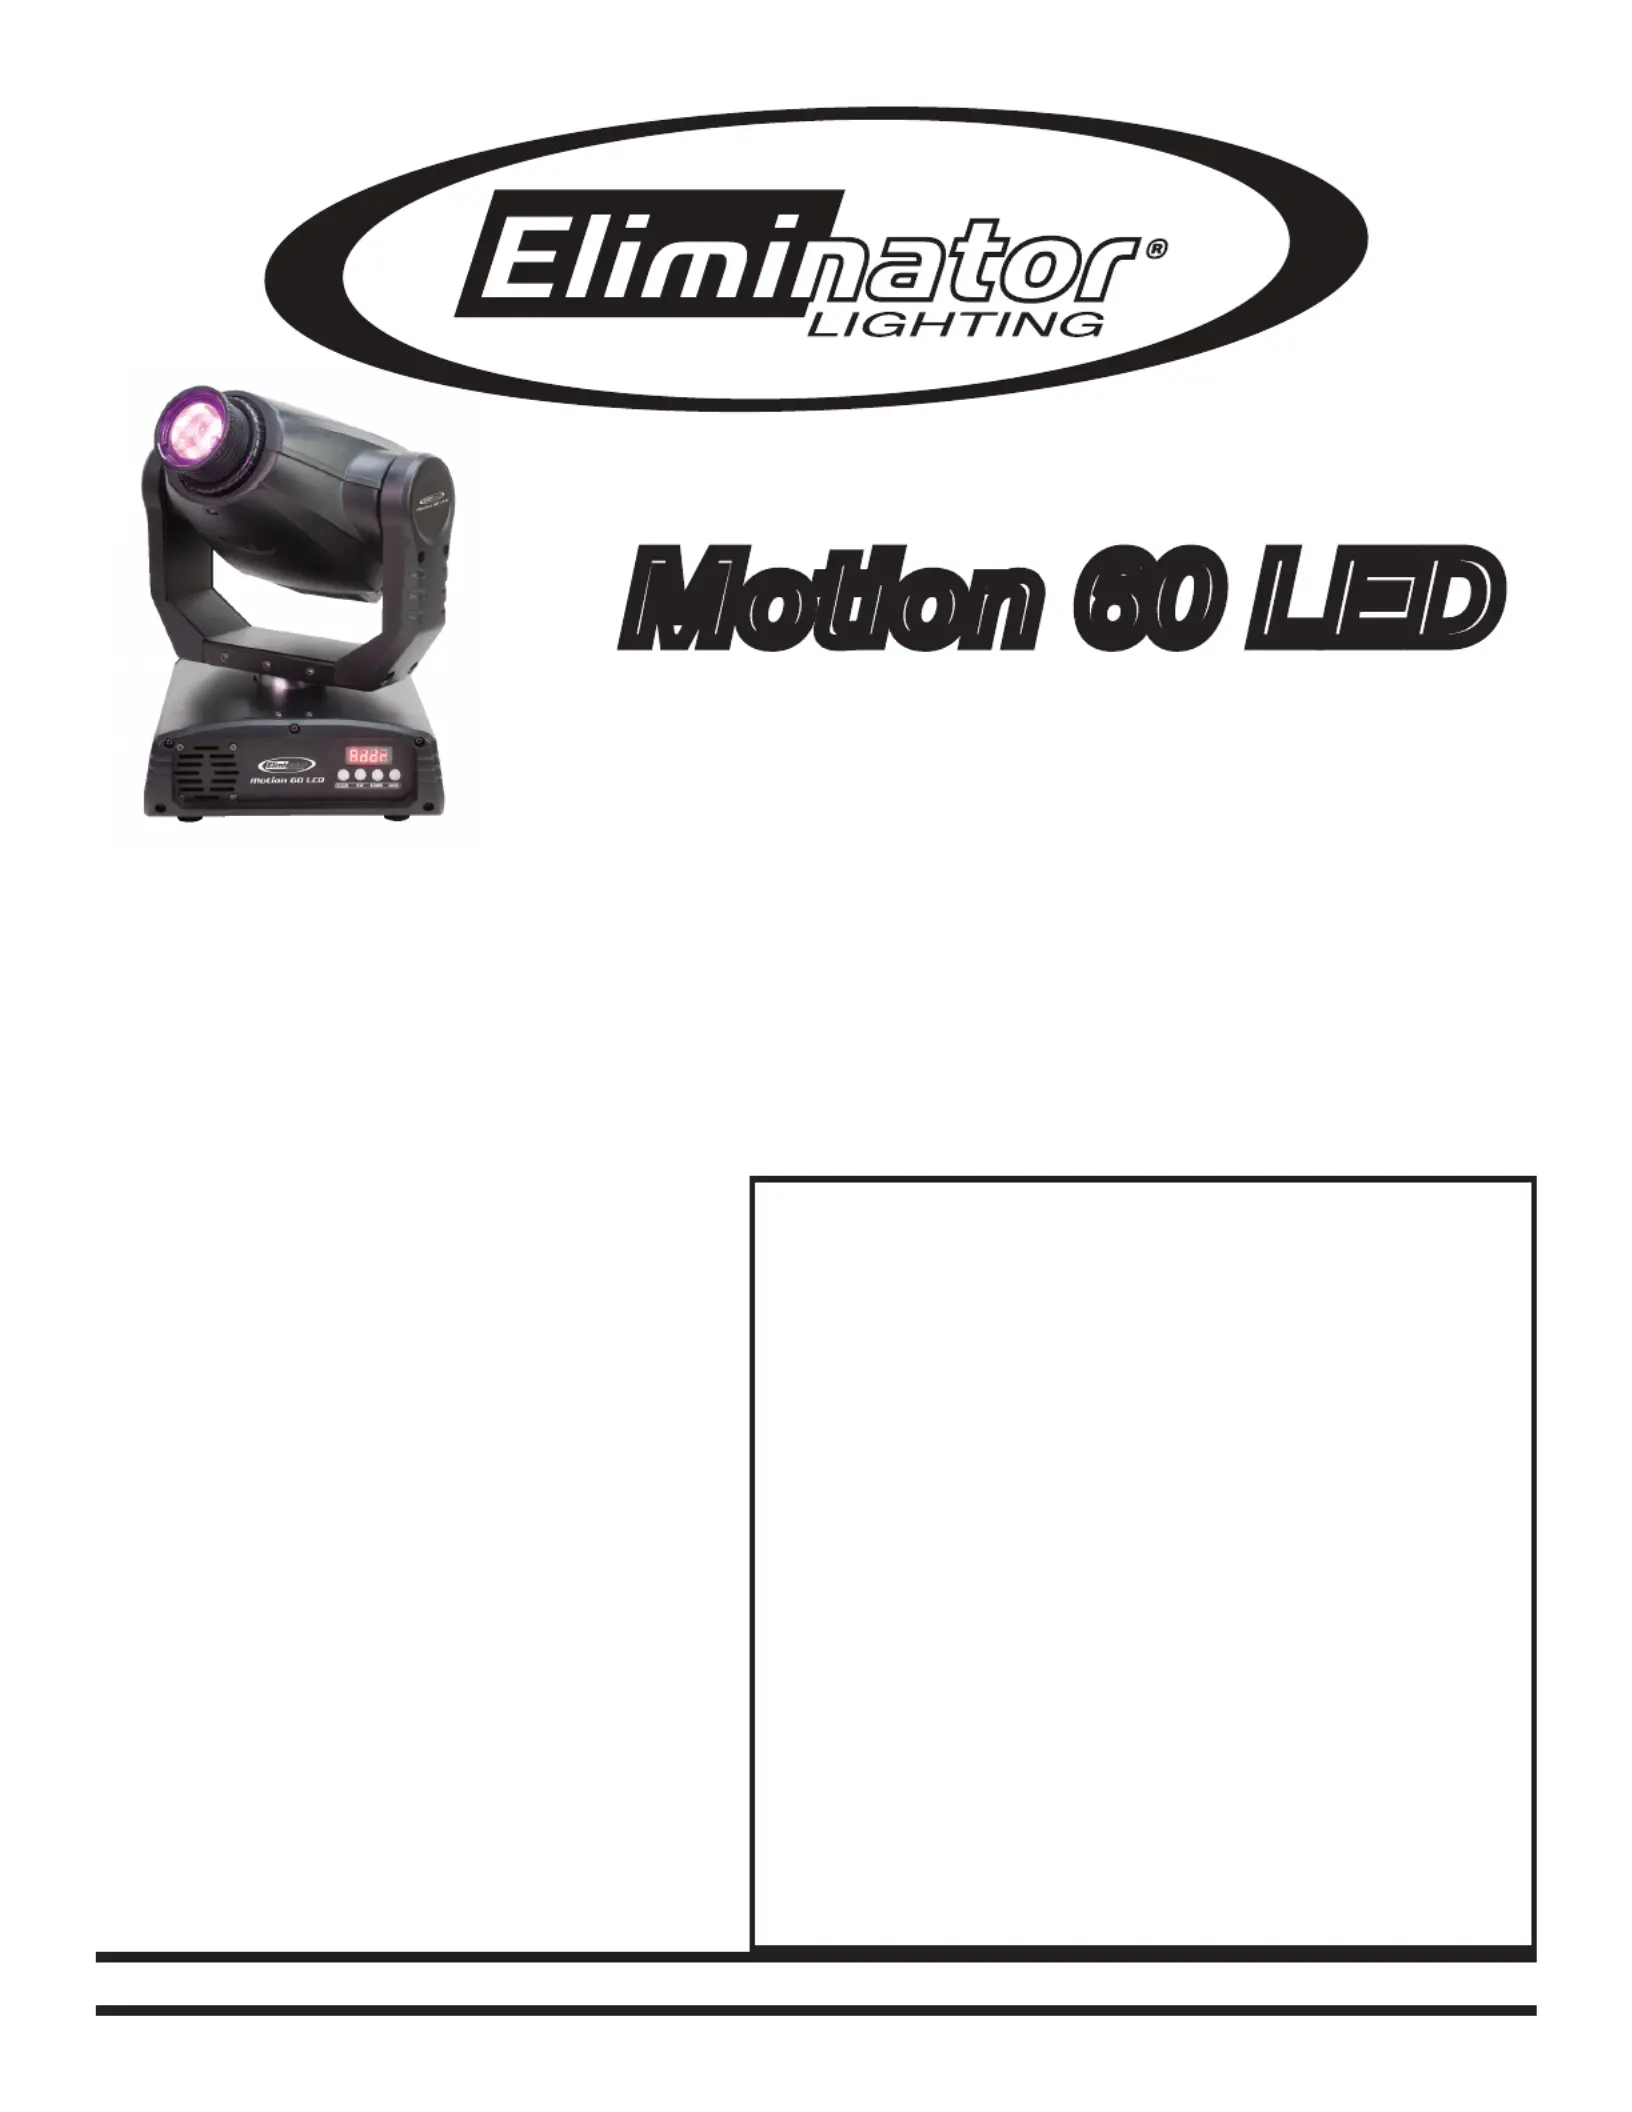
Motion 60 LED
©Eliminator® Los Angeles, CA. - www.EliminatorLighting.com
Introduction:
This unit can be either an 8 or 13 channel DMX intelligent moving head unit. The Motion 60 LED has 4 operat-
ing modes; sound active mode, show mode, auto run mode or it can be controlled by a DMX controller. The
unit can be run as a stand alone unit or in a Master/Slave configuration. This unit has been tested and the
lamp has been installed at the factory, there is no assembly required. The unit is ready to be plugged in to a
power outlet. There are no dipswitch settings for Master/Slave mode, just simply link the units together. To
enhance the beams effects you can use a fog machine. This unit looks good in pairs.
CAUTION! Please read and understand these instructions before installing or operating this unit.
SPECIFICATIONS:
Model: Motion 60 LED
LED: 1 x 60W White LED
Weight: 20lbs./ 9.0kgs.
Size: 10.75” (L) x 8.85” (W) x
15.75” (H)
Fuse: 2 Amp
Supply Voltage: 110V-130V 50/60Hz
Power Consumption:100W
Working Position: Any Safe position
Duty Cycle: None
DMX Channels: 2 DMX Channel Modes:
8 Channel Mode &
13 Channel Mode
Gobos: 7 + Spot
Colors: 8 Colors + White
Warranty: 1 Year
CAUTION! Please read and
understand these instructions
before installing or operating
this unit.
Fuse Replacement:Locate and remove
the unit’s power cord. Once the cord has
been removed located the fuse holder
located inside the power socket. Insert
a flat-head screw driver into the power
socket and gently pry out the fuse holder.
Remove the bad fuse and replace with a
new one. The fuse holder has a built-in
socket for a spare fuse be sure not to
confuse the spare fuse with active fuse.
Product specificaties
| Merk: | Eliminator Lighting |
| Categorie: | Niet gecategoriseerd |
| Model: | Motion 60 LED |
Heb je hulp nodig?
Als je hulp nodig hebt met Eliminator Lighting Motion 60 LED stel dan hieronder een vraag en andere gebruikers zullen je antwoorden
Handleiding Niet gecategoriseerd Eliminator Lighting

8 Mei 2026
1 November 2025
30 Oktober 2025
30 Oktober 2025
30 Oktober 2025
30 Oktober 2025
30 Oktober 2025
Handleiding Niet gecategoriseerd
Nieuwste handleidingen voor Niet gecategoriseerd
8 Juni 2026
8 Juni 2026
8 Juni 2026
8 Juni 2026
8 Juni 2026
8 Juni 2026
8 Juni 2026
8 Juni 2026
8 Juni 2026
8 Juni 2026