Stilfer 527009 Handleiding
Bekijk gratis de handleiding van Stilfer 527009 (15 pagina’s), behorend tot de categorie Friteuse. Deze gids werd als nuttig beoordeeld door 50 mensen en kreeg gemiddeld 4.7 sterren uit 2 reviews. Heb je een vraag over Stilfer 527009 of wil je andere gebruikers van dit product iets vragen? Stel een vraag
Pagina 1/15
527009 G24M 1
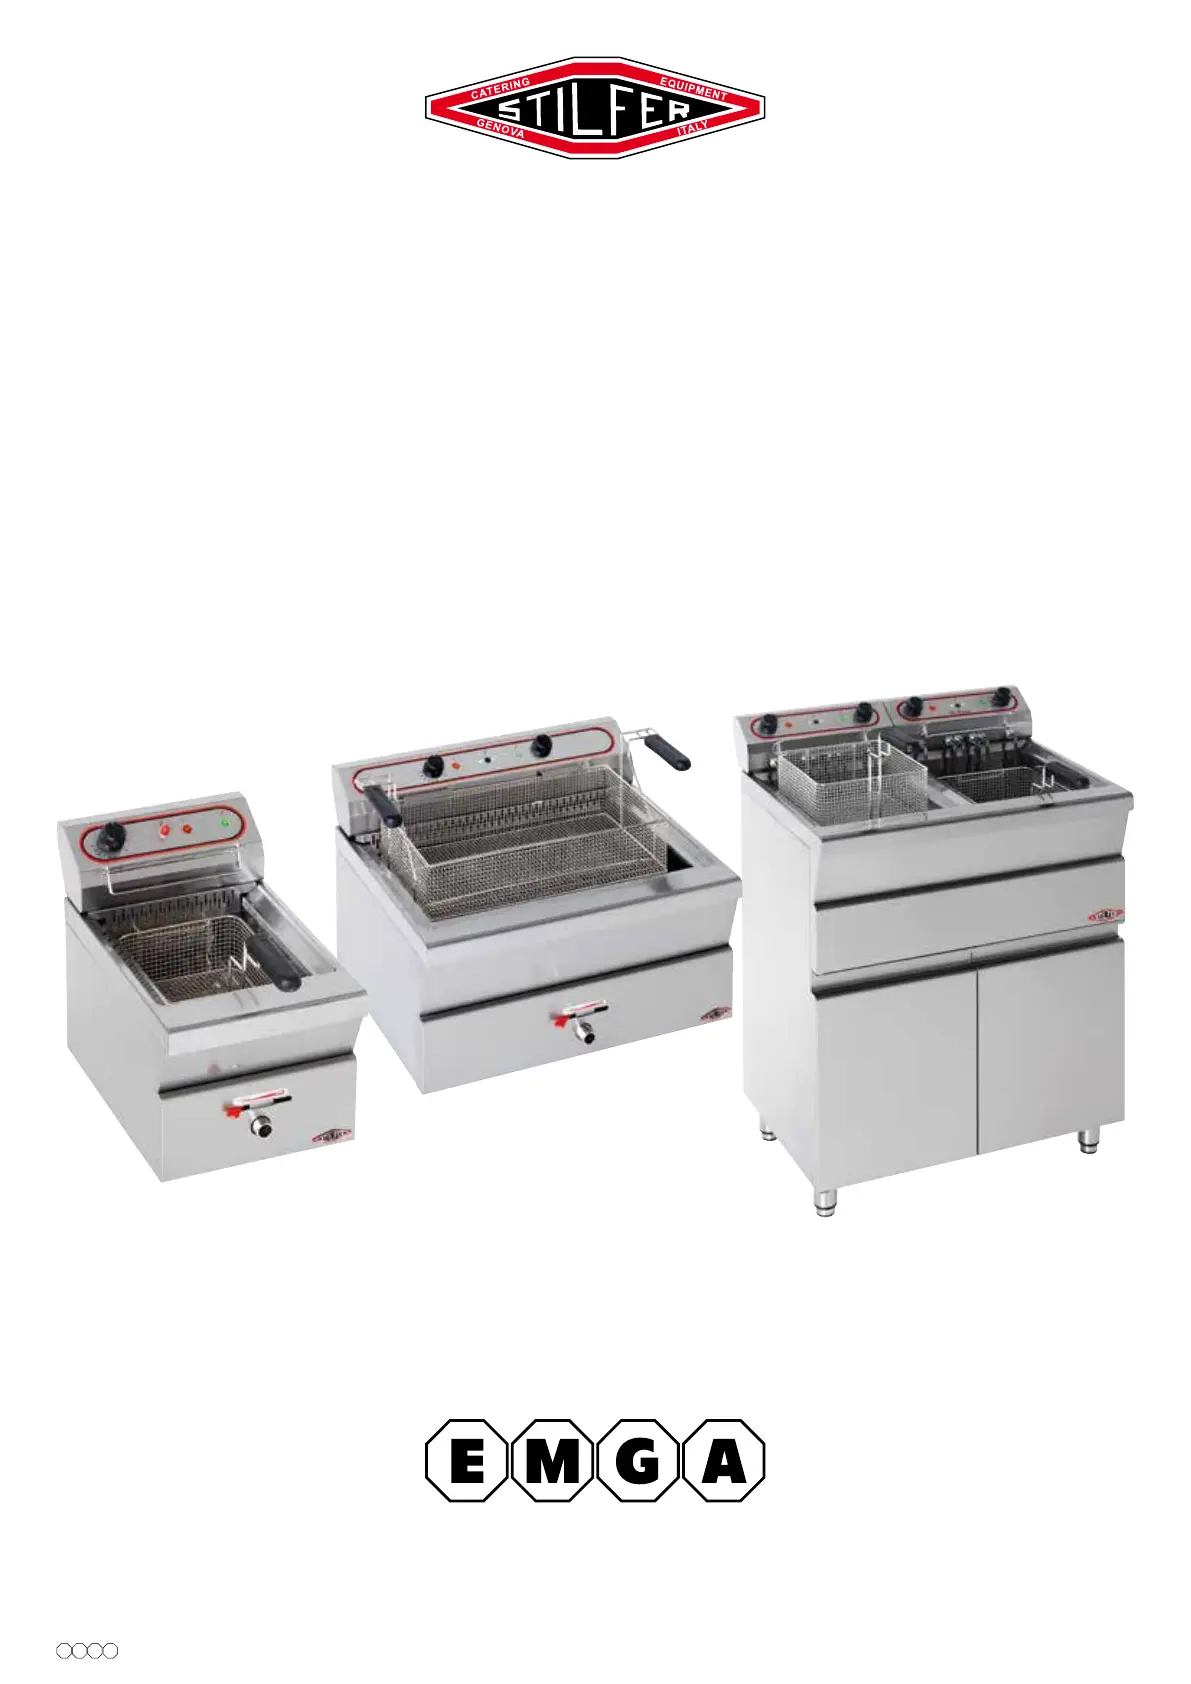
ELEKTRISCHE FRITEUSES
ELECTRIC FRYERS
FRITEUSES ELECTRIQUES
ELEKTRISCHE FRITEUSEN
INSTRUCTIES VOOR INSTALLATIE, GEBRUIK EN ONDERHOUD
ISTRUCTION FOR THE INSTALLATION, USE AND MANTEINANCE
INSTRUCTION POUR L'INSTALLATION, L'UTILISATION ET L'ENTRETIEN
INSTRUKTIONEN FŰR DIE INSTALLIERUNG, BENUTZUNG UND UNTERHALT
*527.009*527.209*527.112*527.212*527.026
*527.109*527.115*527.309*527.315*527.312
*527.412*527.126*527.020*527.022
Product specificaties
| Merk: | Stilfer |
| Categorie: | Friteuse |
| Model: | 527009 |
Heb je hulp nodig?
Als je hulp nodig hebt met Stilfer 527009 stel dan hieronder een vraag en andere gebruikers zullen je antwoorden
Handleiding Friteuse Stilfer

7 December 2024
7 December 2024
7 December 2024
7 December 2024
7 December 2024
7 December 2024
7 December 2024
7 December 2024
7 December 2024
7 December 2024
Handleiding Friteuse
Nieuwste handleidingen voor Friteuse
15 Juli 2026
15 Juli 2026
14 Juli 2026
14 Juli 2026
13 Juli 2026
13 Juli 2026
13 Juli 2026
13 Juli 2026
13 Juli 2026
13 Juli 2026