StarTech.com SDOCK1EU3P2 Handleiding
StarTech.com Niet gecategoriseerd SDOCK1EU3P2
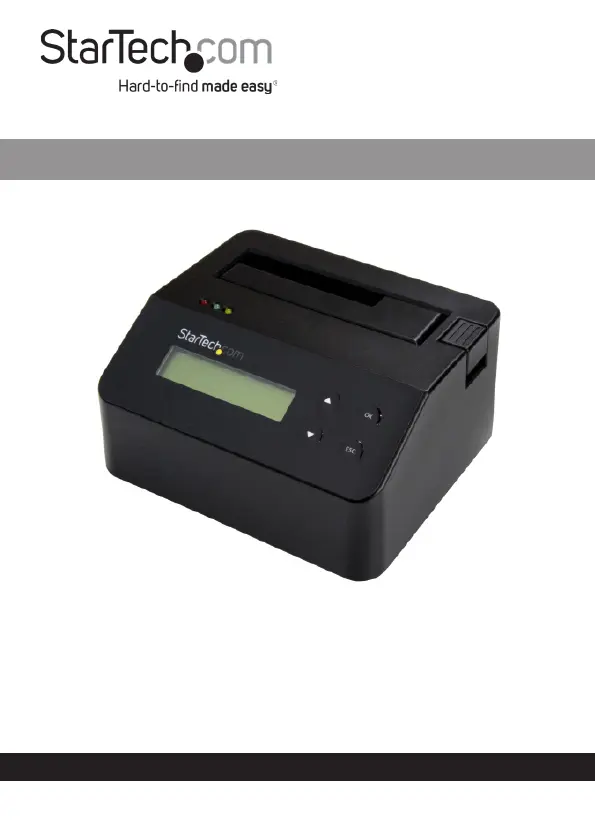
Bekijk gratis de handleiding van StarTech.com SDOCK1EU3P2 (19 pagina’s), behorend tot de categorie Niet gecategoriseerd. Deze gids werd als nuttig beoordeeld door 33 mensen en kreeg gemiddeld 4.7 sterren uit 4 reviews. Heb je een vraag over StarTech.com SDOCK1EU3P2 of wil je andere gebruikers van dit product iets vragen? Stel een vraag
Pagina 1/19
Product specificaties
| Merk: | StarTech.com |
| Categorie: | Niet gecategoriseerd |
| Model: | SDOCK1EU3P2 |
| Kleur van het product: | Zwart |
| Gewicht: | 656 g |
| Type stekker: | Type M |
| Gewicht verpakking: | 2100 g |
| Breedte verpakking: | 183 mm |
| Diepte verpakking: | 372 mm |
| Hoogte verpakking: | 90 mm |
| Gebruikershandleiding: | Ja |
| Materiaal behuizing: | Plastic, Steel |
| LED-indicatoren: | Activity, Power |
| Stroom: | 1.4 A |
| Beeldscherm: | LCD |
| USB-connectortype: | USB Type-B |
| Meegeleverde kabels: | USB |
| Inclusief AC-adapter: | Ja |
| Certificering: | CE, FCC |
| Netvoeding: | 60 W |
| Interface: | USB 3.2 Gen 1 (3.1 Gen 1) |
| Duurzaamheidscertificaten: | RoHS |
| Temperatuur bij opslag: | -10 - 65 °C |
| Maximaal ondersteunde opslagcapaciteit: | 10 TB |
| Output current: | 5 A |
| Spanning: | 12 V |
| HDD interface: | Serial ATA, Serial ATA II, Serial ATA III |
| Afmetingen (B x D x H): | 123 x 140 x 70 mm |
| Lengte van de verpakking: | 372 mm |
| Ondersteunde HDD-groottes: | 2.5, 3.5 " |
| Seriële poort(en): | 1 |
| Chipset: | Xilinx - Spartan-6 |
| (Buitenste) hoofdverpakking hoogte: | 300 mm |
| (Buitenste) hoofdverpakking breedte: | 395 mm |
| (Buitenste) hoofdverpakking lengte: | 460 mm |
| Hoeveelheid per (buitenste) hoofdverpakking: | 7 stuk(s) |
| Overdrachtssnelheid: | 5000 MB/s |
| AC-ingangsspanning: | 110 - 240 V |
| Bedrijfstemperatuur (T-T): | 0 - 40 °C |
| Relatieve vochtigheid in bedrijf (V-V): | 10 - 90 procent |
| Type product: | HDD/SSD-duplicator |
| Inbegrepen soorten voedingsstekkers: | AU, EU, JP, NA, UK |
| Aantal gelijktijdige kopien: | 1 kopieën |
| Duplicator operating modes: | Wissen |
| Poort-multiplier: | Nee |
Heb je hulp nodig?
Als je hulp nodig hebt met StarTech.com SDOCK1EU3P2 stel dan hieronder een vraag en andere gebruikers zullen je antwoorden
Handleiding Niet gecategoriseerd StarTech.com

13 Juli 2026
13 Mei 2026
6 Mei 2026
8 April 2026
7 April 2026
6 April 2026
6 April 2026
6 April 2026
25 Maart 2026
14 Maart 2026
Handleiding Niet gecategoriseerd
Nieuwste handleidingen voor Niet gecategoriseerd
23 Juli 2026
23 Juli 2026
23 Juli 2026
23 Juli 2026
23 Juli 2026
23 Juli 2026
23 Juli 2026
23 Juli 2026
23 Juli 2026
22 Juli 2026