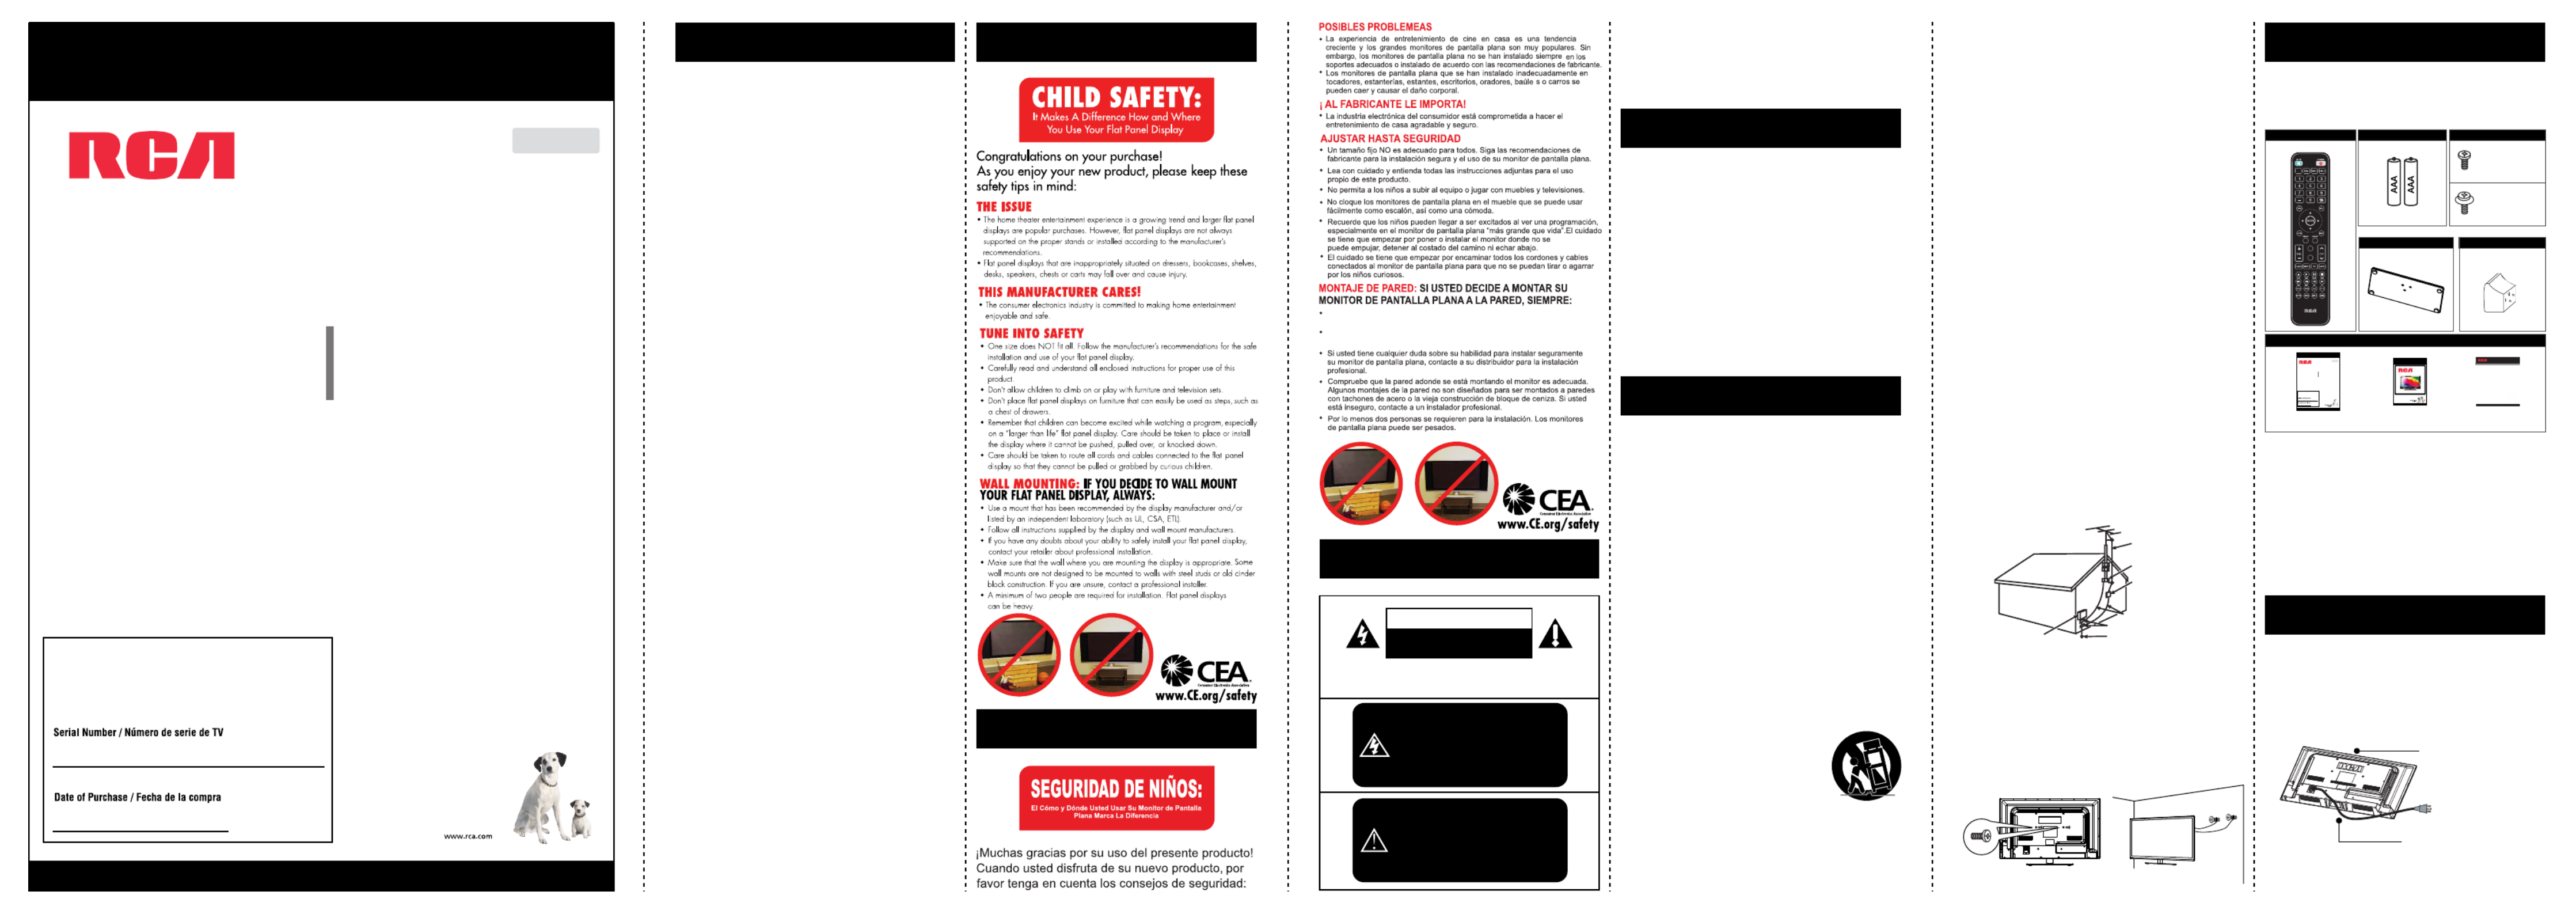
RCA LED32C45RQ Handleiding
Bekijk gratis de handleiding van RCA LED32C45RQ (8 pagina’s), behorend tot de categorie Televisie. Deze gids werd als nuttig beoordeeld door 22 mensen en kreeg gemiddeld 4.6 sterren uit 7 reviews. Heb je een vraag over RCA LED32C45RQ of wil je andere gebruikers van dit product iets vragen? Stel een vraag
Pagina 1/8
TV STAND BASETV STAND NECK
Mod el Number.
LED32B30RQ
Part No.: RN03 32 R01 20
Ple ase re g iste r your product at ww w.rca .com
Englis h
Ple ase ke ep your sale s re c e ipt and k e e p the re c ord of
the se rial number and the date of purchase in orde r to
rec e ive warranty pa rts and servic e .
The se rial numbe r is loc ate d at the bac k of the TV.
LED LCD TV
User’s Manual
QUICK START GUIDE
Quick Start Guide
USER’S GUIDE
DOCUMENTS
PATENT CARD
T he televi s io n i s c o ver ed by o n e or m o re cla im s o f th e fo ll o wi ng
Un ited S ta tes p at ent s :
· U.S . Pa tent No. 5,511,096
· U.S . Pa tent No. 5,621,761
· U.S . Pa tent No. 5,703,887
· U.S . Pa tent No. 5,745,522
· U.S . Pa tent No. 5,511,082
· U.S . Pa tent No. 5,371,902
· U.S . Pa tent No. 5,233,629
· U.S . Pa tent No. 5,408,502
· U.S . Pa tent No. 5,311,546
· U.S . Pa tent No. 5,396,518
· U.S . Pa tent No. 5,475,716
· U.S . Pa tent No. 5,537,420
· U.S . Pa tent No. 5,519,733
· U.S . Pa tent No. 5,579,348
· U.S . Pa tent No. 5,363,408
· U.S . Pa tent No. 5,321,725
Part No.: RN414 6AL 05
Table of Contents
Caution and Warning
......................................................
2
Child Safety Guide
...........................................................
1
......................................................................
FCC Notice2
.........................................
Preparation for Your New TV3
...........................................................
Check Accessories
3
........................................................
Setup TV Table Stand
3
............................................................
Select TV Location
3
........................................................
Connection and Using
3
.......................................................
TV Stand Installation3
.........................................................
Safety Precautions2
......................................................
TV Signal Connection4
..........................................................
Cable Connections4
..................................................
Side Panel Connections4
.....................................................
TV Jacks Explanation5
.................................................
Keypad and Front Panel6
.................................
4
Connecting AV Composite Video device
...................................
5
Connecting YPbPr Component device
......................................................................
Initial Setup7
....................................................
5
Connecting HDMI device
.........................
5
How to Obtain Various Kinds of Input Sources
.............................................................
Basic Operations7
............................................................
7
Turning On and Off
.........................................................
7
Choosing TV Channel
.......................................................
7
Selecting Input Source
.....................................................................
7
Channel Bar
..............................................................
7
Adjusting Volume
...........................................
8
EPG (Electronic Program Guide)
..................................................................
6
Panel Buttons
......................................................................
6
Front Panel
..........................................
Remote Control Instructions6
..........................................
6
Inserting Batteries in the Remote
....................................
Learning about Remote Control6
.....................................................
6
Remote Control Buttons
..........................................
6
Remote Control Reception Angle
.............................................................
USB Media Play13
....................................................
Product Specification13
................................................................
Warranty Card14
OSD Menu Operations
....................................................
8
......................................................
8
Adjust the OSD Screen
...................................................................
8
Picture Menu
....................................................................
8
Sound Menu
.................................................................
9
Channel Menu
.................................................................
9
Parental Menu
............................
11
Frequently Asked Questions (FAQs)
............................................................
11
Troubleshooting
..........................................
12
V-Chip Rating Explanations
..................................................
12
US V-Chip Rating System
.........................................
12
Canadian English Rating System
.........................................
12
Canadian French Rating System
...................................................................
10
Setup Menu
..................................................................
10
Others Menu
.................................
Wall Mounting Unit Specification13
Child Safety Guide
Child Safety Guide
1
FCC Notice
Caution and Warning
Use una montura que se p1-ha recomendado por el fabricante de monitor y/o
listado por un laboratorio independiente (como UL, CSA, ETL).
Siga todas las instrucciones ofrecidas por el fabricante de monitor y
montaje de pared.
The lightning flash with arrowhead
symbol, within an equilateral triangle
is intended to alert the user to the
presence of uninsulated dangerous
voltage within the product enclosure
that may be of sufficient magnitude to
consitute a risk of electric shock.
Caution: To reduce the risk of electric shock, do not
remove cover or back. No user-serviceable parts inside.
Refer servicing to qualified service personnel.
CAUTION
RISK OF ELECTRIC SHOCK
DO NOT OPEN
WARNING:
TO REDUCE THE RISK OF FIRE OR ELECTRIC SHOCK, DO NOT
EXPOSE THIS APPLIANCE TO RAIN OR MOISTURE.
CAUTION:
CHANGES OR MODIFICATIONS NOT EXPRESSLY APPROVED
BY THE PARTY RESPONSIBLE FOR COMPLIANCE WITH THE
FCC RULES COULD AVOID THE USERS AUTHORITY TO
OPERATE THIS EQUIPMENT.
Safety Precautions
FCC Information
This equipment has been tested and found to comply with the limits for
a Class B digital device, pursuant to Part 15 of the FCC rules. These
limits are designed to provide reasonable protection against harmful
interference in a residential installation. This equipment generates, uses
and can radiate radio frequency energy and, if not installed and used in
accordance with the instructions, may cause harmful interference to
radio Communications. However, there is no Guarantee that
interference will not occur in a particular installation. If this equipment
does cause harmful interference to radio or television reception, which
can be determined by turning the equipment off and on, the user is
encouraged to try to correct the interference by one or more of the
following measures:
- Reorient or relocate the receiving antenna.
- Increase the separation between the equipment and the receiver.
- Connect the equipment into an outlet on a circuit different from
that to which the receiver is connected.
- Consult the dealer or an experienced radio/TV technician for help.
The exclamation point within an
equilateral triangle is intended to
alert the user to the presence of
important operating and maintenance
(servicing) instructions in the literature
accompanying the TV.
1. Read these instructions.
2. Keep these instructions.
3. Heed all warnings.
4. Follow all instructions.
5. Do not use this apparatus near water. For example, do not use
near a laundry tub, in a wet basement, or near a swimming pool,
and the like.
6. Clean only with dry cloth.
7. Do not block any ventilation openings. Install in accordance with the
manufacturer’s instructions. Slots and openings in the cabinet back
or bottom are provided for ventilation, to ensure reliable operation
of the TV and to protect it from overheating. These openings must
not be blocked or covered. The openings should never be blocked
by placing the TV on a bed, sofa, rug, or other similar surface.
8. Do not install near any heat sources such as radiators, heat
registers, stoves, or other apparatus (including amplifiers) that
produce heat.
9. Do not defeat the safety purpose of the polarized or grounding-type
plug. A polarized plug has two blades with one wider than the other.
A grounding-type plug has two blades and a third grounding prong.
The wide blade or the third prong is provided for your safety. If the
provided plug does not fit into your outlet, consult an electrician for
replacement of the obsolete outlet.
10. Protect the power cord from being walked on or pinched
particularly at plugs, convenience receptacles, and the point where
they exit from the apparatus.
11. Only use attachments/accessories specified by the manufacturer.
12. Use only with cart, stand, tripod, bracket, or table specified by the
manufacturer, or sold with the apparatus. When a
cart is used, use caution when moving the
cart/apparatus combination to avoid injury from
tip-over. A TV and cart combination should be
moved with care. Quick stops, excessive force,
and uneven surfaces may cause the TV and cart
combination to overturn.
13. Unplug this apparatus during lightning storms or when unused for
long periods of time. For added protection for this TV receiver
during a lightning storm, or when it is left unused for long periods
of time, unplug it from the wall outlet and disconnect antenna or
cable system. This will prevent damage to the TV due to lightning
and power line surges.
14. Refer all servicing to qualified service personnel. Servicing is
required when the apparatus has been damaged in any way, such
2 3
Preparation for Your New TV
as power-supply cord or plug is damaged, liquid has been spilled
or objects have fallen into the apparatus, the appratus has been
exposed to rain or moisture, does not operate normally, or has
been dropped.
15. This TV should be operated only from the type of power supply
indicated on the rating label. If customer is not sure the type of
power supply in your home, consult your appliance dealer or local
power company. For TV remote control battery power, refer to the
operating instructions.
16. The TV set shall not be exposed to dripping or splashing. No
objects filled with liquids, such as vases, shall be placed on the TV
set.
17. Never push objects of any kind into this TV through openings as
they may touch dangerous voltage or other electrical parts that
could result in fire or electric shock. Never spill liquid of any kind
into the TV.
18. Unplug the TV from the wall outlet before cleaning. Do not use
liquid or aero cleaners. Use a damp cloth for cleaning.
19. This TV should never be placed near or over a radiator or heat
resource. This TV should not be placed in a built-in installation such
as a bookcase or rack unless proper ventilation is provided or the
manufacturer's instructions have been adhered to.
20. Do not place this TV on an unstable cart, stand, tripod, bracket, or
table. The TV may fall, causing serious injury to someone, and
serious damage to the appliance.
21. Do not attempt to service this TV by yourself because opening or
removing covers may expose you to dangerous high voltage or
other hazards. Refer all servicing to qualified service personnel.
22. This device complies with Part 15 of the FCC Rules. Operation is
subject to the following two conditions: (1) this device may not
cause harmful interference, and (2) this device must accept any
interference received, including interference that may cause
undesired operation.
23. WARNING: To prevent injury, this apparatus must be securely
attached to the floor/wall in accordance with the installation
instructions.
24. To reduce the risk of electric shock, the grounding of center pin of
plug must be maintained.
25. If an outside antenna or cable system is connected to the TV, be
sure the antenna or cable system is grounded to provide some
protection against voltage surges and built-up static charges.
Section 810 of the National Electrical Code, ANSI/NFPA NO.70,
provides information with respect to proper grounding of the mast
and supporting structure, grounding of the lead-in wire to an
antenna discharge unit, size of grounding conductors, location of
antenna discharge unit, connection to grounding electrodes, and
requirements for the grounding electrodes. (See figure A)
Safety Strap
Caution: Pushing, pulling or climbing on the TV may cause the TV
falling. Do not let chlidren climb or hang on the TV. Always place the TV
on a sturdy, level, stable surface that can hold the weight of TV. And if
possible, secure the TV according to the instruction below (Note: The
fastening components such as screws are not supplied with TV).
AN TE NN A
LEAD IN
WI RE
GROUND CLAMP
GROUNDING CONDUCTORS
(NEC SECTION 810-21)
GROUND CLAMPS
POWER SERVICE GROUNDING
ELECTRODE SYSTEM
(NEC ART 250, PARTH)
ELECTRIC SERVICE
EQ UI PM EN T
AN TE NN A
DISCHARGE UNIT
(NEC SECTION 810-20)
Figure A
Figure BFigure C
Note: Above accessories are subject to change without notice.
Before Turning On TV
Check Accessories
Check the accessories that are packed with your TV.
Select TV Location
Select a flat, stable table to place your TV set. Please follow the Safety
Instructions when placing the TV.
Setup TV Table Stand
Please refer to TV Stand Installation guide in next page to carry out
stand installing.
Connection and Using
After placing your TV properly, you can connect the TV with power
supply and cable components. For further information, see page 4 to
page 5.
AAA BATTERIES
PART NO.: RE20QP80
REMOTE CONTROL
CH L I ST
.
PICTURE
SOUND
TV Stand Installation
TV LED32C45RQ is packaged with the TV stand separated from the
cabinet. To setup the TV table stand, please carry out the installation
according to the instructions below.
The LED LCD panel can be
scratched easily, so please:
1. Choose an absolutely flat
surface to place the TV on.
2. Use soft cloth or cushion to
face the TV panel.
Do not put TV on the table
directly.
Always unplug the AC cord first
when installing/removing the stand.
Step One
Place the TV faced down on a soft cloth or cushion to prevent the LED
LCD panel from being damaged.
Step Two
Step one: Insert the M6 mounting screws into the upper two wall
mounting screw holes and fasten them (Figure B).
Step two: Insert anchors to wall and connect the bolts and anchors
with ropes or chains (Figure C).
Model Number.
LED32C45RQ
Part No.: RN0332R0121
Please register your product at www.rca.com
English
Please keep your sales receipt and keep the record of
the serial number and the date of purchase in order to
receive warranty parts and service.
The serial number is located at the back of the TV.
LED LCD TV
User’s Manual
Made for Today.
M6 Screws
Wall
TV STAND SCREWS
SCREWS
M4 x 12mm, 4pcs
Part# RS01TM412H
SCREWS
M4 x 12mm, 3pcs
Part# RS01PWA412HT
Take the neck. Please align the screw holes of the neck and the TV, and
then insert the 4 screws into the 4 holes on the neck and tighten them.
Product specificaties
| Merk: | RCA |
| Categorie: | Televisie |
| Model: | LED32C45RQ |
| Kleur van het product: | Zwart |
| Gewicht verpakking: | 8600 g |
| Breedte verpakking: | 789.94 mm |
| Diepte verpakking: | 160.02 mm |
| Hoogte verpakking: | 510.54 mm |
| Beeldschermdiagonaal: | 31.5 " |
| Resolutie: | 1920 x 1080 Pixels |
| Oorspronkelijke beeldverhouding: | 16:9 |
| Ethernet LAN: | Nee |
| Ondersteunde video-modi: | 480i, 480p, 720p, 1080i, 1080p |
| Kijkhoek, horizontaal: | 176 ° |
| Kijkhoek, verticaal: | 176 ° |
| Beeldscherm vorm: | Flat |
| Typische contrastverhouding: | 3500:1 |
| Aantal USB 2.0-poorten: | 1 |
| Aantal HDMI-poorten: | 2 |
| Composiet video-ingang: | 1 |
| Componentingang video (YPbPr/YCbCr): | 1 |
| DVI-poort: | Nee |
| Smart TV: | Nee |
| Ingebouwde luidsprekers: | Ja |
| Gemiddeld vermogen: | 16 W |
| Stroomverbruik (in standby): | 1 W |
| Aantal luidsprekers: | 2 |
| Hoofdtelefoonuitgangen: | 1 |
| Certificering: | UL / FCC |
| Formaat analoog signaal: | NTSC |
| HD type: | Full HD |
| 3D: | Nee |
| Responstijd: | 6.5 ms |
| VESA-montage: | Ja |
| Diepte ( zonder voet ): | 78.74 mm |
| Hoogte (zonder voet ): | 441.96 mm |
| Breedte ( zonder voet ): | 734.06 mm |
| Gewicht (zonder voet): | 6700 g |
| On Screen Display (OSD)-talen: | ENG, ESP, FRE |
| Audio (L,R) out: | 1 |
| PC-ingang (D-Sub): | Nee |
| Common interface Plus (CI+): | Nee |
| Soort tuner: | Analoog & digitaal |
| Formaat digitaal signaal: | ATSC |
| Internet TV: | Nee |
| Geluidsmodi: | Dynamic, Standard |
| Breedte apparaat (met standaard): | 734.06 mm |
| Diepte apparaat (met standaard): | 175.26 mm |
| Hoogte apparaat (met standaard): | 487.68 mm |
| Ruisonderdrukking: | Ja |
| On Screen Display (OSD): | Ja |
| Aantal On Screen Display-talen: | 3 |
| Common interface (CI): | Nee |
| Ouderlijk toezicht: | Ja |
| Comb filter: | 3D |
| Wifi: | Nee |
| AC-ingangsspanning: | 100 - 240 V |
| AC-ingangsfrequentie: | 60 Hz |
| Stroomverbruik (typisch): | 42 W |
| Slaaptimer: | Ja |
Heb je hulp nodig?
Als je hulp nodig hebt met RCA LED32C45RQ stel dan hieronder een vraag en andere gebruikers zullen je antwoorden
Handleiding Televisie RCA

23 September 2024
23 September 2024
23 September 2024
23 September 2024
23 September 2024
23 September 2024
18 September 2024
29 Augustus 2024
13 Februari 2023
14 Juni 2023
Handleiding Televisie
Nieuwste handleidingen voor Televisie
21 Januari 2026
21 Januari 2026
21 Januari 2026
21 Januari 2026
20 Januari 2026
20 Januari 2026
20 Januari 2026
19 Januari 2026
19 Januari 2026
19 Januari 2026