Primacoustic EcoScapes Slat Wall Handleiding
Primacoustic Niet gecategoriseerd EcoScapes Slat Wall
Bekijk gratis de handleiding van Primacoustic EcoScapes Slat Wall (4 pagina’s), behorend tot de categorie Niet gecategoriseerd. Deze gids werd als nuttig beoordeeld door 34 mensen en kreeg gemiddeld 4.3 sterren uit 7 reviews. Heb je een vraag over Primacoustic EcoScapes Slat Wall of wil je andere gebruikers van dit product iets vragen? Stel een vraag
Pagina 1/4
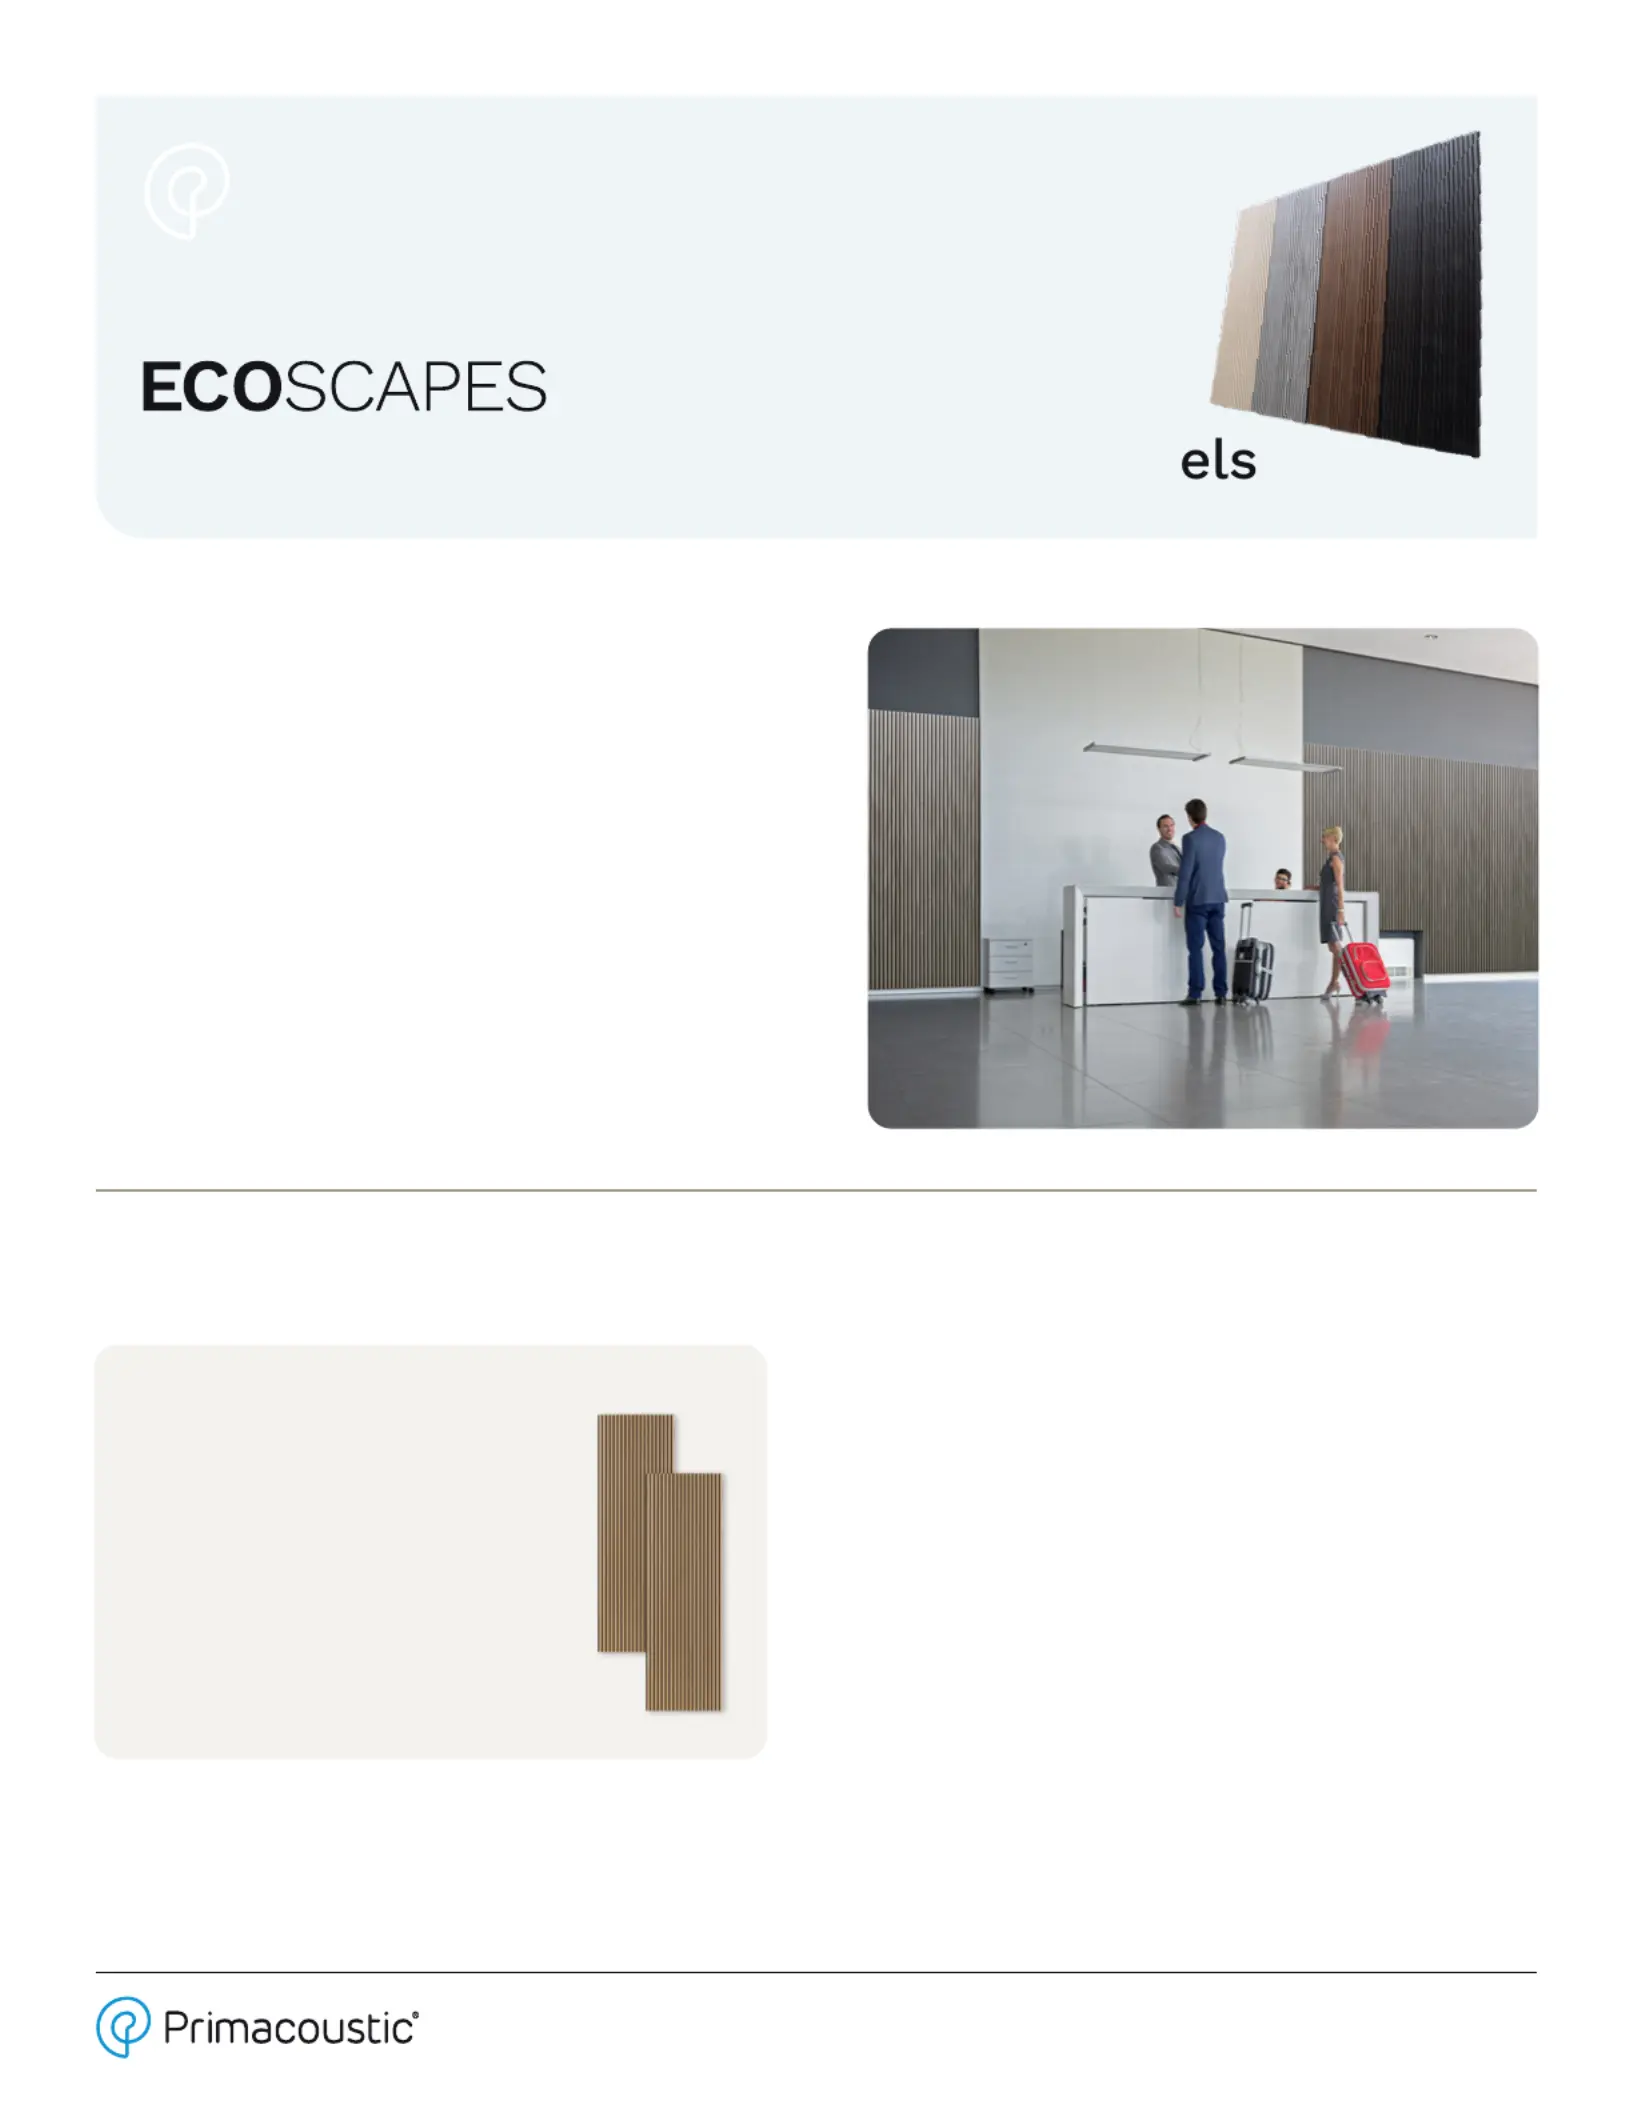
Slat Wall
Wood Veneer Finish PET Acoustic Pan
Installation Manual
Congratulations on purchasing your new EcoScapes
Slat Wall panels from Primacoustic. These high
performance PET Acoustic Panels will absorb ambient
noise and control excess reverberation and echo. The
stylish slat wall design also helps diuse sound
energy, giving the room a sense of air and space.
Please take a few minutes to read this installation
manual before beginning, to familiarize yourself with
the various installation options and the tools required.
Please refer to www.primacoustic.comfor general
room acoustics information and further details.
Should you have any questions or comments, we
invite you to send an email to info@primacoustic.com.
Installation Instructions
Fire Rating
The acoustic felt backing carries a class A/1 re rating
following certication ASTM E84.0
Wall Preparation
Before beginning the installation process, ensure that
the surface is clean (free of any dust, aking paint,
loose debris or grime), structurally sound, dry and free
of imperfections.
Care & Maintenance
Start by removing the protective lm over the slats
pieces. We recommend adding a protective nish to the
panels if possible. Something like wood oil is perfect as
it protects and keeps the natural look and feel of the
wood. Once this is applied, light dusting or vacuuming
will prevent any dust build-up. If you choose to keep the
panels without a nish, then a dry cloth is suitable for
wiping the panels down.
Tel: 604-942-1001 Fax: 604-942-1010 inf[email protected]
www.primacoustic.com
Box Contents:
Slat Wall Panels
31.7" x 98.4" x 0.8"
(806mm x 2,500mm x 21mm)
2x
CAUTION: The wood slats are precision
cut, which may leave sharp edges. Gloves
are highly recommended during installation.
Product specificaties
| Merk: | Primacoustic |
| Categorie: | Niet gecategoriseerd |
| Model: | EcoScapes Slat Wall |
Heb je hulp nodig?
Als je hulp nodig hebt met Primacoustic EcoScapes Slat Wall stel dan hieronder een vraag en andere gebruikers zullen je antwoorden
Handleiding Niet gecategoriseerd Primacoustic

2 April 2025
27 Januari 2025
23 Augustus 2024
Handleiding Niet gecategoriseerd
Nieuwste handleidingen voor Niet gecategoriseerd
10 Maart 2026
10 Maart 2026
10 Maart 2026
10 Maart 2026
10 Maart 2026
10 Maart 2026
10 Maart 2026
10 Maart 2026
10 Maart 2026
10 Maart 2026