National Geographic Zoom Microscope Handleiding
National Geographic Niet gecategoriseerd Zoom Microscope
Bekijk gratis de handleiding van National Geographic Zoom Microscope (8 pagina’s), behorend tot de categorie Niet gecategoriseerd. Deze gids werd als nuttig beoordeeld door 68 mensen en kreeg gemiddeld 4.4 sterren uit 5 reviews. Heb je een vraag over National Geographic Zoom Microscope of wil je andere gebruikers van dit product iets vragen? Stel een vraag
Pagina 1/8
Model: 96-19741
Product Code: 93977
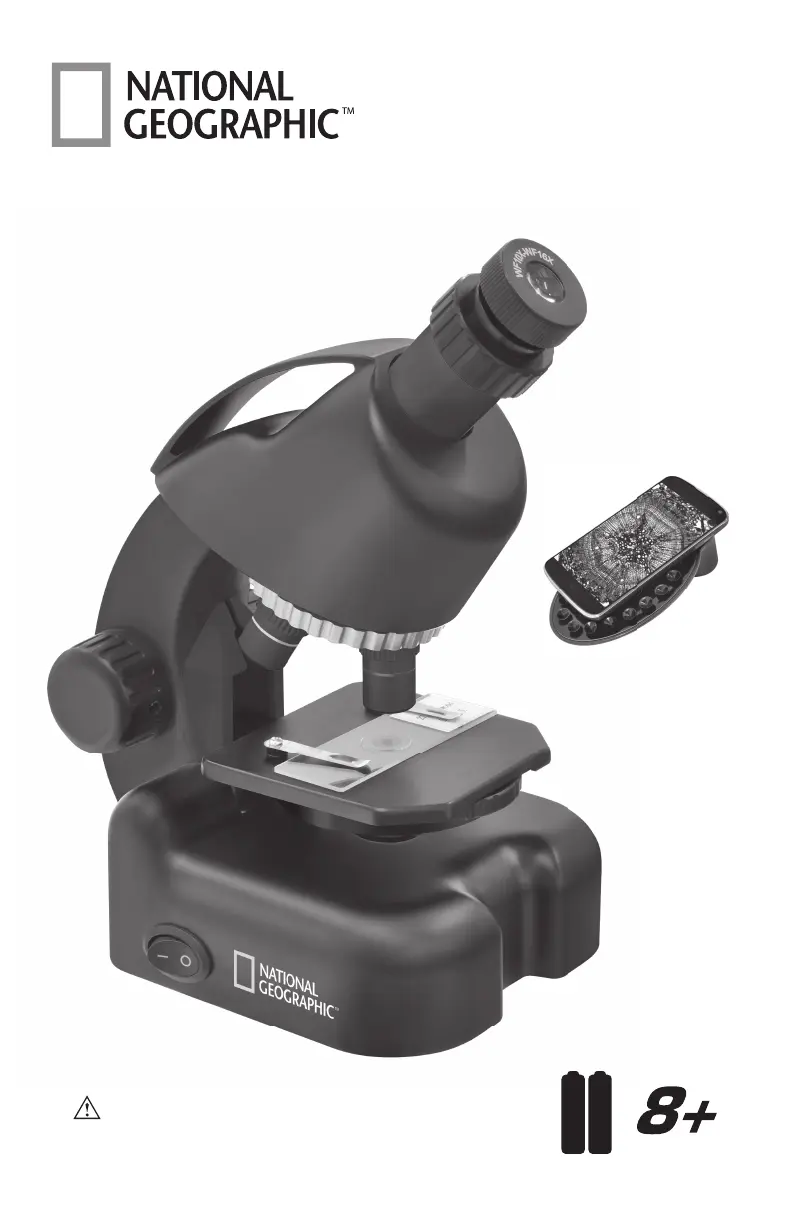
SMARTPHONE
ADAPTER INCLUDED
phone not included
Toys present functional sharp edges. |
Not suitable for children under 4 years.
WARNING:
A
A
A
A
A
A
A
A
40x
-
640x
ZOOM MICROSCOPE
x2
INCLUDED
Product specificaties
| Merk: | National Geographic |
| Categorie: | Niet gecategoriseerd |
| Model: | Zoom Microscope |
Heb je hulp nodig?
Als je hulp nodig hebt met National Geographic Zoom Microscope stel dan hieronder een vraag en andere gebruikers zullen je antwoorden
Handleiding Niet gecategoriseerd National Geographic

2 Februari 2026
27 Februari 2024
27 Februari 2024
Handleiding Niet gecategoriseerd
Nieuwste handleidingen voor Niet gecategoriseerd
17 Juni 2026
17 Juni 2026
17 Juni 2026
17 Juni 2026
17 Juni 2026
17 Juni 2026
17 Juni 2026
17 Juni 2026
17 Juni 2026
17 Juni 2026