MuxLab VideoEase CATV Balun II 500302 Handleiding
MuxLab Niet gecategoriseerd VideoEase CATV Balun II 500302
Bekijk gratis de handleiding van MuxLab VideoEase CATV Balun II 500302 (2 pagina’s), behorend tot de categorie Niet gecategoriseerd. Deze gids werd als nuttig beoordeeld door 64 mensen en kreeg gemiddeld 4.3 sterren uit 3 reviews. Heb je een vraag over MuxLab VideoEase CATV Balun II 500302 of wil je andere gebruikers van dit product iets vragen? Stel een vraag
Pagina 1/2
© MuxLab Inc.2007 rev b
Specifications
Environment:Private and public broadband CATV, VHF and FM networks.
Devices: Terrestrial CATV, local channel amplified antennas, DVD players,
RF modulators, splitters, cable modems and other broadband video
equipment.
Transmission:Transparent to the user
3dB bandwidth: 5 MHz to 900 MHz.
Video Channels Sup-
ported:
CATV 2-142, VHF channels 2-13, FM broadcast band.
Insertion Loss Per Pair:<9 dB: 5 – 10 MHz <3 dB: 10 – 900 MHz
Return Loss:>10 dB: 15 – 370 MHz >7 dB: 370 – 770 MHz
>10 dB: 770 – 900 MHz
Common Mode Rejec-
tion (CMMR):
-20dB or higher at 5 MHz to 900 MHz.
Cable – UTP:24-AWG or lower solid copper twisted pair.
Impedance: 100-120-ohms
Cable – Coax:Impedance: 75-ohms at 1MHz (RG6)
Connector – Input:“F” connector – male
Connector - Output:RJ45 – female
RJ45 Pin Configura-
tion:
RJ45 Pins 7&8.
Maximum distance:Up to 100m (330ft) via Cat 5 UTP depending on channel fre-
quency and input power. Maximum 100m at CATV Channel 2.
May require tilt amplifiers at higher frequencies.
Temperature:Operating: 0° to 40°C. Storage: -10° to 70°C.
Enclosure:ABS.
Humidity:Maximum 95% (non-condensing)
Dimensions:2.5” x 1” diameter (6.35 x 2.54 cm diameter)
Weight1.05 oz (30 gms)
Regulatory Approval:FCC, CE
Warranty:Lifetime
Order Information500302 CATV Balun II
Tel.: (514) 905-0588, Fax: (514) 905-0589
Toll Free (North America): (877) 689-5228
E-mail: [email protected]
URL: www.muxlab.com
94-000605-B SE-000582-B
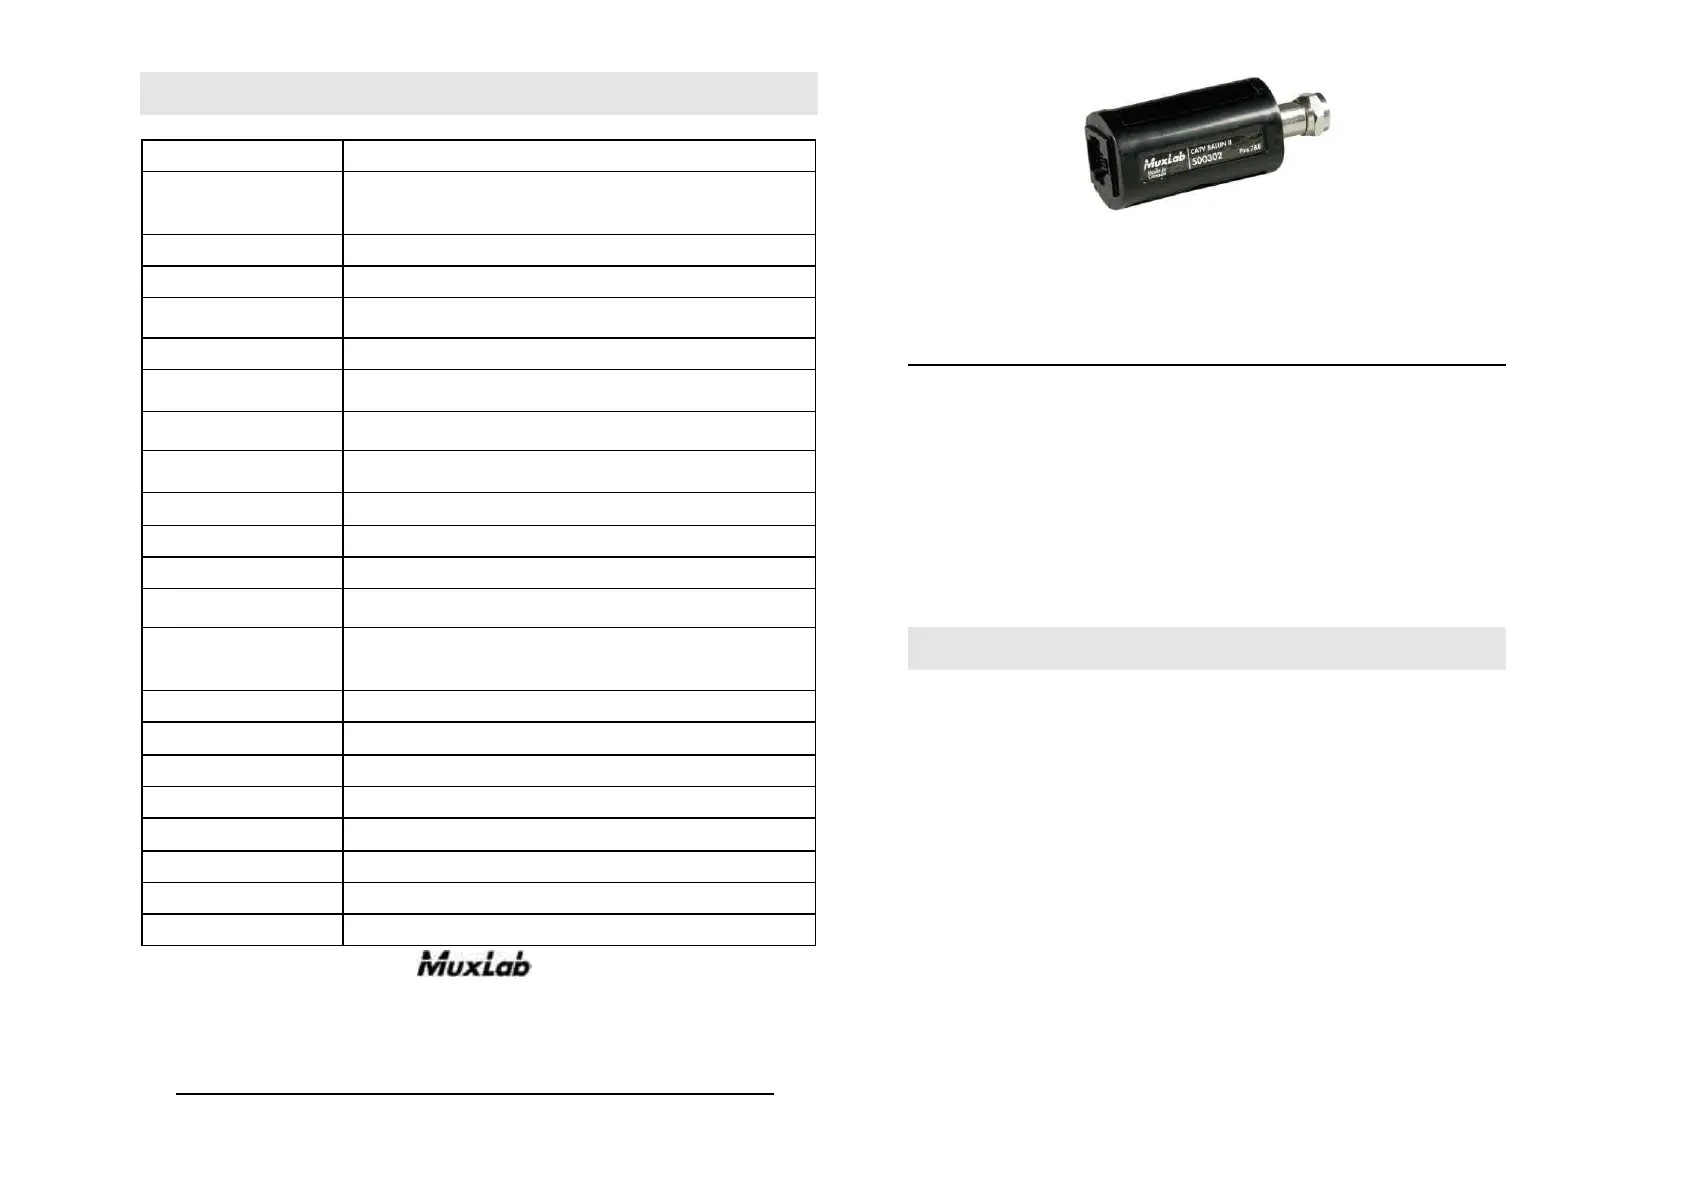
VideoEase CATV Balun II
(500302)
Quick Installation Guide
Overview
The CATV Balun II allows traditional 75-ohm coaxial cable to be replaced by a single
(1) unshielded twisted pair (UTP) of wires in the CATV, VHF and FM environments.
Used in pairs, the CATV Balun II allows terrestrial broadband video and Internet equip-
ment to be integrated into a structured cabling system thereby facilitating moves, adds
and changes via any convenient modular wall outlet. Typically, the CATV Balun II is
installed on the connection between the RF head end and the set-top tuner or cable mo-
dem at the receiver end. Applications include; private RF networks, guestroom TV and
Internet services, apartments and condominiums. The CATV Balun II is designed for
point-to-point connections only.
Installation
In order to install the CATV Balun II, perform the following steps:
1.Verify that the maximum distance between the two (2) CATV baluns is within
MuxLab specifications. Please refer to the specification table in this installation
guide or contact MuxLab Technical Support.
2.Caution: Do not attempt to open the housing. There are no user-serviceable
parts inside the CATV Balun II. Opening the unit will void your warranty.
3.Turn off power and disconnect the CATV video equipment by following the manu-
facturer’s instructions.
4.Make certain that modular outlets and cross connects to which you will connect
the CATV Balun II are configured properly and labeled appropriately to identify
the circuit.
5.Caution: Do not connect the CATV Balun II to a telecommunication outlet wired
to unrelated equipment. Making such a connection may damage the equipment
and/or the balun. Please ensure that all wiring is “straight-through” twisted pair.
6.Verify that the desired twisted pairs are not being used for other LAN or telephony
equipment.
7.The CATV Balun II operates in pairs.
Product specificaties
| Merk: | MuxLab |
| Categorie: | Niet gecategoriseerd |
| Model: | VideoEase CATV Balun II 500302 |
Heb je hulp nodig?
Als je hulp nodig hebt met MuxLab VideoEase CATV Balun II 500302 stel dan hieronder een vraag en andere gebruikers zullen je antwoorden
Handleiding Niet gecategoriseerd MuxLab

12 Mei 2026
25 Maart 2026
7 December 2025
5 December 2025
3 December 2025
2 December 2025
2 December 2025
2 December 2025
1 December 2025
1 December 2025
Handleiding Niet gecategoriseerd
Nieuwste handleidingen voor Niet gecategoriseerd
8 Juni 2026
8 Juni 2026
8 Juni 2026
7 Juni 2026
7 Juni 2026
7 Juni 2026
7 Juni 2026
7 Juni 2026
6 Juni 2026
6 Juni 2026