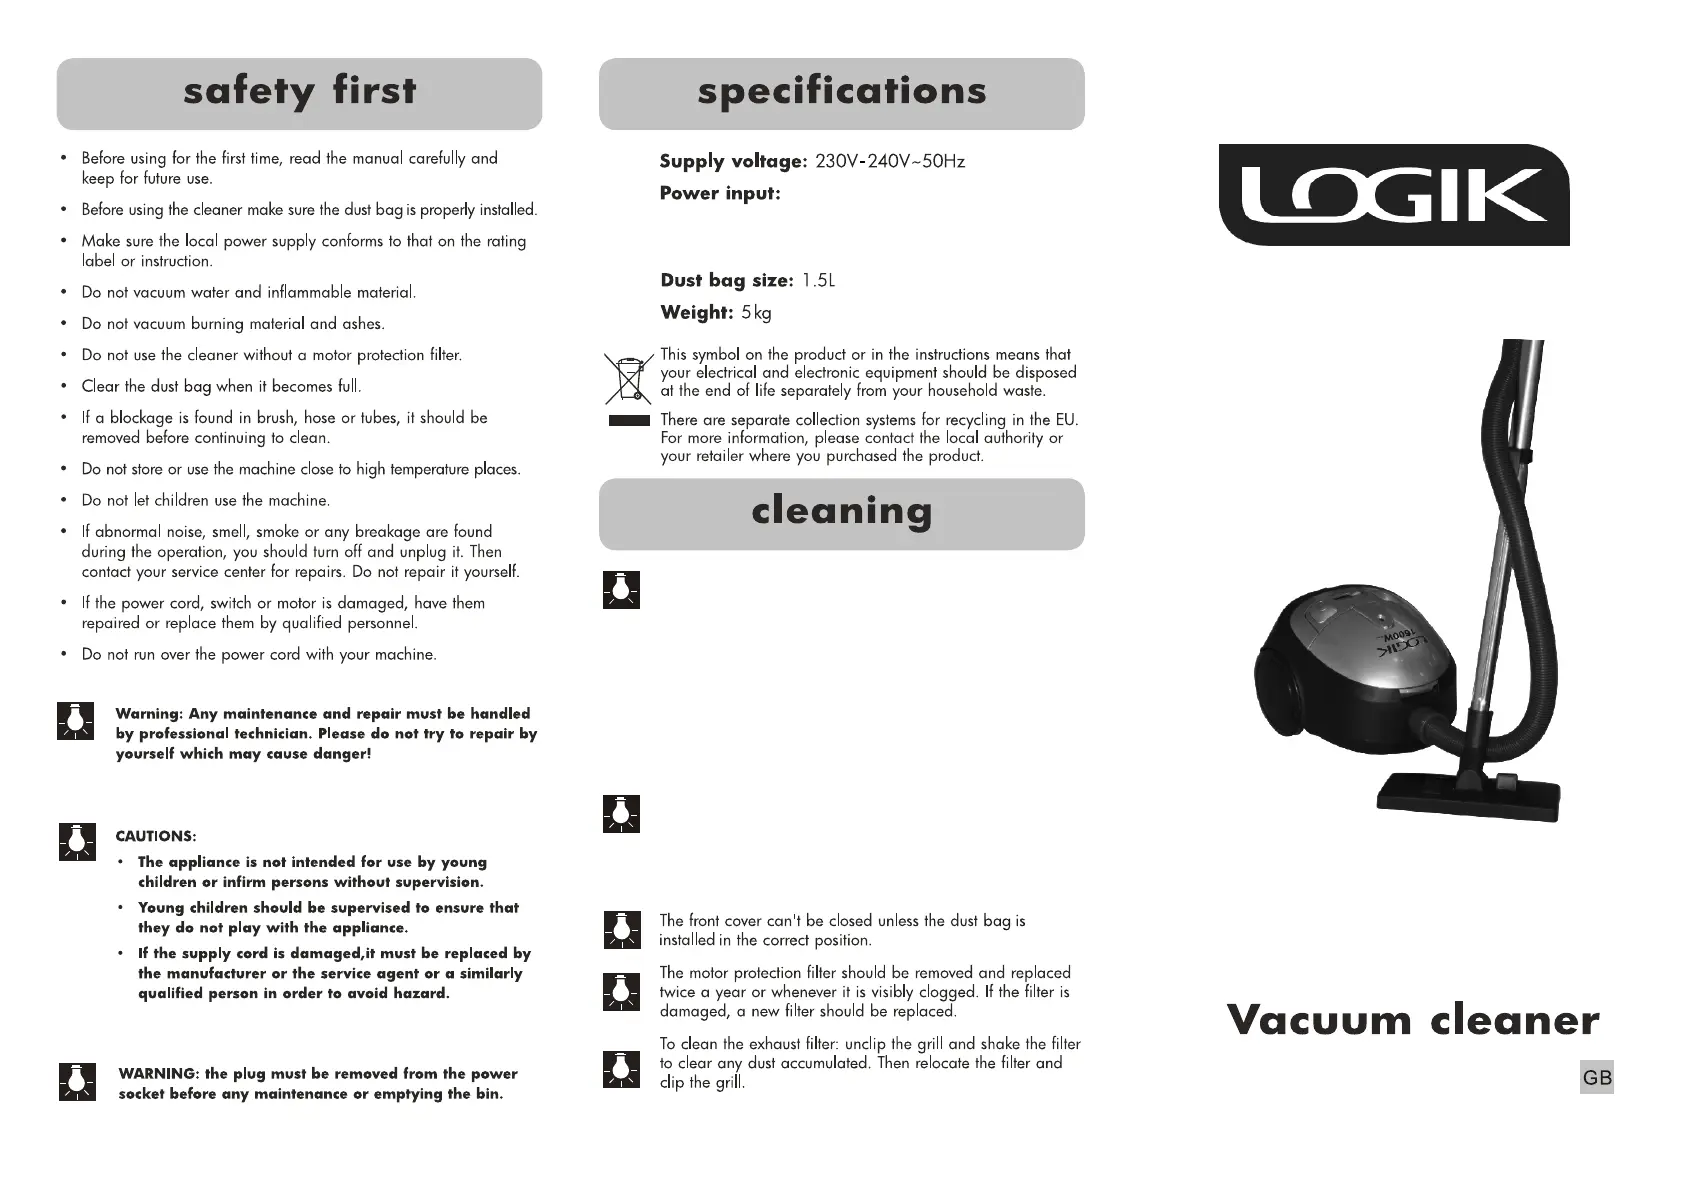
Logik LVC1600BME Handleiding
Logik Stofzuiger LVC1600BME
Bekijk gratis de handleiding van Logik LVC1600BME (2 pagina’s), behorend tot de categorie Stofzuiger. Deze gids werd als nuttig beoordeeld door 54 mensen en kreeg gemiddeld 4.8 sterren uit 7 reviews. Heb je een vraag over Logik LVC1600BME of wil je andere gebruikers van dit product iets vragen? Stel een vraag
Pagina 1/2
When the dust full indicator turns to red, it is time to
replace dust bag, to do that please follw the instructions
as below.
When the dust full indicator turns to red, it is time to
replace dust bag, to do that please follw the instructions
as below.
Open the cover.Open the cover.
Remove the dustbag holder .Remove the dustbag holder .
Remove the full dustbag.Remove the full dustbag.
Insert the new dustbag into the dustbag holder.Insert the new dustbag into the dustbag holder.
Insert the dustbag holder into the lowerhousing.Insert the dustbag holder into the lowerhousing.
Close the lid ('ticktack')Close the lid ('ticktack')
If you use the cotton dustbag instead of the paperIf you use the cotton dustbag instead of the paper
dustbag, the bag can be used and emptied repeatedly. dustbag, the bag can be used and emptied repeatedly.
For removing and inserting the cotton dustbag, simply For removing and inserting the cotton dustbag, simply
follow the instructions for replacing paper dustbag. follow the instructions for replacing paper dustbag.
1200-1400W (Norminal at Maximum Power Setting)
1600W (Maximum at Maximum Power Setting)
1200-1400W (Norminal at Maximum Power Setting)
1600W (Maximum at Maximum Power Setting)
LVC1600BMELVC1600BME
Product specificaties
| Merk: | Logik |
| Categorie: | Stofzuiger |
| Model: | LVC1600BME |
Heb je hulp nodig?
Als je hulp nodig hebt met Logik LVC1600BME stel dan hieronder een vraag en andere gebruikers zullen je antwoorden
Handleiding Stofzuiger Logik

14 September 2023
14 September 2023
14 September 2023
14 September 2023
14 September 2023
14 September 2023
14 September 2023
Handleiding Stofzuiger
Nieuwste handleidingen voor Stofzuiger
23 Juli 2026
22 Juli 2026
20 Juli 2026
20 Juli 2026
20 Juli 2026
20 Juli 2026
15 Juli 2026
13 Juli 2026
13 Juli 2026
13 Juli 2026