Logik L14VR12 Handleiding
Logik Stofzuiger L14VR12
Bekijk gratis de handleiding van Logik L14VR12 (2 pagina’s), behorend tot de categorie Stofzuiger. Deze gids werd als nuttig beoordeeld door 45 mensen en kreeg gemiddeld 4.6 sterren uit 7 reviews. Heb je een vraag over Logik L14VR12 of wil je andere gebruikers van dit product iets vragen? Stel een vraag
Pagina 1/2
Thank Youfor purchasing your new Logik Bagless Cylinder Vacuum Cleaner.
We recommend that you spend some time reading this instruction manual in order to
fully understand all the operational features it offers.
Read all the safety instructions carefully before use and keep this instruction manual
for future reference.
If items are missing or damaged, please contact Partmaster (UK only).
Tel: 0844 800 3456 for assistance.
GB-5
DSG Retail Ltd • Maylands Avenue • Hemel Hempstead
Herts • HP2 7TG • England
Visit Partmaster.co.uk today for the easiest way to buy
electrical spares and accessories. With over 1 million
spares and accessories available we can deliver direct
to your door the very next day. Visit www.partmaster.co.uk or call 0844 800 3456 (UK
customers only) Calls charged at National Rate.
This symbol on the product or in the instructions means that your
electrical and electronic equipment should be disposed at the end of its
life separately from your household waste. There are separate collection
systems for recycling in the EU. For more information, please contact the
local authority or your retailer where you purchased the product.
(P.N. CH830A-IM)
GB-4
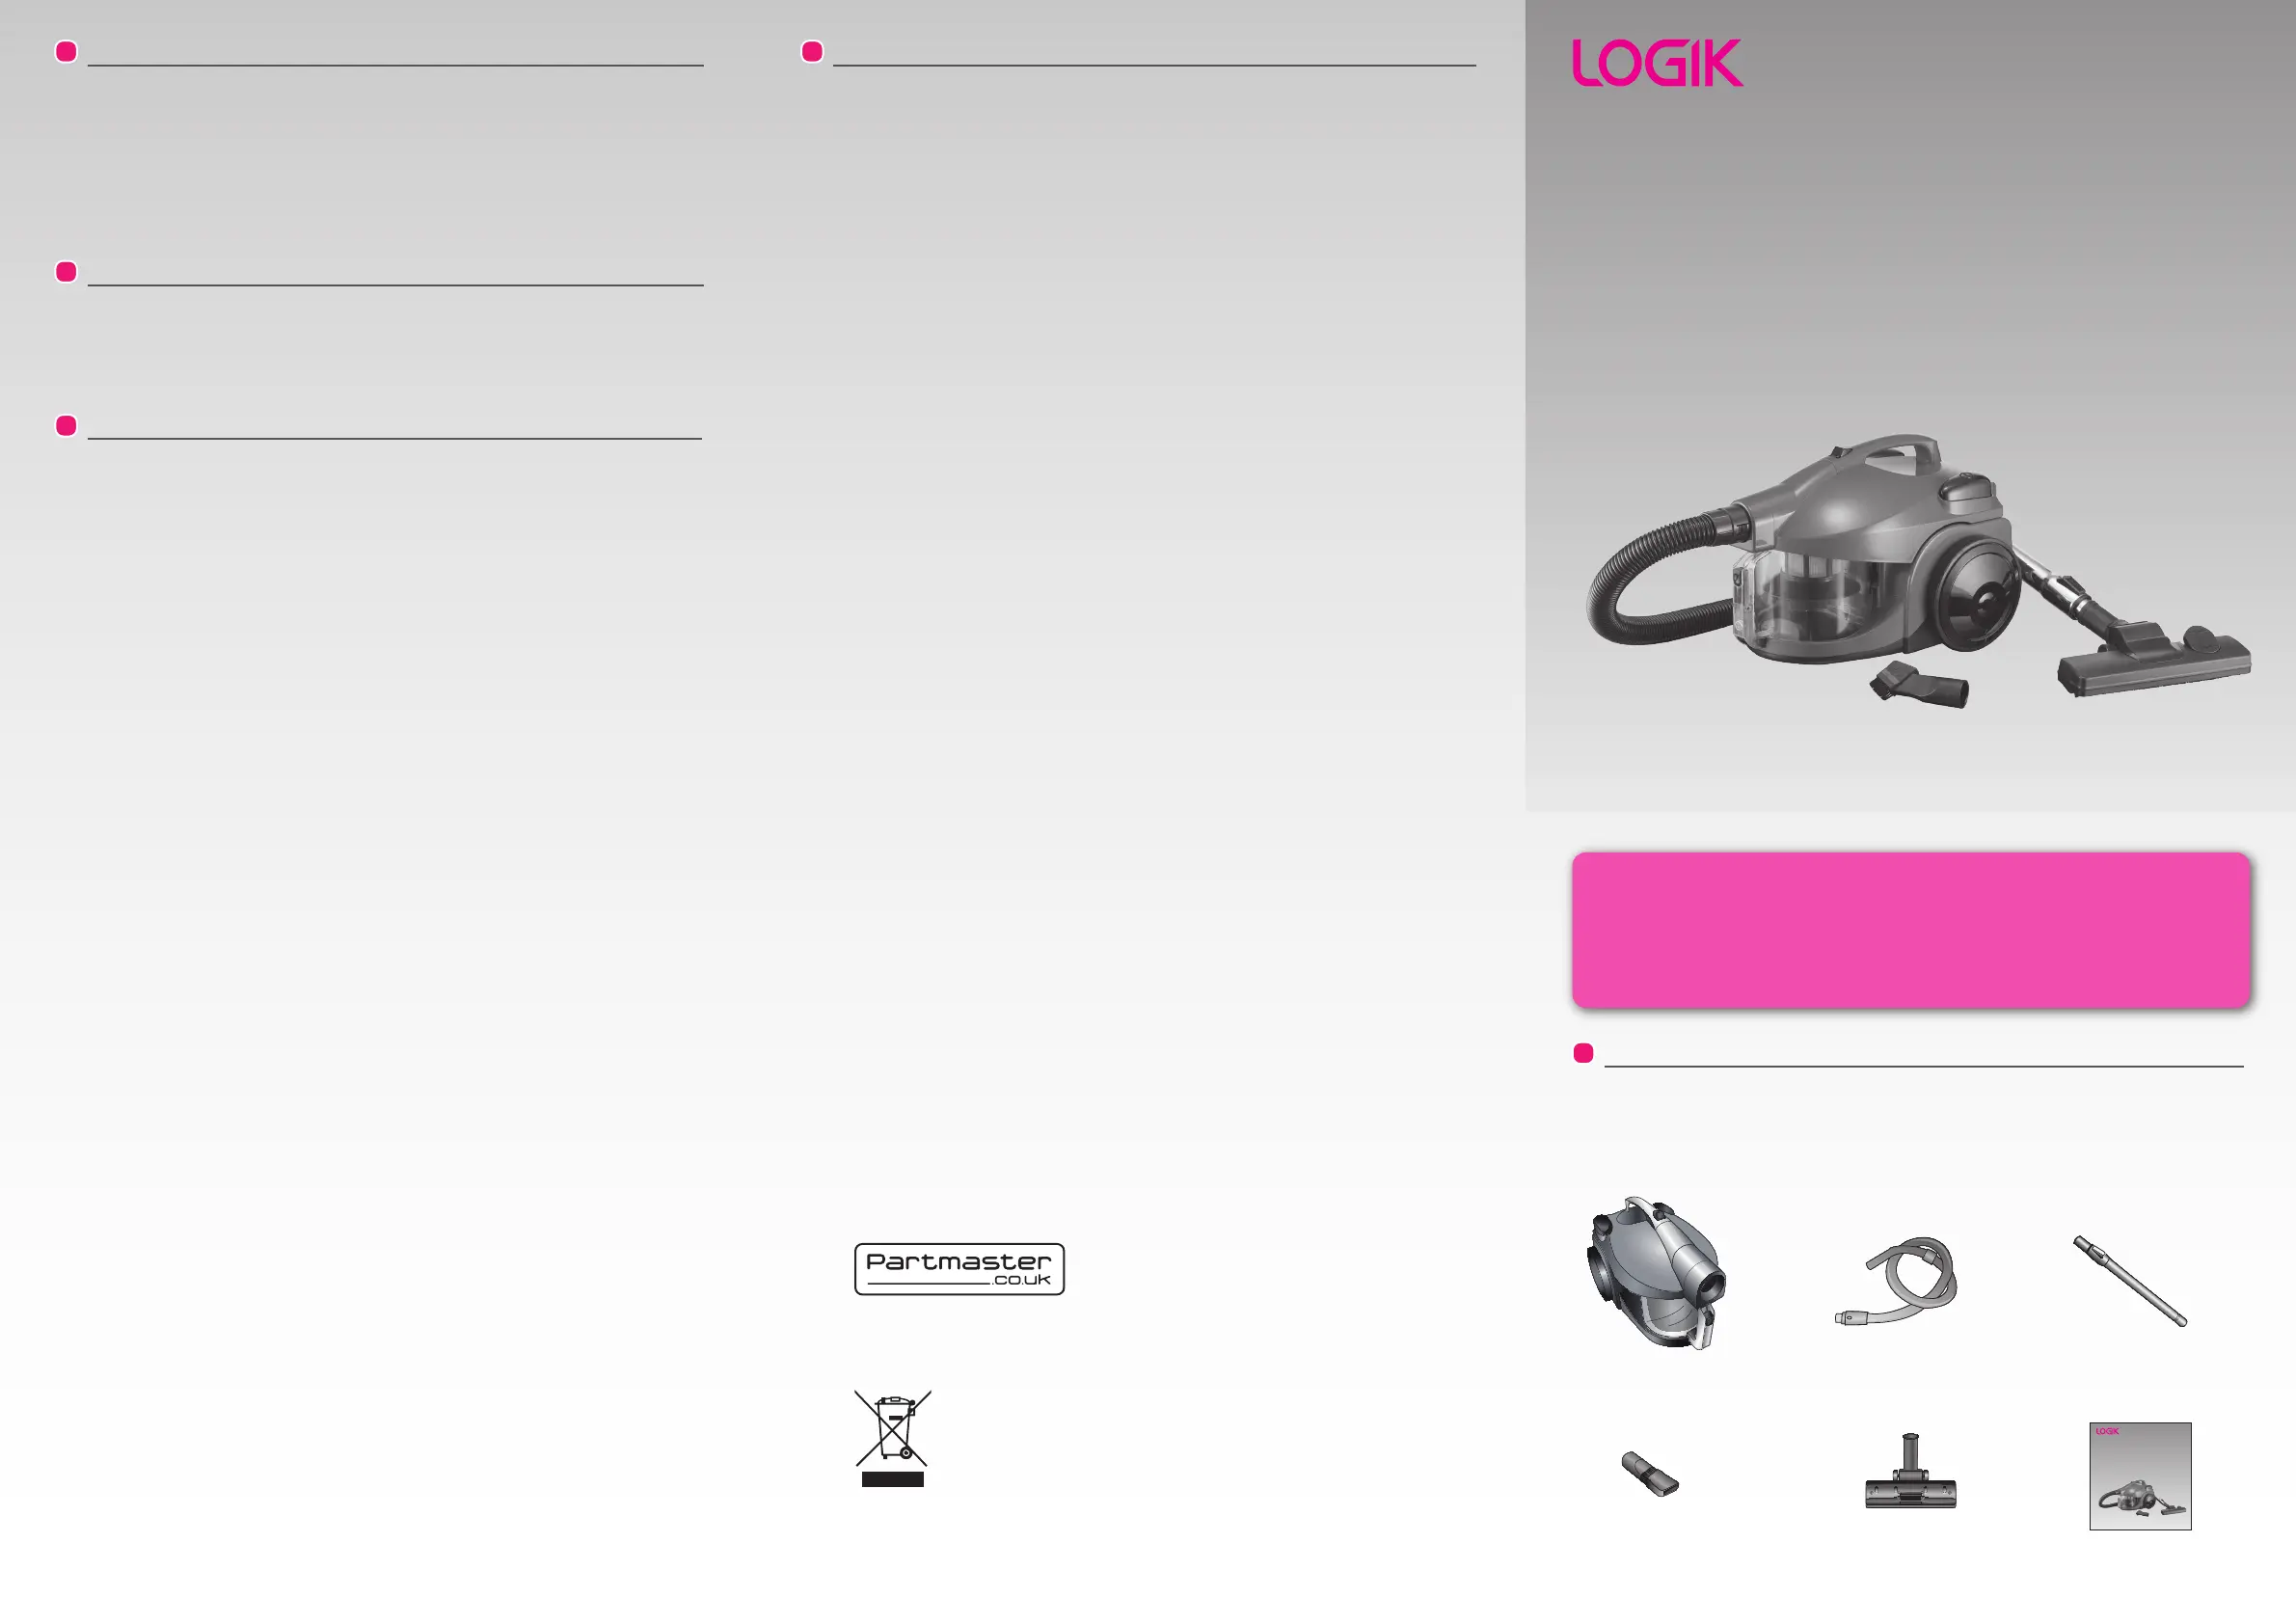
Bagless Cylinder
Vacuum Cleaner
Instruction Manual
L14VR12
UNPACKING
Remove all packaging from the unit. Retain the packaging. If you dispose of it please do so
according to any local regulations.
The following items are included:
SAFETY FIRST!
For your continued safety and to reduce the risk of injury or electric shock, please follow all the
safety precautions listed below.
• Read all the instructions carefully before using the appliance and keep them for future
reference.
• Retain the manual. If you pass the appliance onto a third party make sure to include this
manual.
• Check that the voltage marked on the rating label matches your mains voltage.
• Consult your dealer if you are ever in doubt about the installation, operation or safety of your
appliance.
• Do not remove any xed cover as this may expose dangerous voltages.
• Do not allow any electrical appliance to be exposed to dripping or splashing.
• To protect against electrical shock, do not immerse the mains cable, mains plug, or any part of
the appliance in water or other liquids.
• Make sure the dust bin is properly installed before use.
• Never vacuum up water or any other liquids. Never vacuum up ammable substances and do
not vacuum up ashes until they are cold.
• Never use the appliance without the motor protection lter. This damages the motor and
shortens the life of the appliance.
• If a blockage is found in the brushes, hoses or tubes, it should be removed before use. If the
unit is already switched on, turn it off, unplug the unit and remove the blockage before
re-use.
• Store and use the appliance well away from heat sources such as radiators or gas / electric
res.
• Do not run over the mains cable with the appliance.
• Close supervision is necessary when any appliance is used by or near children.
• This appliance is not intended for use by persons (including children) with reduced physical,
sensory or mental capabilities, or lack of experience and knowledge unless they have been
given supervision or instructions concerning the use of the appliance by a person responsible
for their safety.
• Children should be supervised to ensure that they do not play with the appliance.
• Do not point the hose, tube or any other accessory at the eyes, ears or mouth during
operation.
• Unplug the appliance from the mains socket when it is not in use and before replacing lter.
• Unplug the unit from the mains socket before cleaning or maintenance.
• Washing lters maintains vacuum performance. They should be checked and cleaned
periodically (depending on the level of use). Make sureall lters are completely dry before
inserting back into the vacuum cleaner.
• Allow the appliance to cool completely before cleaning or storing.
• The motor is equipped with a thermal cut-cut. If for any reason the unit should overheat, the
thermostat will automatically turn the unit off. Should this occur, unplug the vacuum cleaner
from the electrical outlet and turn off the switch. Remove dirt container and empty. Clean
lters. Allow the unit to cool for approximately 1 hour. To re-start, plug into an electrical outlet
and switch back on.
• Do not use the appliance for other uses than its intended use.
• The use of accessories not recommended by the appliance manufacturer may cause injuries.
• Do not use the appliance outdoors.
• Do not operate an appliance with a damaged mains cable or mains plug, or in an abnormal
state. If the mains cable is damaged it must be replaced by the manufacturer, its service
agent, or similarly qualied persons in order to avoid a hazard.
• Do not continue to operate the appliance if you are in any doubt about it working normally
(e.g. abnormal noise, smell, smoke), or if it is damaged in any way - switch off, withdraw the
mains plug and consult your dealer.
• Any maintenance and repair must be handled by a professional technician. Do not try to
repair by yourself.
SPECIFICATIONS
Supply voltage: 220-240V~50Hz
Power input: 1200W (nominal), 1400W (Maxium)
Dust capacity: 2.5L
We continually strive to improve our products. Specications may change without prior notice.
CLEANING THE MOTOR PROTECTION FILTER
The motor protection lter should be cleaned twice a year, or when it appears to be visibly
clogged.
Always unplug the appliance from mains socket before replacing the lter.
1. Press the open cover button to open the cover (Fig 6).
2. Take out the motor protection lter.
3. Shake out the dust accumulated on the lter into a dustbin.
4. Replace the lter and close the cover. A click will be heard when the cover locks into place.
CLEANING THE EXHAUST FILTER
Always unplug the appliance from mains socket before replacing the lter.
1. Unclip the grill and take out the exhaust lter (Fig 11 & Fig 12).
2. Shake out the dust accumulated on the lter into a dustbin.
3. Replace the lter and the grill.
• Main Unit• Hose
(P.N.: CH830A-HS)
• Hard Floor Brush
(P.N.: CH830A-HF)
• Instruction Manual
(P.N.: CH830A- IM)
• Telescopic Tube
(P.N.: CH830A-TB)
• Combination Nozzle
(P.N.: CH830A-CN)
138mm141mm141mm
Bagless Cylinder
Vacuum Cleaner
Instruction Manual
L14VR12
L14VR12_IB_RC_121227_Annie.pdf 1 12年12月27日 上午11:10
Product specificaties
| Merk: | Logik |
| Categorie: | Stofzuiger |
| Model: | L14VR12 |
Heb je hulp nodig?
Als je hulp nodig hebt met Logik L14VR12 stel dan hieronder een vraag en andere gebruikers zullen je antwoorden
Handleiding Stofzuiger Logik

14 September 2023
14 September 2023
14 September 2023
14 September 2023
14 September 2023
14 September 2023
14 September 2023
Handleiding Stofzuiger
Nieuwste handleidingen voor Stofzuiger
23 Juli 2026
22 Juli 2026
20 Juli 2026
20 Juli 2026
20 Juli 2026
20 Juli 2026
15 Juli 2026
13 Juli 2026
13 Juli 2026
13 Juli 2026