Danubia Meteor 31 Handleiding
Bekijk gratis de handleiding van Danubia Meteor 31 (14 pagina’s), behorend tot de categorie Telescoop. Deze gids werd als nuttig beoordeeld door 10 mensen en kreeg gemiddeld 4.2 sterren uit 3 reviews. Heb je een vraag over Danubia Meteor 31 of wil je andere gebruikers van dit product iets vragen? Stel een vraag
Pagina 1/14
WARNUNG!
Schauen Sie mit diesem Teleskop niemals direkt in die Sonne oder
in die Nähe der Sonne. Es besteht Erblindungsgefahr!
WARNING!
Never look through this telescope at or near the sun.
You may blind yourself!
MUY IMPORTANTE!
No intente nunca mirar directamente al sol a través de este teles-
copio. Se podría quedar ciego!
AVERTISSEMENT !
Ne regardez jamais par ce télescope au soleil.
Vous pouvez vous aveugler !
- 2 -
DÖRR GmbH
•
Postfach 1280
•
89202 Neu-Ulm
•
Germany
Fon +49 731 97037-0
•
Fax +49 731 97037-37
•
www.doerrfoto.de
Gebrauchsanleitung
Users manual
Manual del Usuario
Mode d´emploi
Istruzioni per I´uso
D
I
F
E
GB
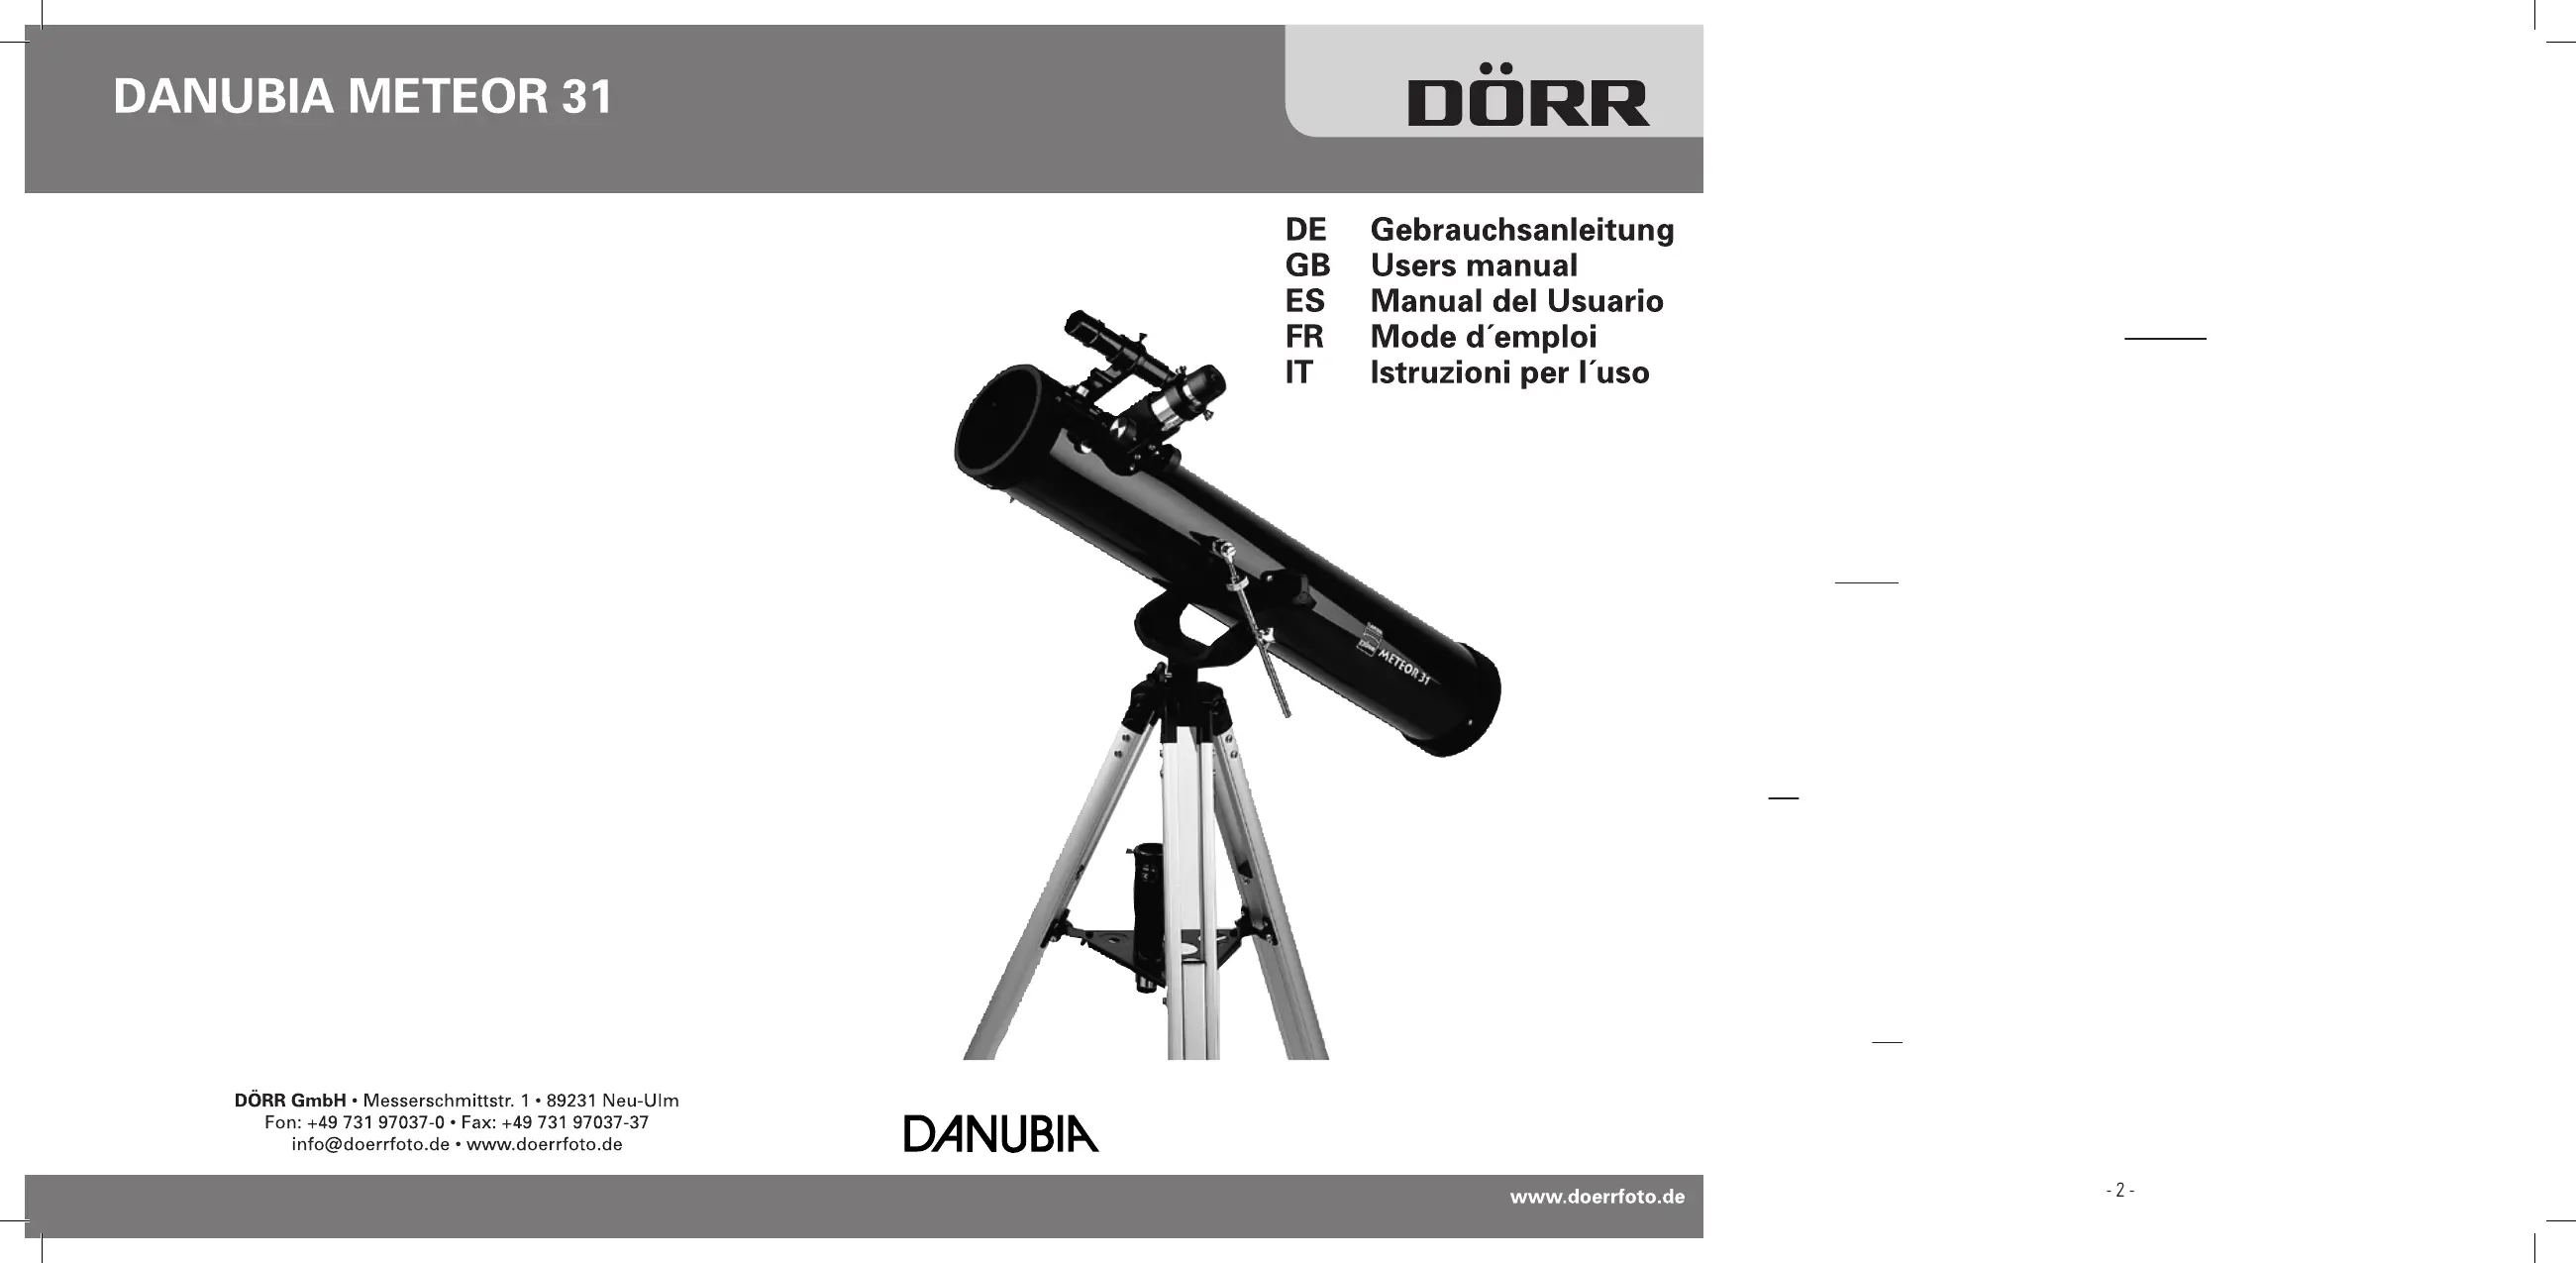
METEOR 31
WARNUNG!
Schauen Sie mit diesem Teleskop niemals direkt in die Sonne oder
in die Nähe der Sonne. Es besteht Erblindungsgefahr!
WARNING!
Never look through this telescope at or near the sun.
You may blind yourself!
MUY IMPORTANTE!
No intente nunca mirar directamente al sol a través de este teles-
copio. Se podría quedar ciego!
AVERTISSEMENT !
Ne regardez jamais par ce télescope au soleil.
Vous pouvez vous aveugler !
- 2 -
DÖRR GmbH
•
Postfach 1280
•
89202 Neu-Ulm
•
Germany
Fon +49 731 97037-0
•
Fax +49 731 97037-37
•
www.doerrfoto.de
Gebrauchsanleitung
Users manual
Manual del Usuario
Mode d´emploi
Istruzioni per I´uso
D
I
F
E
GB
METEOR 31
Product specificaties
| Merk: | Danubia |
| Categorie: | Telescoop |
| Model: | Meteor 31 |
Heb je hulp nodig?
Als je hulp nodig hebt met Danubia Meteor 31 stel dan hieronder een vraag en andere gebruikers zullen je antwoorden
Handleiding Telescoop Danubia

1 Juli 2023
27 Juni 2023
Handleiding Telescoop
Nieuwste handleidingen voor Telescoop
9 Mei 2026
6 Mei 2026
5 Mei 2026
25 April 2026
1 April 2026
31 Maart 2026
22 Maart 2026