CRUX VRFBM-77i Handleiding
CRUX Niet gecategoriseerd VRFBM-77i
Bekijk gratis de handleiding van CRUX VRFBM-77i (11 pagina’s), behorend tot de categorie Niet gecategoriseerd. Deze gids werd als nuttig beoordeeld door 24 mensen en kreeg gemiddeld 4.4 sterren uit 2 reviews. Heb je een vraag over CRUX VRFBM-77i of wil je andere gebruikers van dit product iets vragen? Stel een vraag
Pagina 1/11
BMW
2015 – 2016 i3*
With OE type Dynamic Parking Guide Lines
On-screen display and setup
2 trigger outputs (+12V max. 1A), separately adjustable switching events (CAN, ACC, rear-view camera,
reverse gear)
Rear-view camera input
Front camera input
Front camera input can also be used as an Auxiliary Video Input
Automatic switching to rear-view camera input on engagement of reverse gear from all operation modes
Forced rear-view camera option (only on vehicles with PDC button)
Manual return from rear-view and front camera (cancellation of automatic switching)
Picture-in-picture mode combining after-market rear-view and front camera picture(s) with factory parking
sensor graphics
Compatible with all factory video accessories (e.g. rear-view camera, DVD-changer, etc.)
Plug & Play installation
For the BMW i3 with navigation system or radio and 6.5”, 7”, 8.8” or 10.25” monitor with 4+2pin HSD2
LVDS connector
The interface is installed under the glove compartment and the radio headunit is located under the rear
seat.
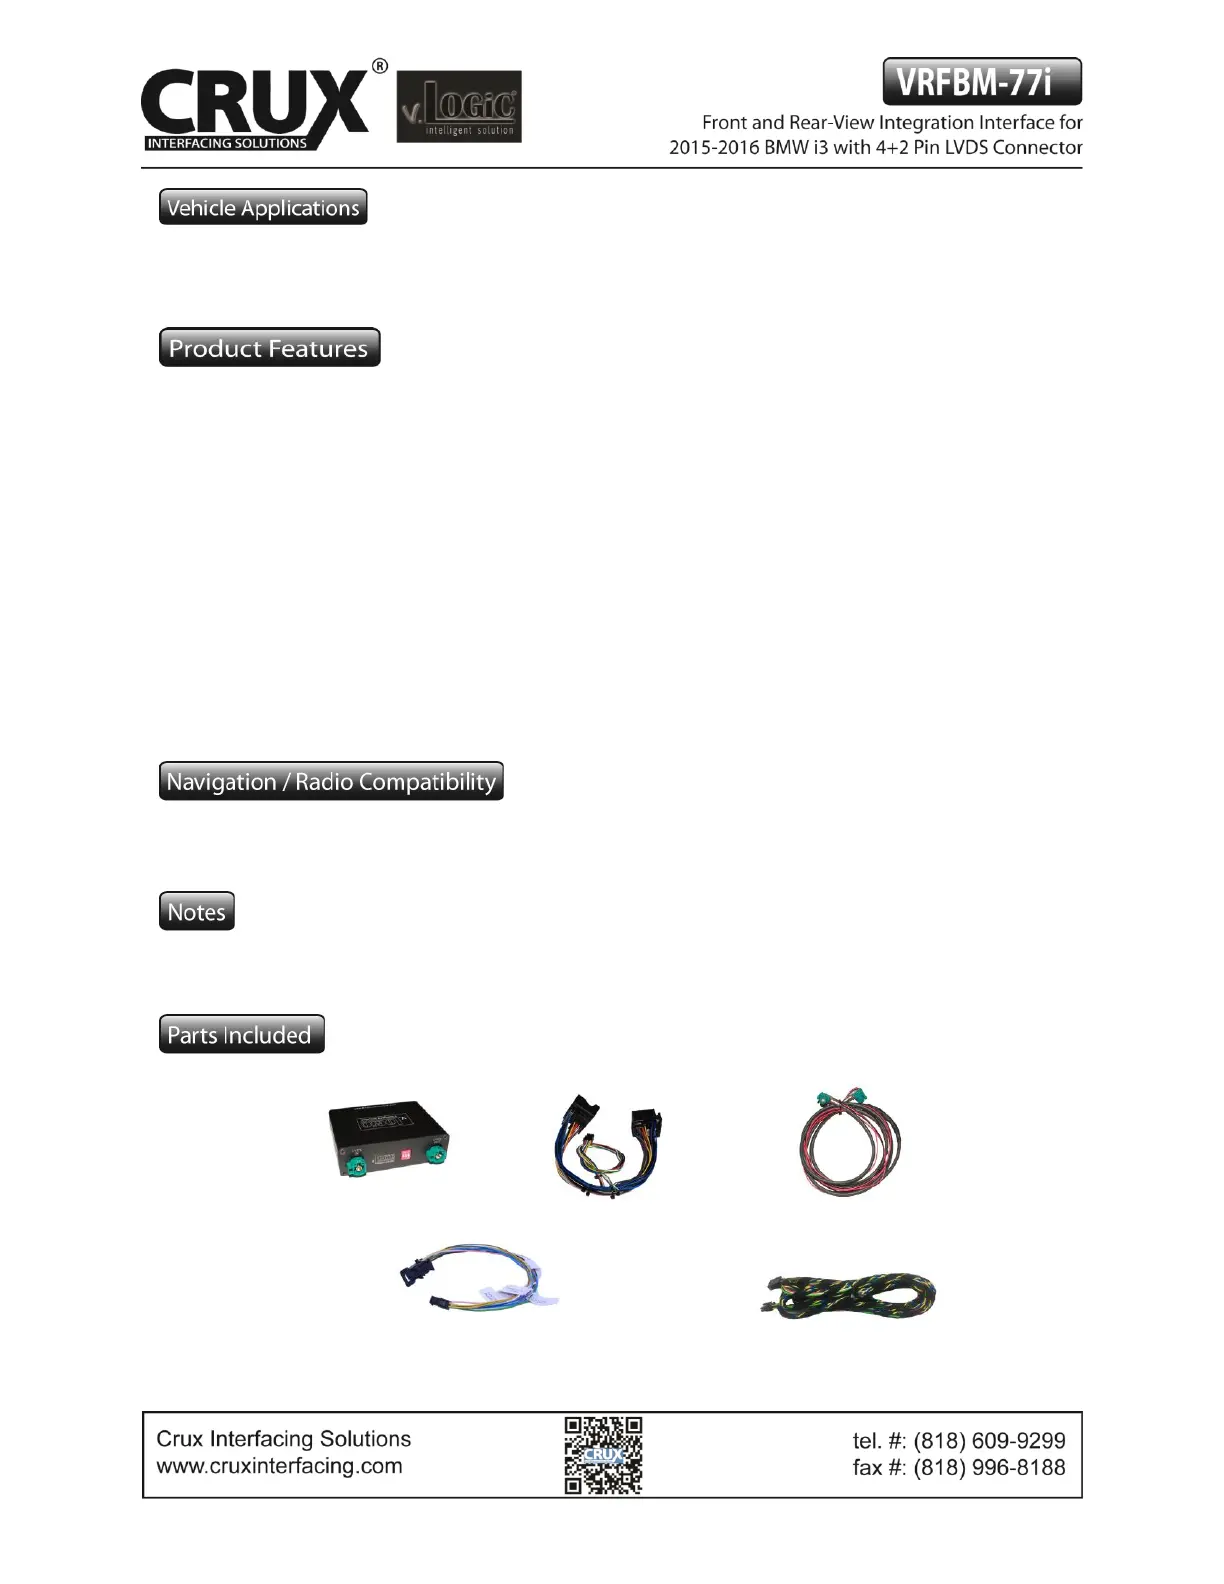
BM-77i Module
BM-77i Harness
4+2 PIN HSD2 LVDS Cable
Power/CAN Harness
i3-HAR
1 / 11
Rev.112816
Product specificaties
| Merk: | CRUX |
| Categorie: | Niet gecategoriseerd |
| Model: | VRFBM-77i |
Heb je hulp nodig?
Als je hulp nodig hebt met CRUX VRFBM-77i stel dan hieronder een vraag en andere gebruikers zullen je antwoorden
Handleiding Niet gecategoriseerd CRUX

13 Januari 2026
13 Januari 2026
13 Januari 2026
10 Maart 2025
10 Maart 2025
10 Maart 2025
10 Maart 2025
9 Maart 2025
9 Maart 2025
9 Maart 2025
Handleiding Niet gecategoriseerd
Nieuwste handleidingen voor Niet gecategoriseerd
8 Juni 2026
8 Juni 2026
8 Juni 2026
8 Juni 2026
8 Juni 2026
8 Juni 2026
8 Juni 2026
8 Juni 2026
7 Juni 2026
7 Juni 2026