CRUX RVCCH-75K Handleiding
CRUX Niet gecategoriseerd RVCCH-75K
Bekijk gratis de handleiding van CRUX RVCCH-75K (3 pagina’s), behorend tot de categorie Niet gecategoriseerd. Deze gids werd als nuttig beoordeeld door 53 mensen en kreeg gemiddeld 4.9 sterren uit 4 reviews. Heb je een vraag over CRUX RVCCH-75K of wil je andere gebruikers van dit product iets vragen? Stel een vraag
Pagina 1/3
- Plug and Play Connections for ease of use.
- With Force Reverse Camera Feature.
- Uconnect 8.4” and 5” Screen
1.This Interface stores the VIN number upon installation and gets coded to function with the same
vehicle in particular. Once installed, it cannot be reused in any other vehicle.
2.Does not offer Video in Motion.
3.Not compatible on vehicles with heated seats or heated steering wheel.
4.If you see a blue screen after coming from reverse gear, go to SETTINGS/MORE > CLOCK
SETTINGS > SAFETY ASSISTANCE > BACKUP CAMERA > make sure the DELAY CAMERA box is not
checked.
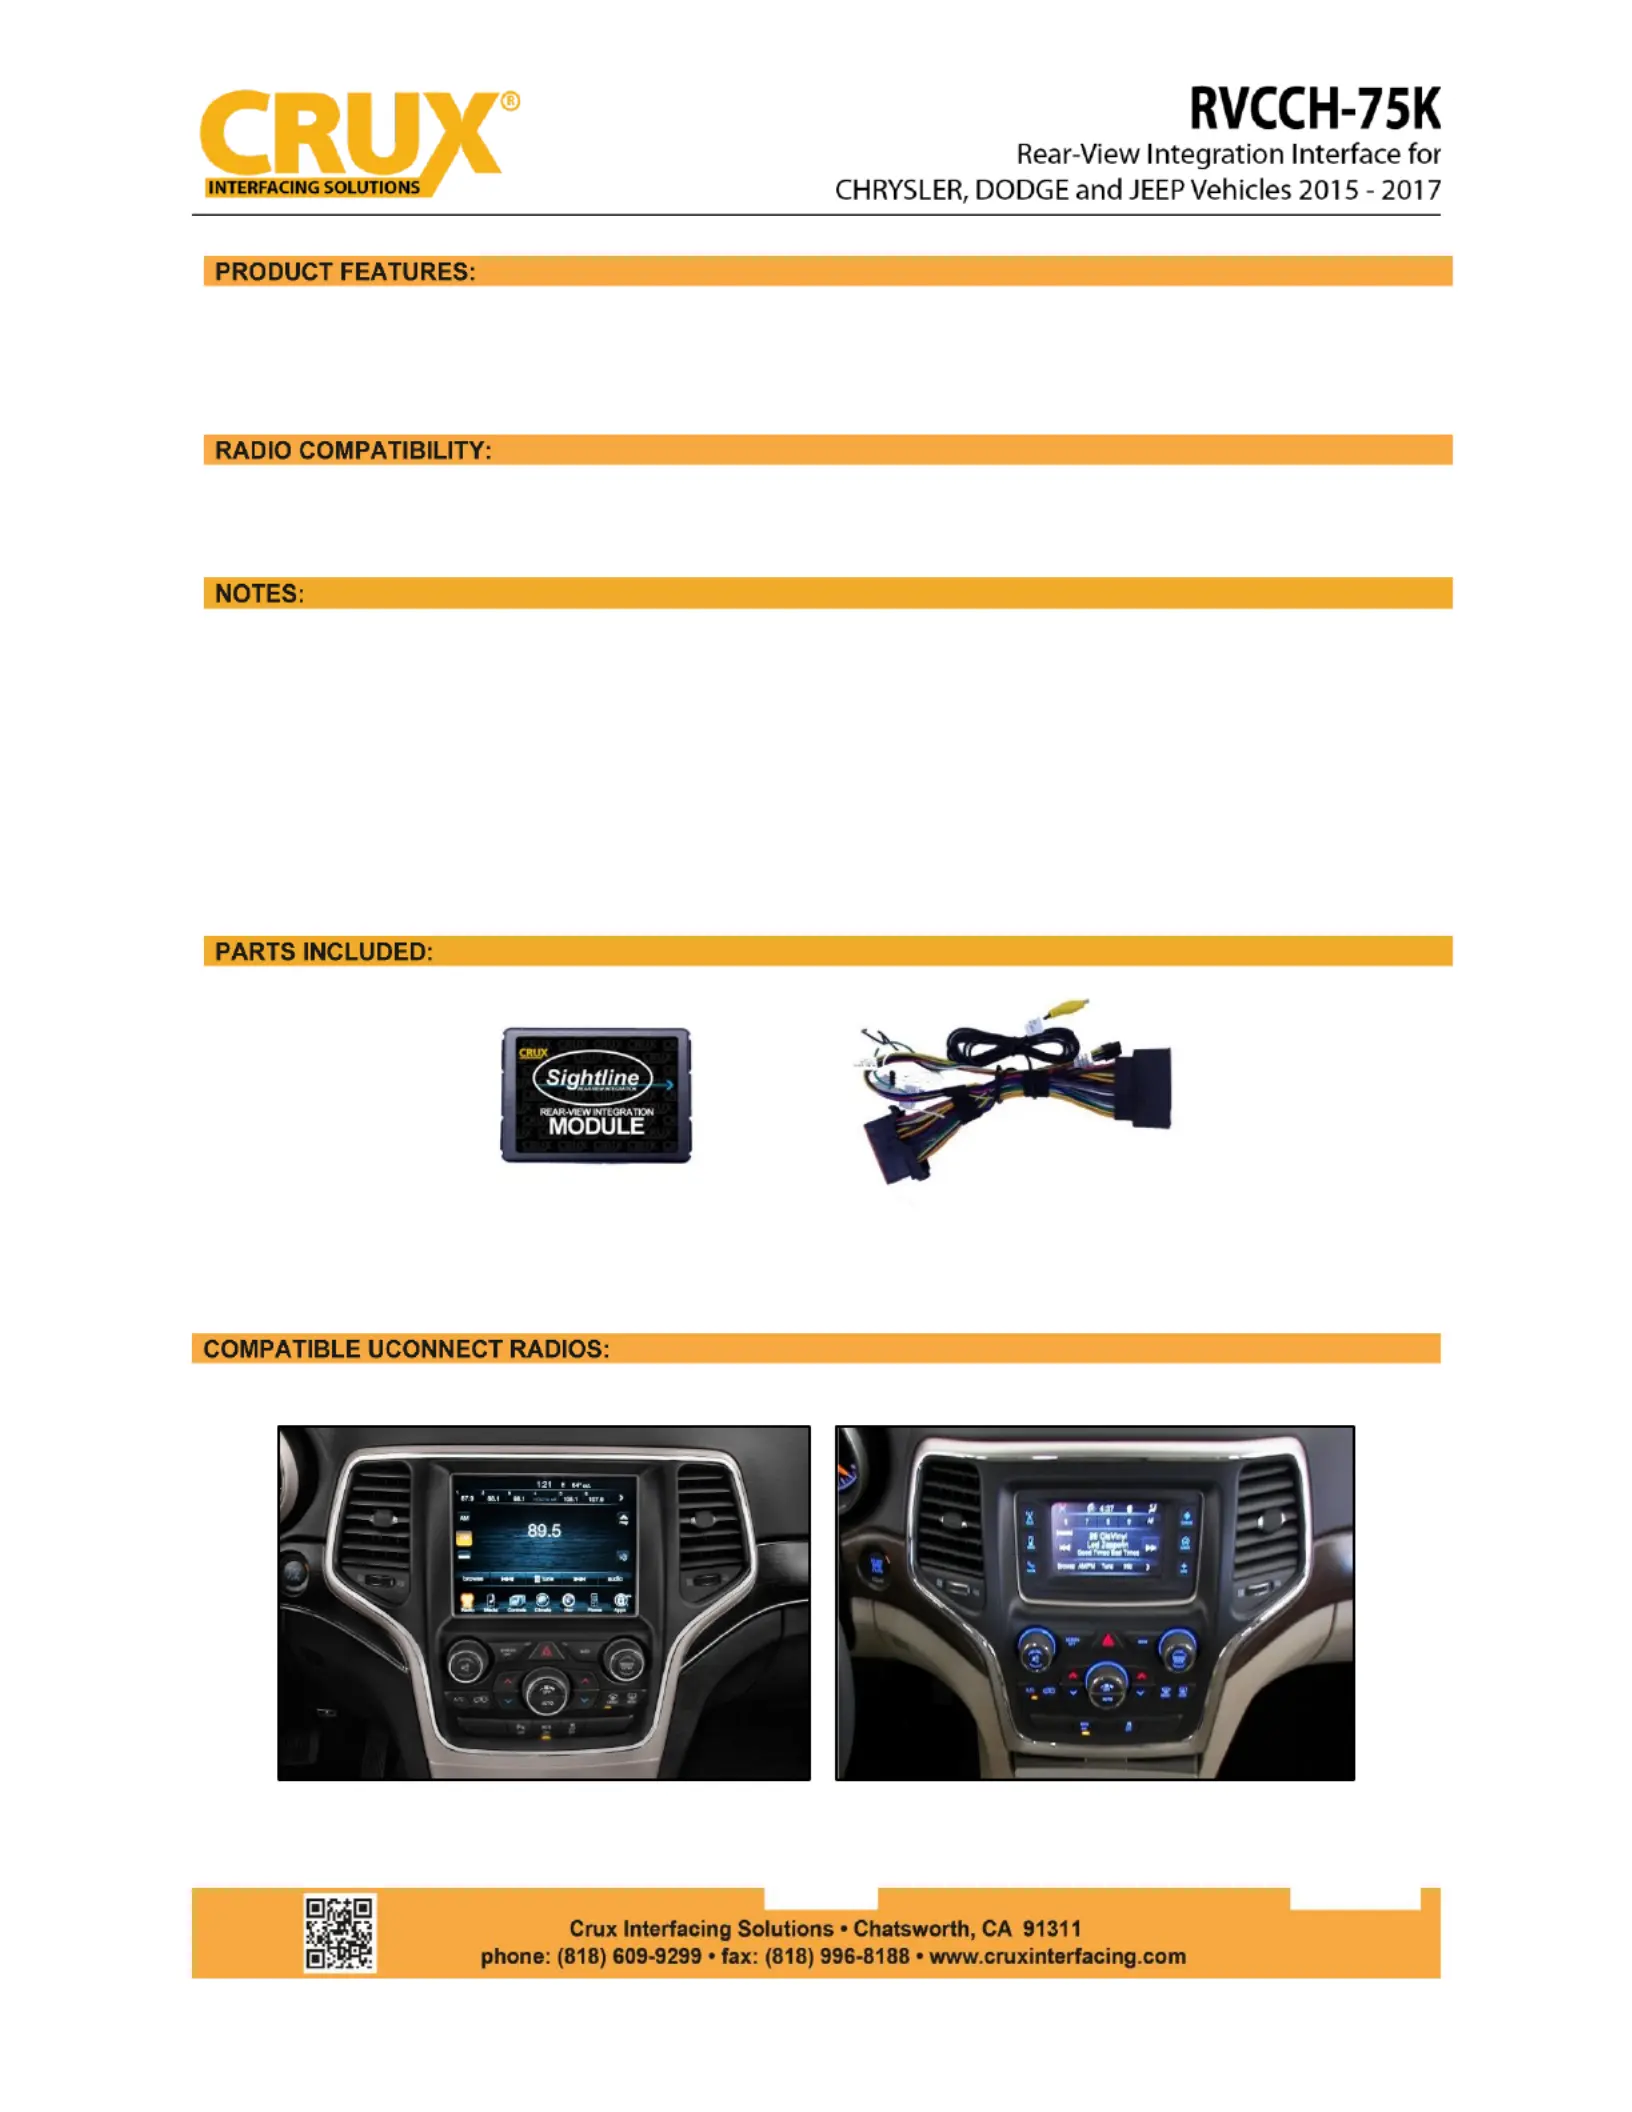
RVC-75K MODULE CH
RVC-75K HARNESS (2665) CH
8.4” Screen (with 3 knobs below the screen)
5” Screen (with 3 knobs below the screen)
rev.050421
1 / 3
Product specificaties
| Merk: | CRUX |
| Categorie: | Niet gecategoriseerd |
| Model: | RVCCH-75K |
Heb je hulp nodig?
Als je hulp nodig hebt met CRUX RVCCH-75K stel dan hieronder een vraag en andere gebruikers zullen je antwoorden
Handleiding Niet gecategoriseerd CRUX

13 Januari 2026
13 Januari 2026
13 Januari 2026
10 Maart 2025
10 Maart 2025
10 Maart 2025
10 Maart 2025
9 Maart 2025
9 Maart 2025
9 Maart 2025
Handleiding Niet gecategoriseerd
Nieuwste handleidingen voor Niet gecategoriseerd
24 Juli 2026
24 Juli 2026
24 Juli 2026
23 Juli 2026
23 Juli 2026
23 Juli 2026
23 Juli 2026
23 Juli 2026
23 Juli 2026
23 Juli 2026