CRUX MRVBM-77Q Handleiding
CRUX Niet gecategoriseerd MRVBM-77Q
Bekijk gratis de handleiding van CRUX MRVBM-77Q (7 pagina’s), behorend tot de categorie Niet gecategoriseerd. Deze gids werd als nuttig beoordeeld door 25 mensen en kreeg gemiddeld 4.2 sterren uit 6 reviews. Heb je een vraag over CRUX MRVBM-77Q of wil je andere gebruikers van dit product iets vragen? Stel een vraag
Pagina 1/7
MRVBM-77Q
Backup Camera and Video Interface for
2017 and up BMW & Mini Vehicles with Evo2 iDrive5 Systems
R
INTERFACING SOLUTIONS
Sightline
Multi View Integration
Crux Interfacing Solutions • Chatsworth, CA 91311
phone: (818) 609-9299 • fax: (818) 996-8188 • www.cruxinterfacing.com
rev.1104201 of 7
- Adds front and rear aermarket camera inputs.
- Retains funconality of the OEM backup camera if present.
- Front camera automacally shows on the screen aer changing the gear from reverse to drive.
- Provides power and ground for the cameras.
- Adds 1 A/V Input.
- Adds 2 video and 1 audio outputs.
PRODUCT FEATURES:
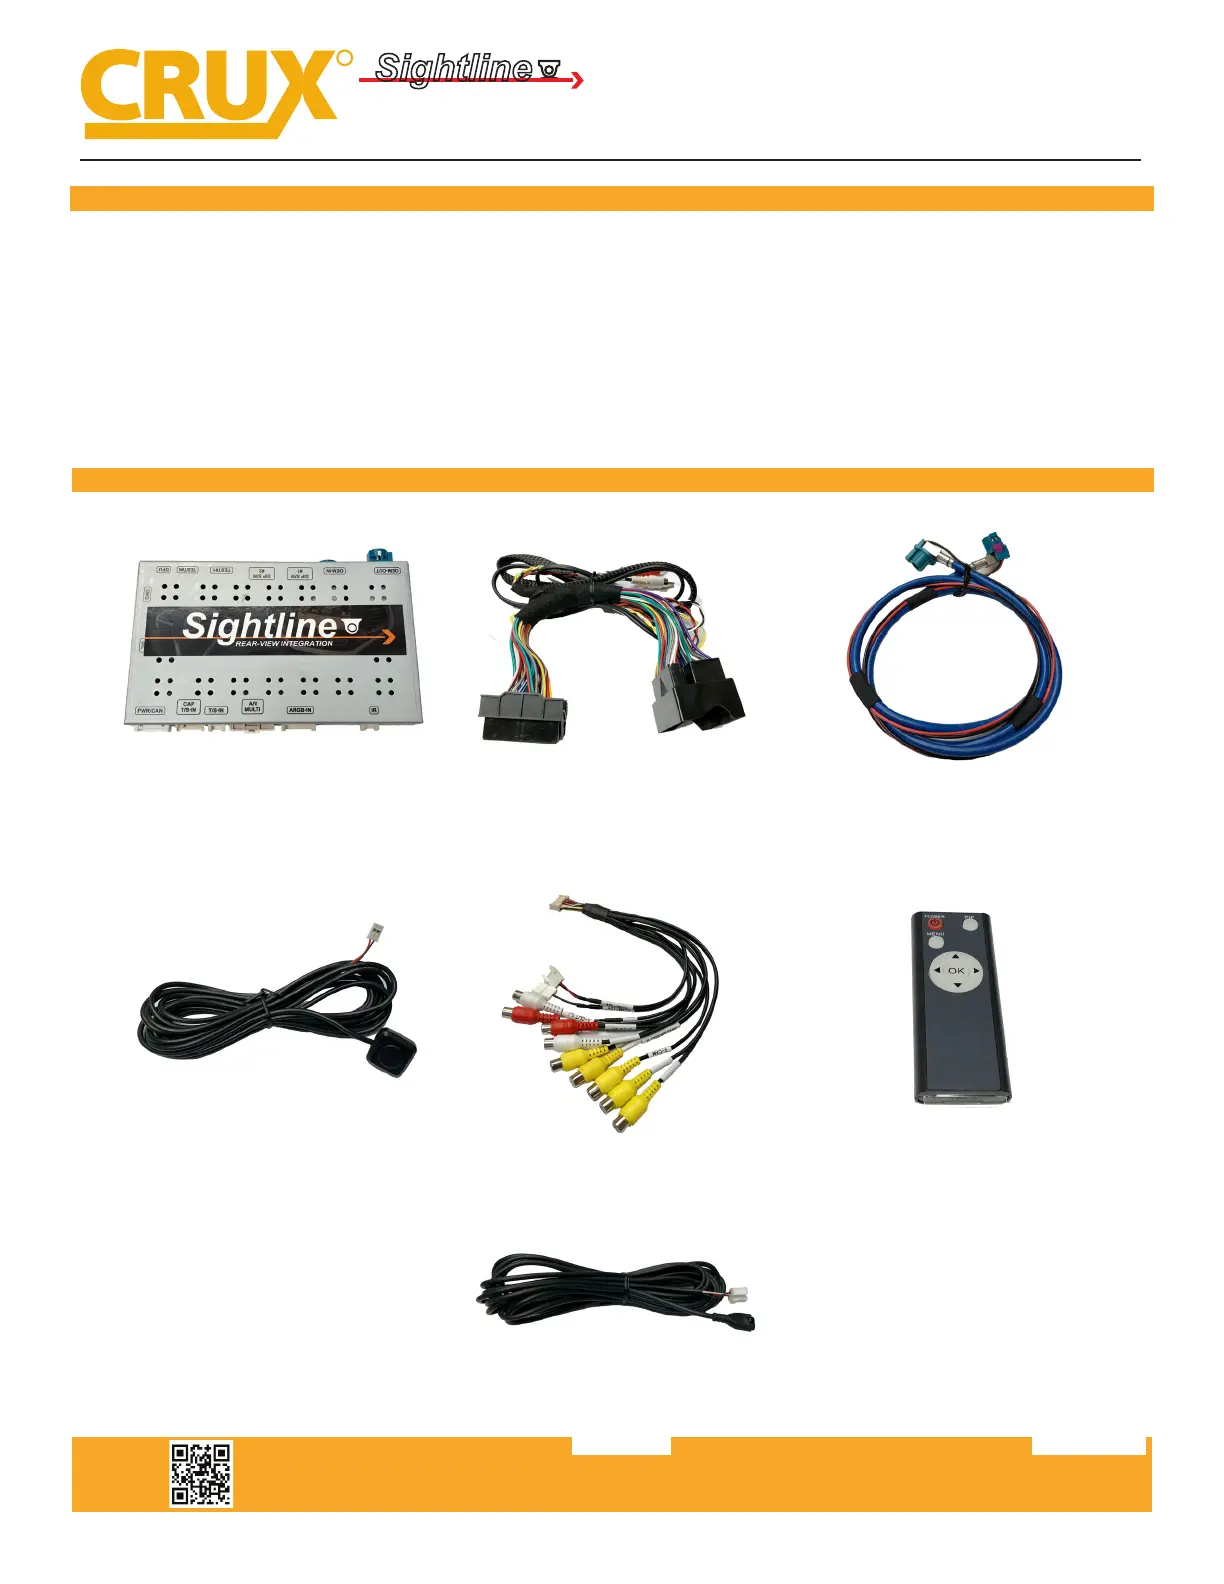
PARTS INCLUDED:
MRVBM-77Q ModuleMRVBM-77Q Power HarnessLVDS Cable
Push Buon SwitchI/O CableRemote Control
IR Cable
Product specificaties
| Merk: | CRUX |
| Categorie: | Niet gecategoriseerd |
| Model: | MRVBM-77Q |
Heb je hulp nodig?
Als je hulp nodig hebt met CRUX MRVBM-77Q stel dan hieronder een vraag en andere gebruikers zullen je antwoorden
Handleiding Niet gecategoriseerd CRUX

13 Januari 2026
13 Januari 2026
13 Januari 2026
10 Maart 2025
10 Maart 2025
10 Maart 2025
10 Maart 2025
9 Maart 2025
9 Maart 2025
9 Maart 2025
Handleiding Niet gecategoriseerd
Nieuwste handleidingen voor Niet gecategoriseerd
24 Juli 2026
24 Juli 2026
24 Juli 2026
23 Juli 2026
23 Juli 2026
23 Juli 2026
23 Juli 2026
23 Juli 2026
23 Juli 2026
23 Juli 2026