Cioks DC7 Handleiding
Bekijk gratis de handleiding van Cioks DC7 (2 pagina’s), behorend tot de categorie Niet gecategoriseerd. Deze gids werd als nuttig beoordeeld door 49 mensen en kreeg gemiddeld 4.6 sterren uit 7 reviews. Heb je een vraag over Cioks DC7 of wil je andere gebruikers van dit product iets vragen? Stel een vraag
Pagina 1/2
Version 1.1 February 2019 Version 1.1 February 2019
Powering different pedal types
Each individual rig is different, therefore if you have questions about using the DC7, please e-mail your
detailed questions including the power requirements of your specific pedals directly to [email protected].
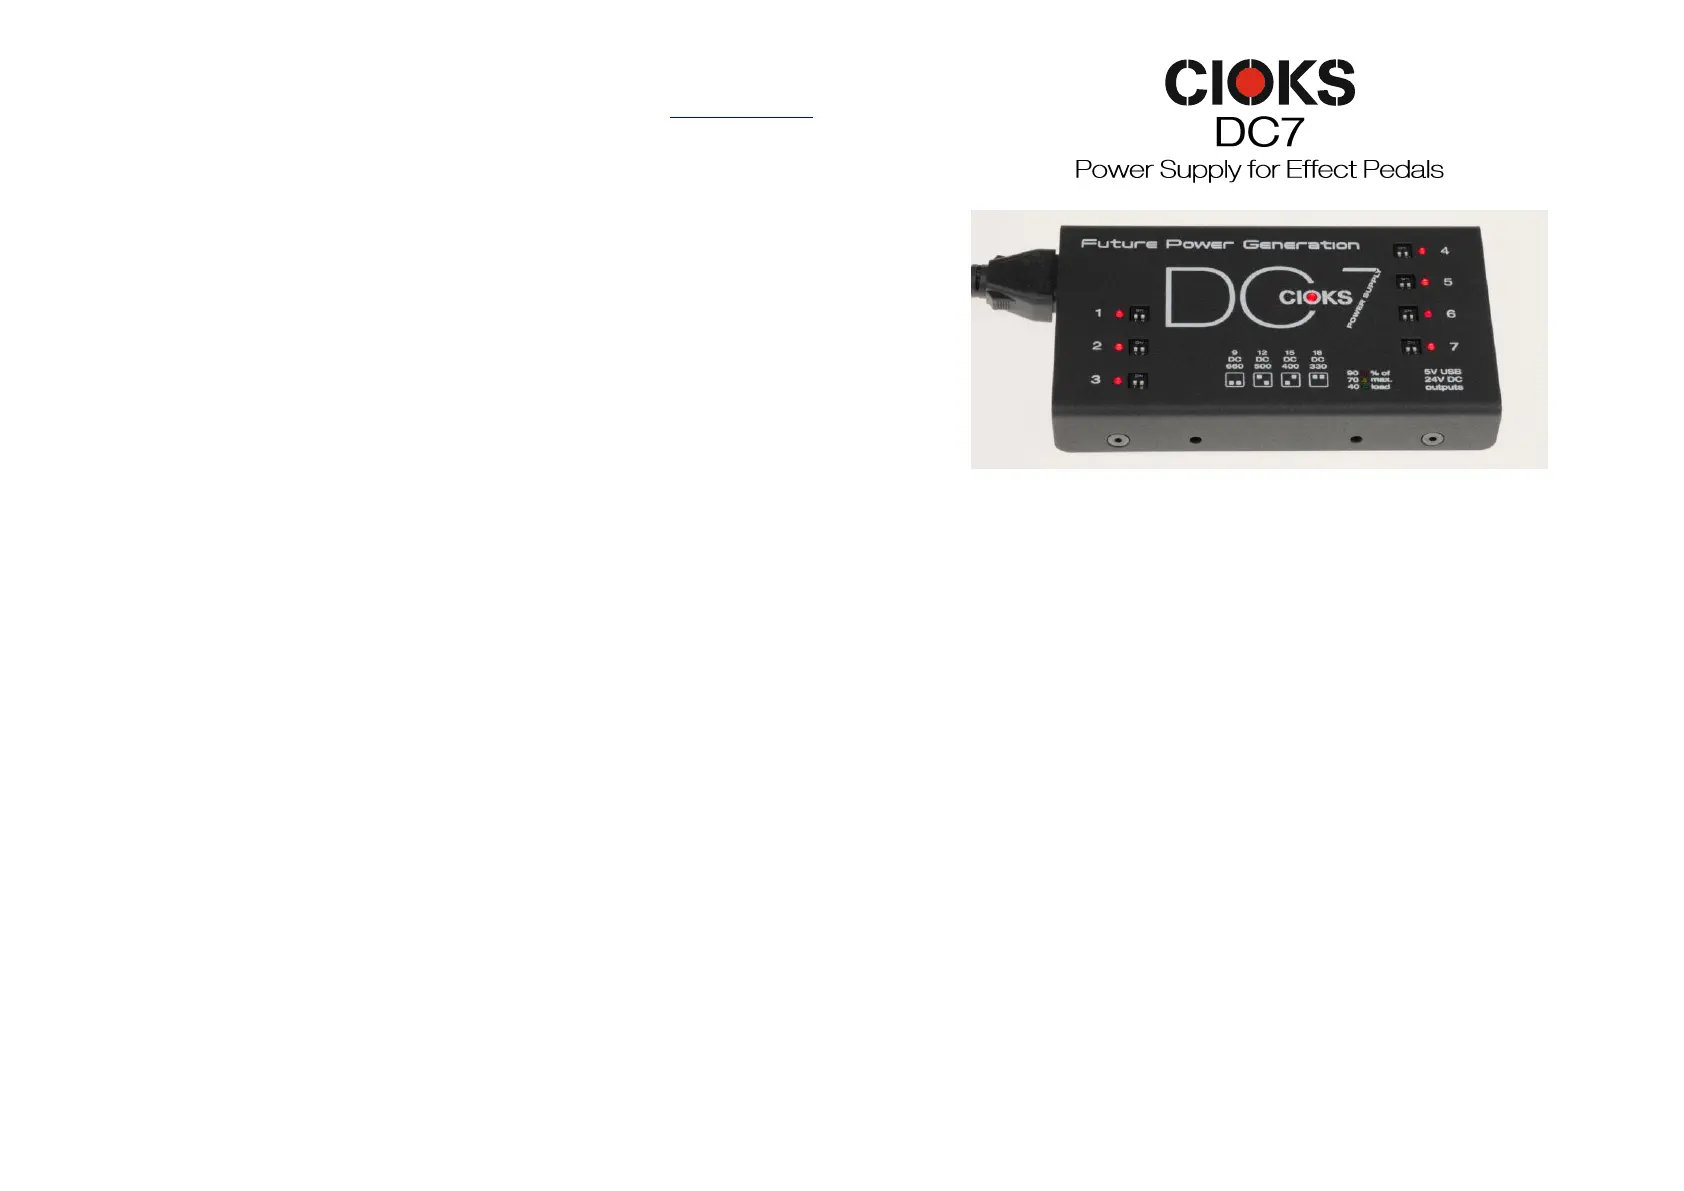
Technical specifications
AC mains input: 90-265VAC, 50-60Hz, max. 58W
Outputs 1-7: 9V DC / 660mA or
12V DC / 500mA or
15V DC / 400mA or
18V DC / 330mA each
USB outlet: 5V DC / max. 1A
AUX outlet: 24V DC / max. 2A
Total output power: 48W
Size: 160x88x25,4mm / 6.3x3.5x1.0” (excl. rubber feet)
Weight: 0,5kg / 1.1 lb
Warranty period: 5 years worldwide
What’s in the box?
•CIOKS DC7 power supply
•Mains power cord
•12 Flex cables
•Mounting hardware (2 screws and a hex-key)
•Manual
•Product sheet (drill guide)
•Flex guide
User’s Manual
Version 1.1 – February 2019
Introduction
Since 1991, the Danish company CIOKS has been providing guitar and bass players with reliable power
supplies dedicated for effect pedals. After more than a quarter of a century, CIOKS has designed the next
Future Power Generation professional power supply dedicated to powering up to seven high current
pedals (as well as others with lower current draw) alongside providing power for a smartphone or a tablet
via the USB outlet and having a 24V DC auxiliary outlet. The result is CIOKS DC7.
Features
•Trim 1-inch profile (25,4mm), only 0,5kg (1.1 lb)
•2-stage switch-mode power supply topology
•Ultra-low noise achieved by multi-stage filtering
•7 isolated DC-outlets, 6W each (660mA at 9V on each outlet)
•4 selectable voltages on each outlet (9, 12, 15 or 18V)
•Charge your phone or tablet with 5V USB outlet (max. 1A)
•Expand via 24V AUX outlet with CIOKS 8 or CIOKS 4 units for more isolated outlets
•Individual status LED on each outlet and global status LED
•Built-in true power meter showing the total load
•Total maximum output power 48W
•Use anywhere in the world, universal mains input voltage 90-265V AC
•Mounting hardware for Pedaltrain and Temple Audio boards included
•Compatible with CIOKS GRIP for drill-free Pedaltrain mounting
•12 Flex cables included
•Designed in Denmark, assembled in Poland
•5-year worldwide warranty
Product specificaties
| Merk: | Cioks |
| Categorie: | Niet gecategoriseerd |
| Model: | DC7 |
Heb je hulp nodig?
Als je hulp nodig hebt met Cioks DC7 stel dan hieronder een vraag en andere gebruikers zullen je antwoorden
Handleiding Niet gecategoriseerd Cioks

18 Augustus 2023
12 Augustus 2023
Handleiding Niet gecategoriseerd
Nieuwste handleidingen voor Niet gecategoriseerd
23 Januari 2026
23 Januari 2026
23 Januari 2026
22 Januari 2026
22 Januari 2026
22 Januari 2026
22 Januari 2026
22 Januari 2026
22 Januari 2026
22 Januari 2026