Chief LVS1U Handleiding
Chief Flat panel steun LVS1U
Bekijk gratis de handleiding van Chief LVS1U (20 pagina’s), behorend tot de categorie Flat panel steun. Deze gids werd als nuttig beoordeeld door 13 mensen en kreeg gemiddeld 4.9 sterren uit 3 reviews. Heb je een vraag over Chief LVS1U of wil je andere gebruikers van dit product iets vragen? Stel een vraag
Pagina 1/20
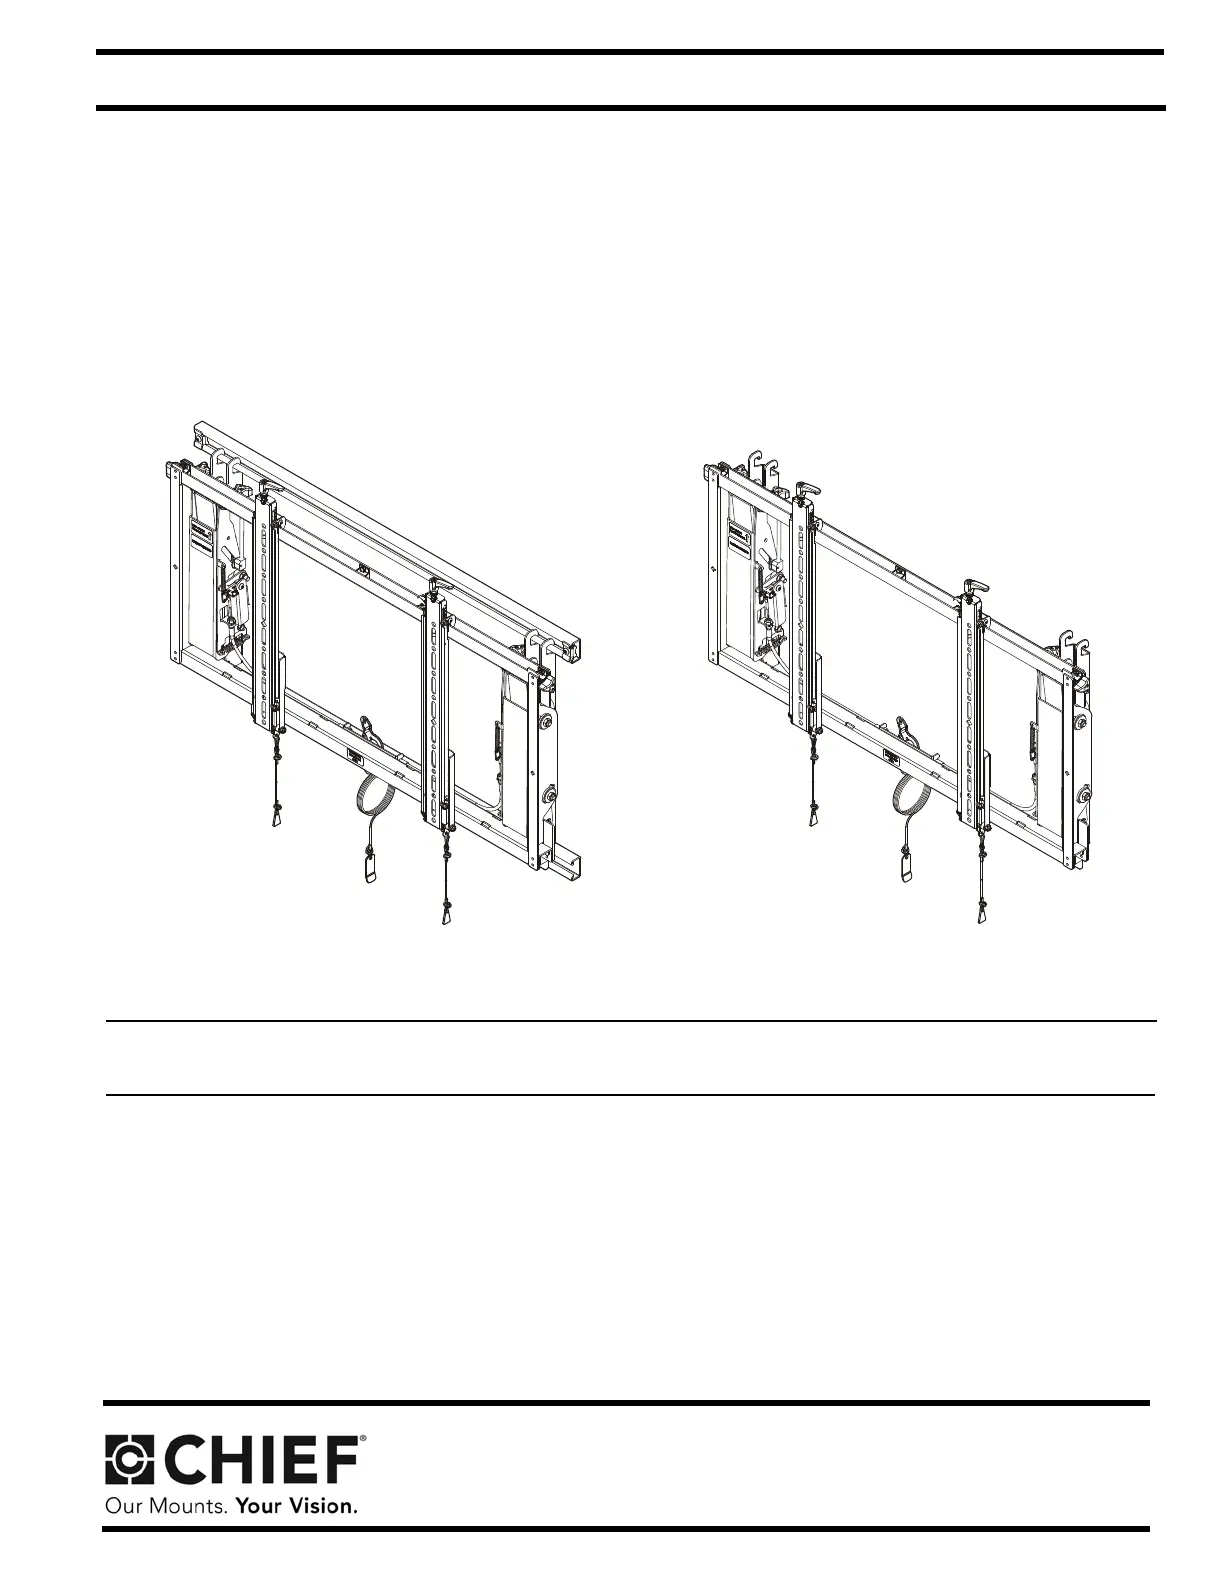
INSTALLATION INSTRUCTIONS
LVS1U
LVSXU
ConnexSys™ Video Wall Mounting System
Spanish Product Description
German Product Description
Portuguese Product Description
Italian Product Description
Dutch Product Description
French Product Description
LVS1U / LVSXU
Product specificaties
| Merk: | Chief |
| Categorie: | Flat panel steun |
| Model: | LVS1U |
| Kleur van het product: | Zwart |
| Breedte: | 902 mm |
| Diepte: | 102 mm |
| Hoogte: | 554 mm |
| Gewicht verpakking: | 20000 g |
| Materiaal behuizing: | Staal |
| In hoogte verstelbaar: | Ja |
| Montage gereedschap: | Ja |
| Montagewijze: | Muur |
| Maximale gewichtscapaciteit: | 68 kg |
| Paneelmontage-interface: | 200 x 200,300 x 300,400 x 200,400 x 400,600 x 400 mm |
| Compatibiliteit: | MIS-F (200x200mm)\nMIS-F (300x300mm)\nMIS-F (400x200mm)\nMIS-F (400x400mm)\nMIS-F (600x400mm) |
| Montage interface compatibiliteit (min): | 200 x 100 mm |
| Montage interface compatibiliteit (max): | 700 x 400 mm |
| Aantal displays ondersteund: | 1 |
| Bereik kantelhoek: | -2.5 - 4 ° |
| Maximale schermgrootte: | 80 " |
| Code geharmoniseerd systeem (HS): | 85299097 |
| Minimale schermgrootte: | 42 " |
Heb je hulp nodig?
Als je hulp nodig hebt met Chief LVS1U stel dan hieronder een vraag en andere gebruikers zullen je antwoorden
Handleiding Flat panel steun Chief

13 April 2026
8 April 2026
7 April 2026
6 April 2026
6 April 2026
6 April 2026
6 April 2026
6 April 2026
6 April 2026
6 April 2026
Handleiding Flat panel steun
Nieuwste handleidingen voor Flat panel steun
22 April 2026
20 April 2026
17 April 2026
15 April 2026
14 April 2026
13 April 2026
11 April 2026
31 Maart 2026
31 Maart 2026
26 Maart 2026