American Audio LunarPod Handleiding


Bekijk gratis de handleiding van American Audio LunarPod (4 pagina’s), behorend tot de categorie Niet gecategoriseerd. Deze gids werd als nuttig beoordeeld door 3 mensen en kreeg gemiddeld 3.5 sterren uit 2 reviews. Heb je een vraag over American Audio LunarPod of wil je andere gebruikers van dit product iets vragen? Stel een vraag

Pagina 1/4
American DJ®
4295 Charter Street
Los Angeles Ca. 90058
www.americandj.com
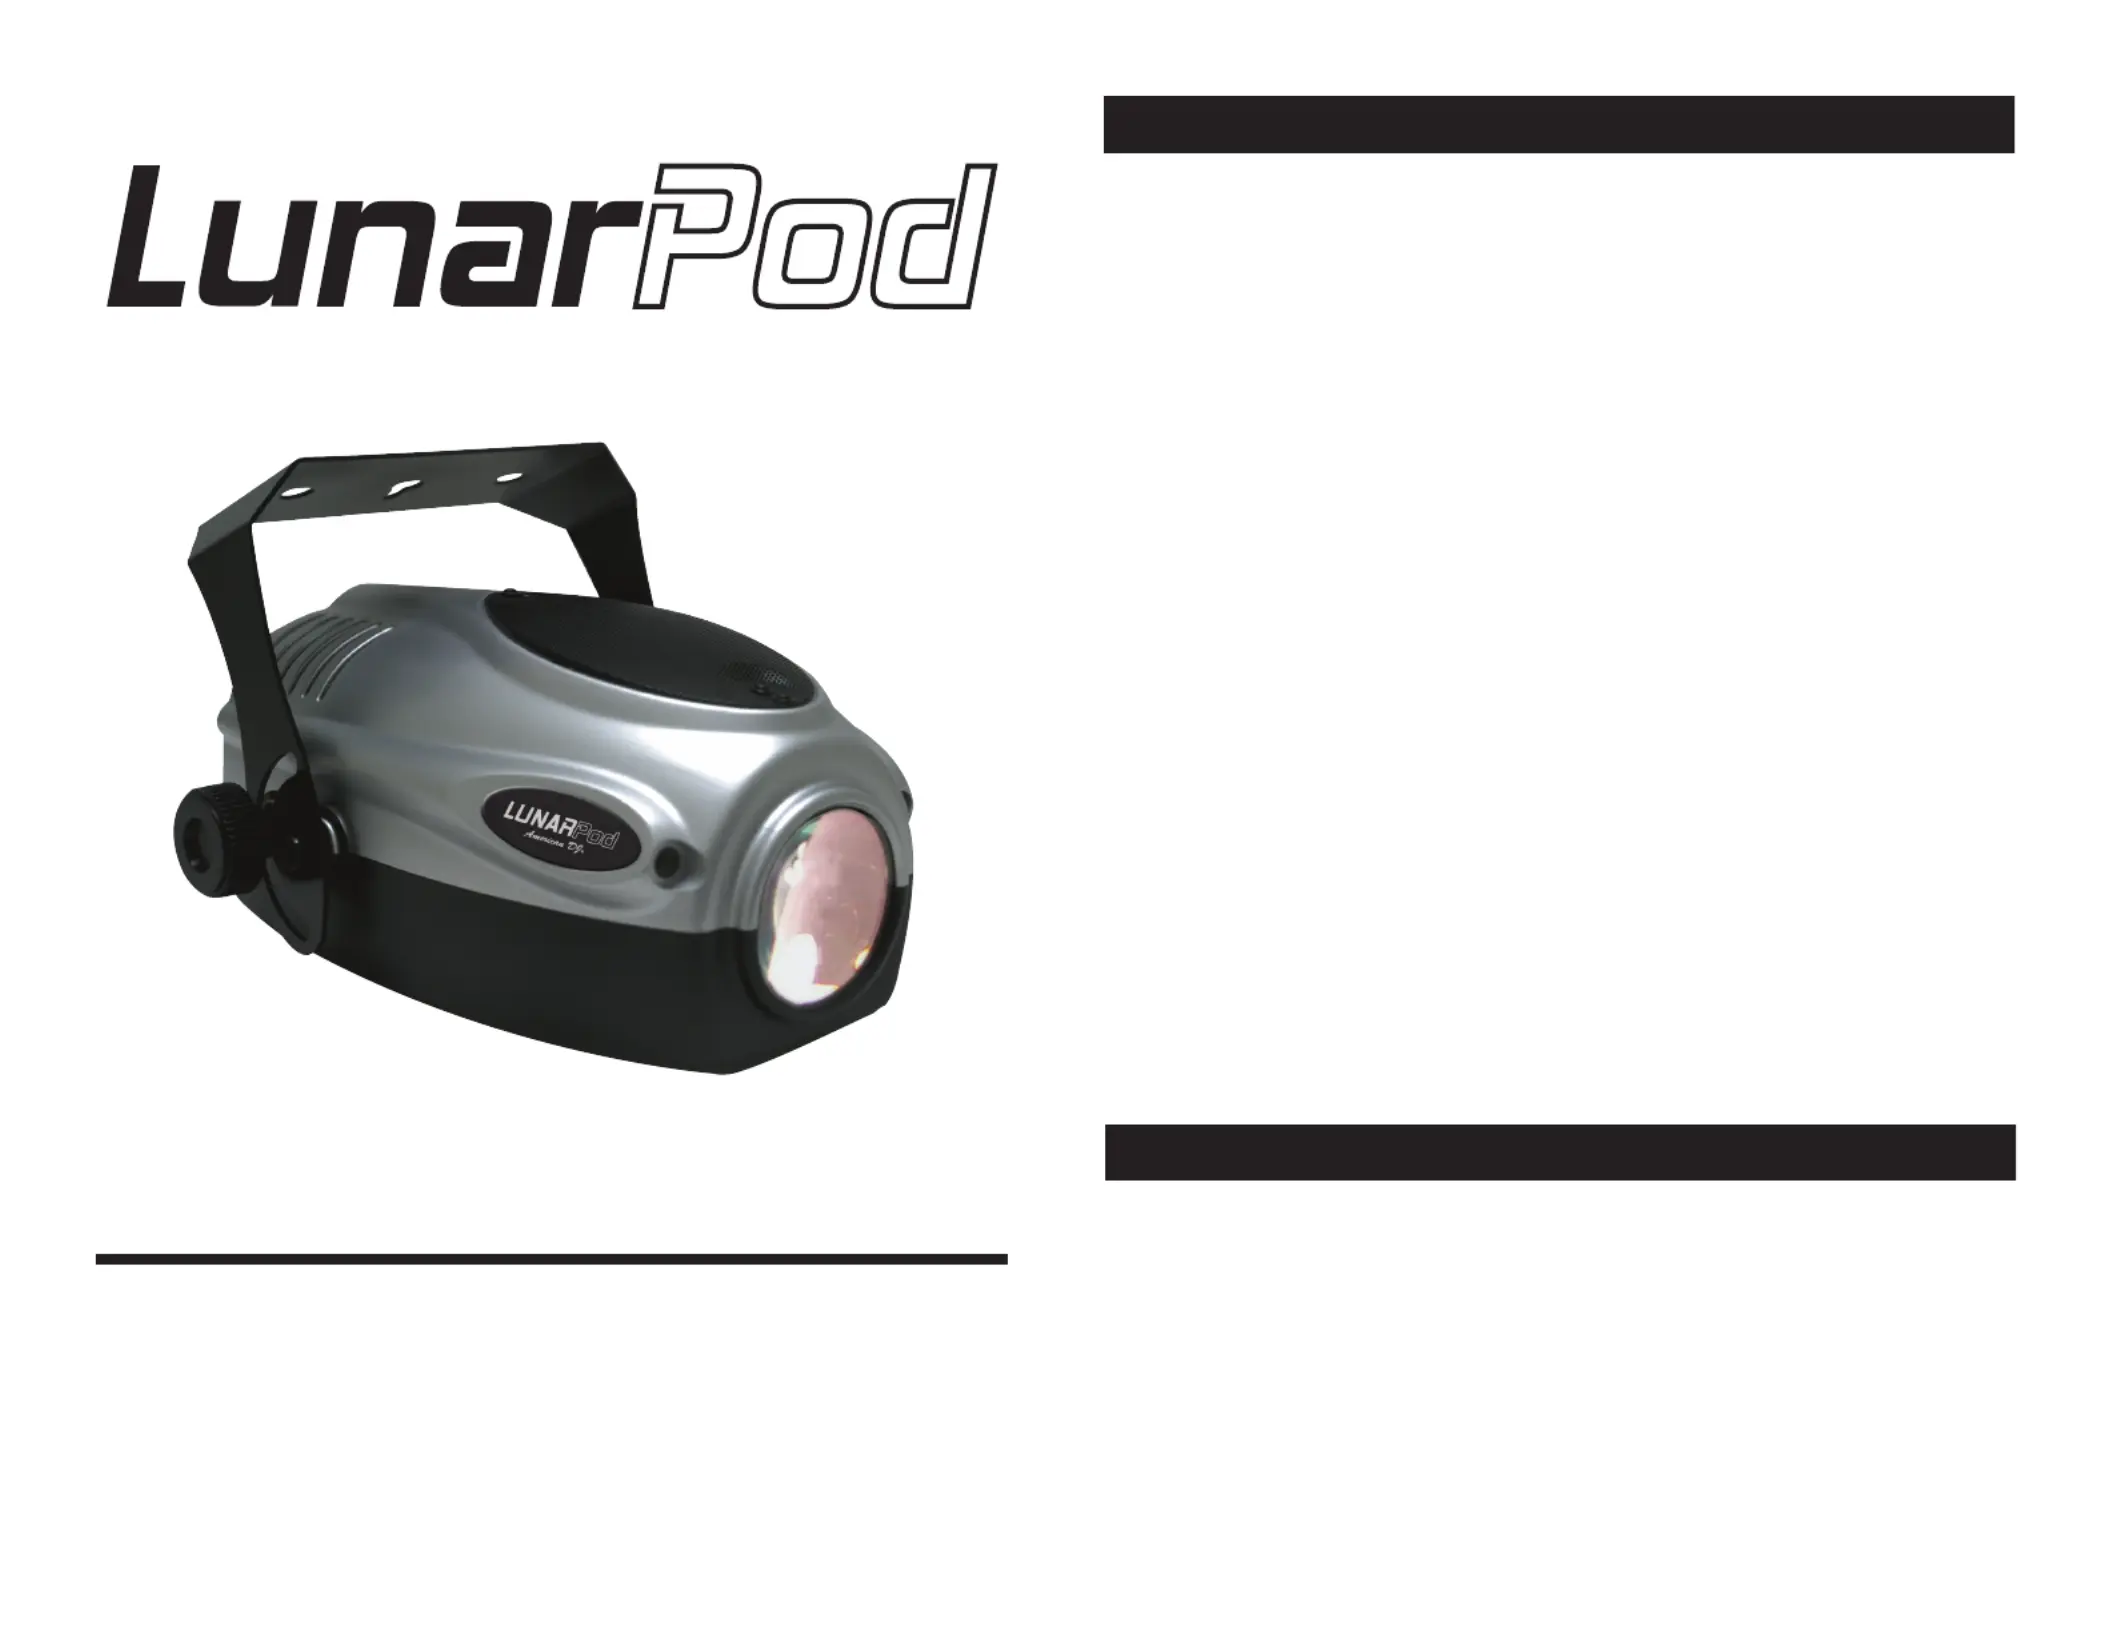
Introduction: Thank you for purchasing the LunarPod™ by American
DJ . The LunarPod™ is an improved version of our popular Crystal™ ®
by American DJ . This new unit includes a clear mirror dish and a new ®
high tech, light weight case design to produce a spectacular static
moonflower effect. This unit also includes superior optics for an overall
crisp light output which intensifies beam intensity. The unit is designed
to work in multiples but looks great as a single unit. For a greater effect
use several units on a chaser or in a chase pattern.
port line, to provide set up help and to answer any question should you
encounter problems during your set up or initial operation. You may
also visit us on the web at www.americandj.com for any comments or
00 p.m. Pacic Standard Time.
Voice: (800) 322-6337
Fax: (323) 582-2610
E-mail: support@americandj.com
To purchase parts online visit http://parts.americandj.com
Warning! To prevent or reduce the risk of electrical shock or re, do
not expose this unit to rain or moisture.
Caution! There are no user serviceable parts inside this unit. Do not
attempt any repairs yourself, doing so will void your manufactures
warranty. In the unlikely event your unit may require service please
contact American DJ.
Please recycle the shipping carton when ever possible.
LunarPod™ Introduction
© ®American DJ Supply - www.americandj.com - LunarPod™ Instruction Manual Page 2
User Instructions
Unpacking: Every LunarPod™ has been thoroughly tested and has
ping carton for damage that may have occurred during shipping. If the
carton appears to be damaged, carefully inspect your units for any
damage and be sure all accessories necessary to operate the system
have arrived intact. In the event damage has been found or parts are
missing, please contact our toll free customer support number for
further instructions. Please do not return the system to your dealer
without rst contacting customer support.
LunarPod™ Unpacking
Revised 6/02
LunarPod™ Operating Instructions
LunarPod™ Warranty Registration
The LunarPod carries a one year (365 days) limited warranty.
Please fill out the enclosed warranty card to validate your purchase.
All returned service items whether under warranty or not, must be
freight pre-paid and accompany a return authorization (R.A.) num-
ber. The R.A. number must be clearly written on the outside of the
return package. A brief description of the problem as well as the R.A.
number must also be written down on a piece of paper and included
vide a copy of your proof of purchase invoice. You may obtain a R.A.
number by contacting customer support at (800) 322-6337.
LunarPod™ Features
• Includes Built-In Hanging Yoke
• Static Unit
• Easy Access Lamp Replacement
• Light Weight
• Futuristic Case Design
• Low Cost LL-BRL 12v/50w Lamp
Halogen Lamp Warning: This fixture is fitted
with halogen lamps which are highly susceptible
to damage if improperly handled. Never touch the
lamps with your bare fingers as the oil from your
hands will shorten lamp life. Also, never move the
fixture until the lamps have had ample time to cool.
Remember, lamps are not covered under warranty
conditions.
LunarPod™ Halogen Lamp Warning
To optimize the performance of this product, please read these
operating instructions carefully to familiarize yourself with the basic
operations of this unit. These instructions contain important safety
information regarding the use and maintenance of this unit. Please
keep this manual with the unit, for future reference.
LunarPod™ General Instructions
© ®American DJ Supply - www.americandj.com - LunarPod™ Instruction Manual Page 3 American DJ Supply - www.americandj.com - LunarPod™ Instruction Manual Page 4© ®
General Operation:
This fixture is designed to operate in multiples or as a single unit. The
ror dish. After plugging this fixture in, the units clear mirror dish will
static sharp crisp beams of light. For a great effect use the unit in
multiples of four or more on a controller such as the American DJ®
T4.™ This will chase the effect in much the same way par cans or pin
spots will chase but with a much more dramatic effect. This fixture
features a light weight case design and a front slot for inserting col-
ored gel sheets in front of the lens for color enhancement. This fixture
is designed for mobile DJ’s, clubs, bands, roller rinks and any arena
that requires a compact, light weight, easy to use fixture. Use a fog
machine or other type of special effect smoke to enhance the beam
intensity. There is no power switch, after plugging the unit in, if there
is no lamp output check the fuse and bulb.
Fuse Holder
LunarPod Bottom Housing
Power Cord
LunarPod™ Rear Panel
Fuse Replacement: Disconnect from the main power supply. Insert a
standard flat head screw driver in to the fuse holder housing as illus-
trated in figure two. Turn the screwdriver in counter-clockwise direction
to remove the fuse holder. Remove the old fuse and discard it, replace
the fuse with the same type. Insert the fuse back into it’s housing.
If you continue to blow fuses, STOP using the unit. Returning the unit
for servicing. Continuing to use the unit may cause serious damage.
Caution: Always replace with the exact same type lamp and fuse,
unless otherwise specified by an authorized American DJ technician.®
Use a at head screwdriver to
remove the fuse holder
© ®American DJ Supply - www.americandj.com - LunarPod™ Instruction Manual Page 5 American DJ Supply - www.americandj.com - LunarPod™ Instruction Manual Page 6© ®
LunarPod™ Lamp Replacement LunarPod™ Fuse Replacement
erwise specified by an authorized American DJ technician. Replace ®
with anything other than the specified part can damage your unit and
will void your manufactures warranty.
Warning: If after replacing the lamp you continue to blow lamps,
STOP using the unit. Contact customer support for further instruc-
tions, you may have to return the unit for servicing. Continuing to use
the unit may cause serious damage.
Lamp Replacement: Disconnect from the main power supply. Be
sure the unit has had ample time to cool before attempting to replace
the lamp. On the front of the unit there is a single thumb screw. Remove
the thumb screw and pull back the front case housing. The housing is
hinged which allows it to pull back without being removed. Remove
the old lamp from the socket assembly. Carefully install the new lamp,
be sure to follow all the installation guide lines that are included with
your new lamp. Close the front cover and replace the thumb screw.
Trouble Shooting: Listed below are a few common problems that you
may encounter, with solutions.
No light output from the unit;
1. Be sure you have connected your unit into a wall outlet with a
matching power supply.
2. Be sure the external fuse has not blown. The fuse is located on the
rear panel.
3. Remove the lamp cover and be sure the lamp is seated in the
socket properly. Occasionally lamps become loose during ship-
ping, be sure the lamp is push in to the socket completely.
4. Be sure the lamp is good.
LunarPod™ Trouble Shooting
Remove the thumb screw on the front of the unit as illustrated below.
Remove the lamp from the socket and insert a new one as illustrated above.


Product specificaties

Merk: American Audio
Categorie: Niet gecategoriseerd
Model: LunarPod

Heb je hulp nodig?

Als je hulp nodig hebt met American Audio LunarPod stel dan hieronder een vraag en andere gebruikers zullen je antwoorden