Adj Ikon LED Handleiding
Adj Niet gecategoriseerd Ikon LED
Bekijk gratis de handleiding van Adj Ikon LED (6 pagina’s), behorend tot de categorie Niet gecategoriseerd. Deze gids werd als nuttig beoordeeld door 44 mensen en kreeg gemiddeld 4.5 sterren uit 3 reviews. Heb je een vraag over Adj Ikon LED of wil je andere gebruikers van dit product iets vragen? Stel een vraag
Pagina 1/6
User Instructions
Rev. 10/13
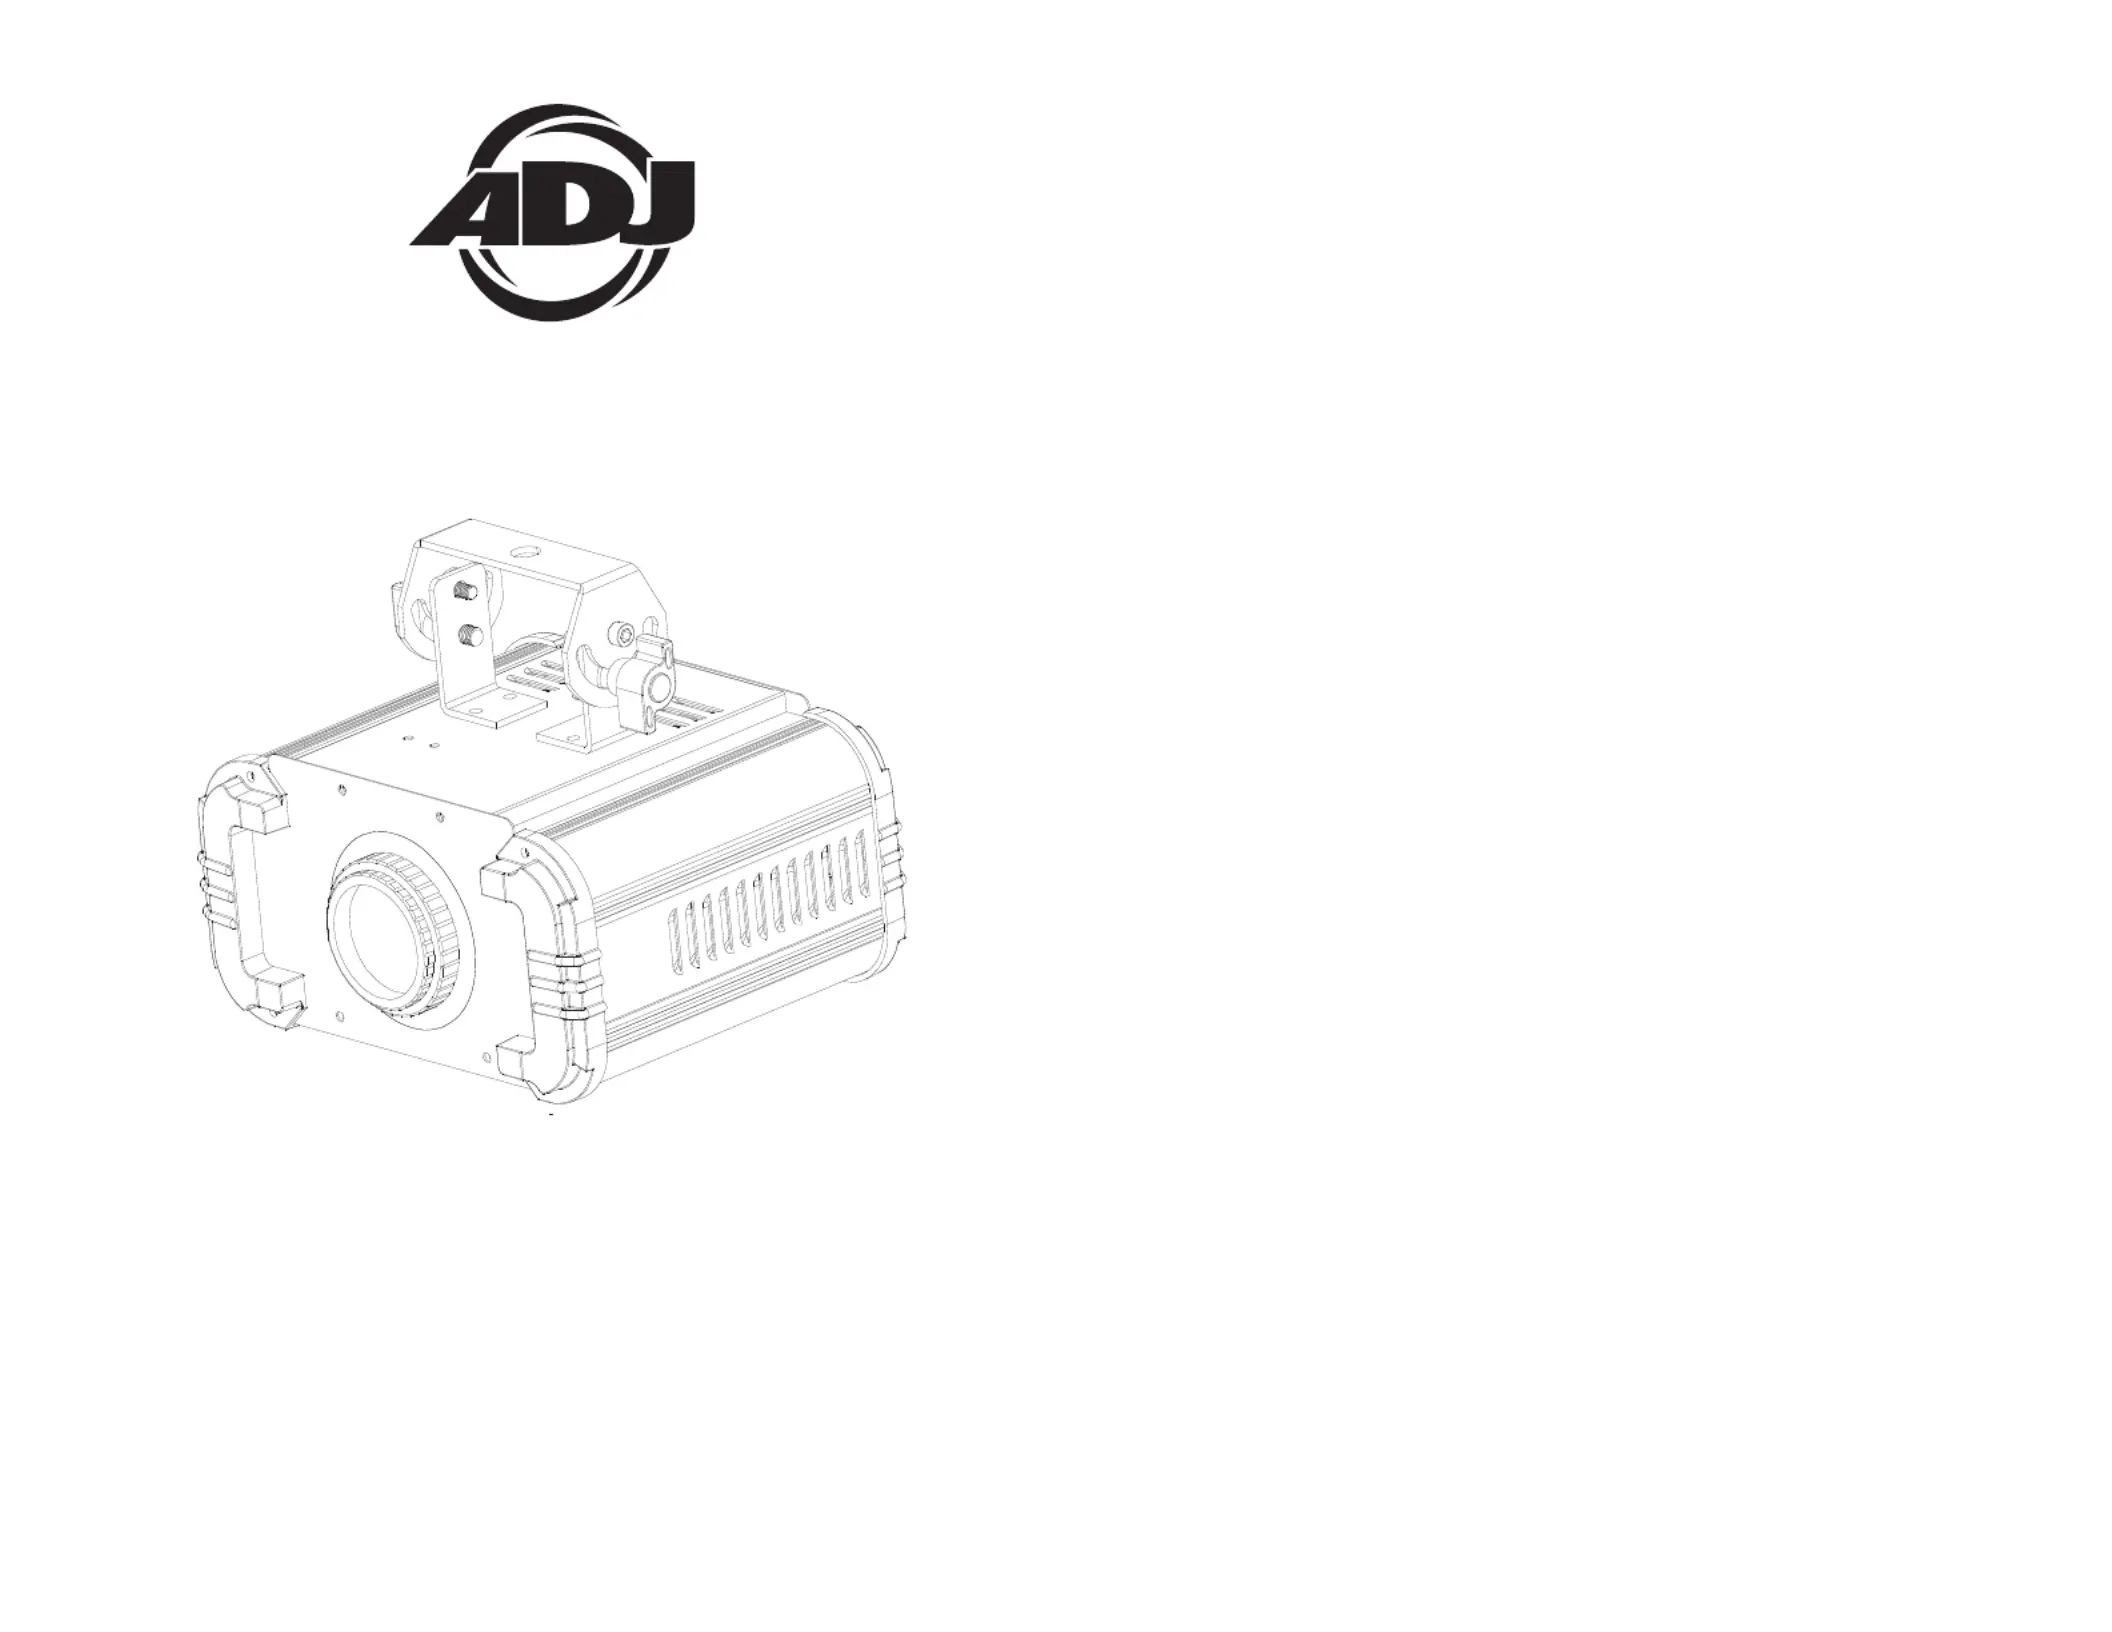
IKON LED
©2013 ADJ Products, LLC all rights reserved. Information,
specications, diagrams, images, and instructions herein are
subject to change without notice. ADJ Products, LLC logo and
identifying product names and numbers herein are trademarks
of ADJ Products, LLC. Copyright protection claimed includes all
forms and matters of copyrightable materials and information
now allowed by statutory or judicial law or hereinafter granted.
Product names used in this document may be trademarks or
registered trademarks of their respective companies and are
hereby acknowledged. All non-ADJ Products, LLC brands and
product names are trademarks or registered trademarks of their
respective companies.
ADJ Products, LLC and all afliated companies hereby dis-
claim any and all liabilities for property, equipment, building,
and electrical damages, injuries to any persons, and direct or
indirect economic loss associated with the use or reliance of
any information contained within this document, and/or as a
result of the improper, unsafe, unsufcient and negligent as-
sembly, installation, rigging, and operation of this product.
Product specificaties
| Merk: | Adj |
| Categorie: | Niet gecategoriseerd |
| Model: | Ikon LED |
Heb je hulp nodig?
Als je hulp nodig hebt met Adj Ikon LED stel dan hieronder een vraag en andere gebruikers zullen je antwoorden
Handleiding Niet gecategoriseerd Adj

4 Mei 2026
3 Mei 2026
3 Mei 2026
4 Maart 2026
20 December 2025
13 Oktober 2025
12 Oktober 2025
12 Oktober 2025
12 Oktober 2025
12 Oktober 2025
Handleiding Niet gecategoriseerd
Nieuwste handleidingen voor Niet gecategoriseerd
8 Juni 2026
8 Juni 2026
8 Juni 2026
8 Juni 2026
8 Juni 2026
8 Juni 2026
8 Juni 2026
8 Juni 2026
8 Juni 2026
8 Juni 2026