Zoom F8 Handleiding
Bekijk gratis de handleiding van Zoom F8 (35 pagina’s), behorend tot de categorie Tuner erősítő. Deze gids werd als nuttig beoordeeld door 12 mensen en kreeg gemiddeld 4.0 sterren uit 2 reviews. Heb je een vraag over Zoom F8 of wil je andere gebruikers van dit product iets vragen? Stel een vraag
Pagina 1/35
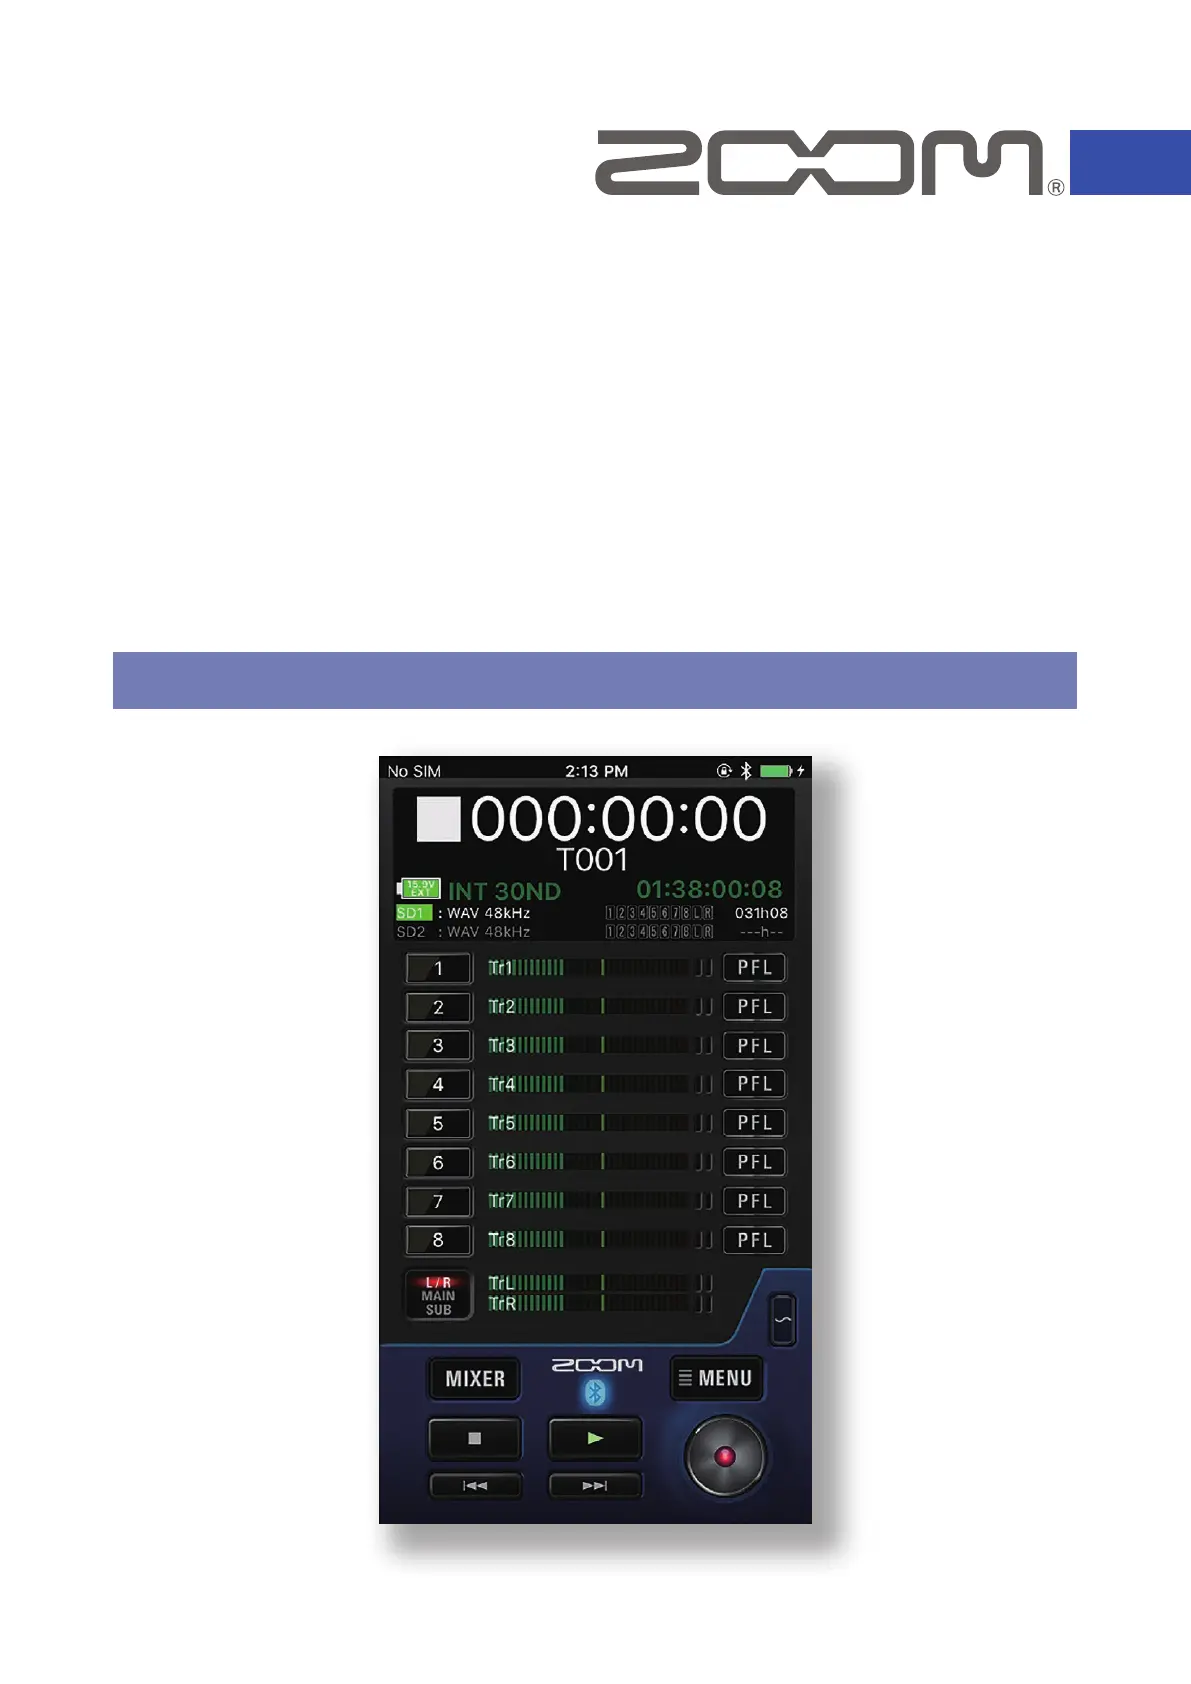
Operation Manual
© 2022 ZOOM CORPORATION
Copying or reprinting this manual in part or in whole without permission is prohibited.
This document cannot be displayed properly on black-and-white displays.
F8 Control for iOS/iPadOS
Version 2.3
F8 Control for Android
Version 1.0
Product specificaties
| Merk: | Zoom |
| Categorie: | Tuner erősítő |
| Model: | F8 |
Heb je hulp nodig?
Als je hulp nodig hebt met Zoom F8 stel dan hieronder een vraag en andere gebruikers zullen je antwoorden
Handleiding Tuner erősítő Zoom

12 Mei 2023
12 Mei 2023
12 Mei 2023
12 Mei 2023
12 Mei 2023
12 Mei 2023
Handleiding Tuner erősítő
Nieuwste handleidingen voor Tuner erősítő
8 Juli 2023
8 Juli 2023
8 Juli 2023
16 April 2022
11 Februari 2022