Zadro MAG10 Handleiding
Bekijk gratis de handleiding van Zadro MAG10 (2 pagina’s), behorend tot de categorie Lamp. Deze gids werd als nuttig beoordeeld door 64 mensen en kreeg gemiddeld 4.4 sterren uit 32.5 reviews. Heb je een vraag over Zadro MAG10 of wil je andere gebruikers van dit product iets vragen? Stel een vraag
Pagina 1/2

plug, if it is not working properly, if it has been dropped
or damaged, or dropped into water. Return unit to
manufacturer for examination and repair.
• Keep the cord away from heated surfaces.
• Never operate where aerosol (spray) products are
being used, or where oxygen is administered.
• Todisconnect,iptheswitchtothe“OFF”position,then
remove plug from outlet.
This product is provided with a polarized plug. As a safety
feature, this plug will t in a polarized outlet only one way.
If the plug does not t, reverse the plug. If it still does not
t, contact a qualied electrician. Do not attempt to defeat
this safety feature.
CARE AND MAINTENANCE
• Alwaysunplugthemagnierbeforecleaning.
• Use only a soft, damp cloth or non-abrasive cleaner to
clean.
Instructions for tightening and loosening magnier
neck:
Ifmagnierneckrequiresadjustment:
1. Locatetighteningknobnexttomagnicationhead.
2. Turnknobcounterclockwisetoloosenmagnication
neck.
3. Movemagnicationnecktodesiredlocation.
4. To hold neck location, turn knob clockwise until knob
is tight.
90 Day Limited Warranty
90 day limited warranty from date of purchase
against defects in materials and workmanship.
This warranty does not include damage to the
product as a result of misuse or accident.
Should your product become defective during
the warranty period, package the item securely
and return it, prepaid/insured, along with proof
ofpurchaseto:ZadroHealthSolutions,Inc.Attn:
Customer Service.
To ensure prompt repair, be sure that you provide
complete legible information and a note indicating
the nature of the product defect. We will repair or
replace (at our sole discretion) your product at no
charge. Please include a $10 check or money order
to cover return postage and handling charges.
ZadroHealthSolutions,Inc.shallnotbeliablefor
anyincidentalorconsequentialdamagesarisingout
of defects in this product, whether or not caused by
its negligence.
Some states do not allow the exclusion or limitation
ofincidentalorconsequentialdamagesorallow
limitations on how long an implied warranty lasts, so
the above limitations or exclusions may not apply
toyou.Thiswarrantygivesyouspeciclegalrights
and you may also have other rights, which vary
from state to state.
Thank you for choosing
Zadro Health Solutions, Inc.
© Zadro Health Solutions, Inc.
5422 Argosy Ave.
Huntington Beach, CA 92649
(800) 468-4348 • (714) 892-9200
Fax: (714) 892-7477
Email: zadrohs@zadrohs.com
www.zadrohs.com
Clamp-On Magnifying Lamp
Model No. MAG10
READ ALL INSTRUCTIONS BEFORE USE
FEATURES
The dual magnication desk lamp doubles as a
desk light and a magnier. It has the following
specications:
• 1.75XMagnicationMainLens(5”Diameter)
• 90SuperBrightLEDLights
•LEDLightsrecreatetheeffectsofNatural
Daylight
•LEDLightsuseupto70%lesselectricitythan
standard bulbs
• Protective Lens Cover guards against dust, scratches,
and damage
• AdjustableNeckandHeadforimprovedlighting
& viewing
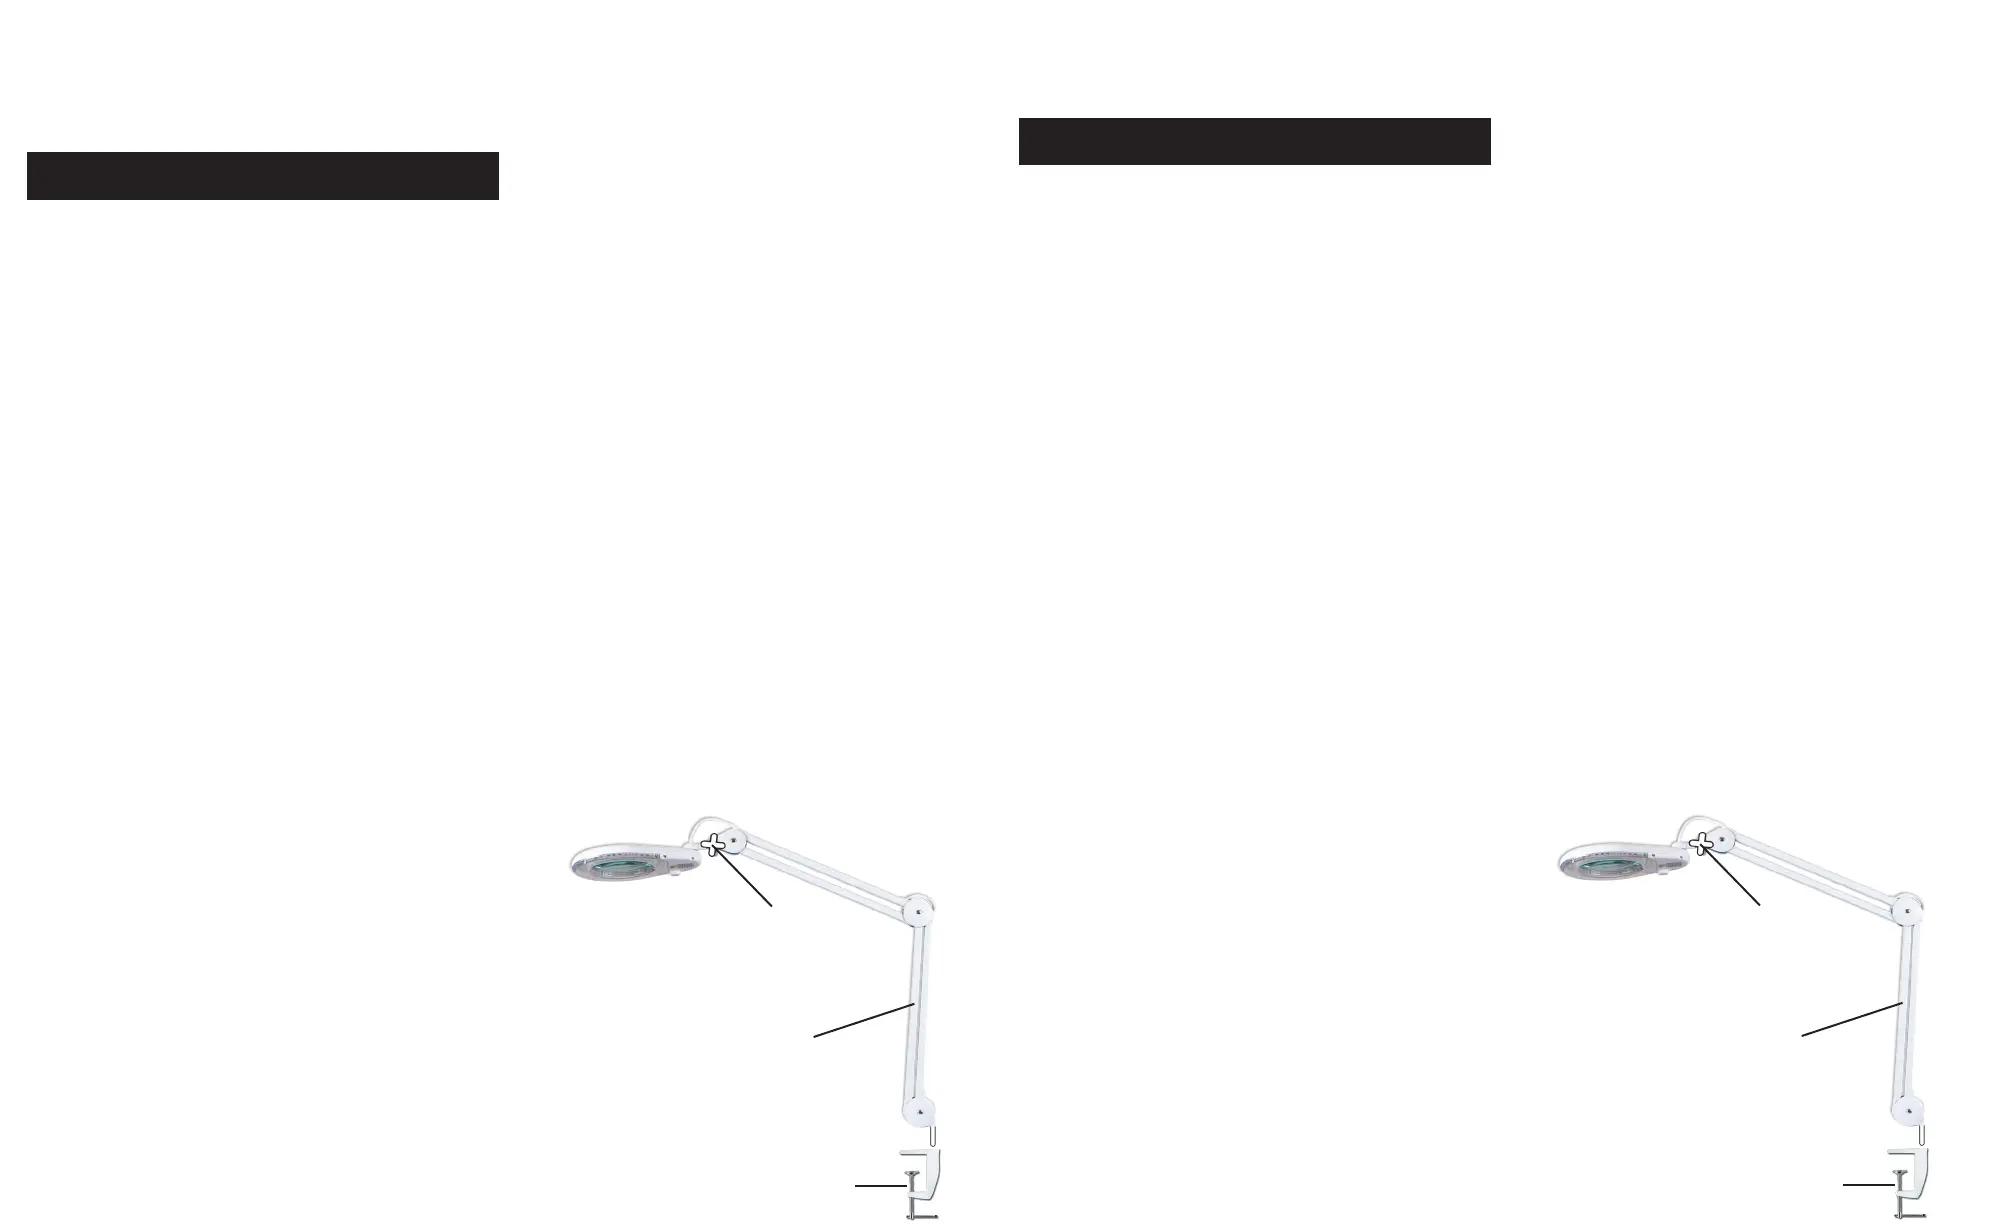
MOUNTING INSTRUCTIONS
1. Remove unit and unwrap all pieces from packaging.
2. Take provided mounting bracket and attach to desired
location.
3. Turn mounting bracket handle counter clockwise to
tighten against desired mounting location.
NOTE:Donotovertightenmountingbracket.
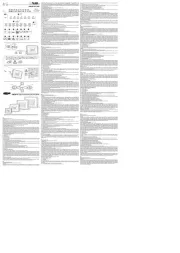
4. Placemagnicationunitintomountingbracket.(See
diagram)
OPERATING INSTRUCTIONS
1. PlugClamp-OnMagnicationLampintoelectrical
outlet.
2. Toturnonlights,simplyiptheswitchonthetopof
themagnier.
3. Afteruse,alwaysswitchtothe“OFF”position.
4. YourNaturalDaylightClamp-OnMagnicationLampis
angleandheightadjustable.
DANGER/WARNING
To reduce the risk of burns, re, electric shock, or
injury to persons:
• Donotleavethemagnierindirectsunlightorallow
sunlight to pass through the lens.
• Donotuseoutdoors.
• Usethismagnieronlyforitsintendeduseasdescribed
inthismanual.Donotuseattachmentsunlesstheyare
recommended by the manufacturer.
• Neveroperatethismagnierifithasadamagedcordor
Important Safety Instructions
Standard Logo:
Dark Printing Logo:
Black & White Printing Logo:
Rev.06252012
Important Safety Instructions
Standard Logo:
Dark Printing Logo:
Black & White Printing Logo:
MAG10
NATURAL DAYLIGHT
Clamp-On
Magnifying Lamp
MagnicationUnit
Tightening Knob
Mounting Bracket
• No use al aire libre.
• Utilice esta lupa sólo para su uso previsto como se
describe en este manual. No utilice accesorios no
recomendados por el fabricante.
• Nunca opere esta lupa si tiene un cable o enchufe
dañado, si no funciona correctamente, si se p2-ha caído
odañado,ocaídoalagua.Devolverlaunidadal
fabricante para su revisión y reparación.
• Mantengaelcablelejosdesuperciescalientes.
• Nunca opere en aerosol (spray) se utilizan productos, o
donde el oxígeno se administra.
• Para desconectar, girar el interruptor a la posición
“OFF”,luegoretireelenchufedeltomacorriente.
Este producto está equipado con un enchufe polarizado.
Como medida de seguridad, se podrá enchufar en un
tomacorriente polarizado de una sola manera. Si el
enchufe no encaja, déle la vuelta. Si aún así no encaja,
póngase en contacto con un electricista calicado. No
trate de alterar esta medida de seguridad.
CUIDADO Y MANTENIMIENTO
• Desenchufesiemprelalupaantesdelimpiarlo.
• Use solo un paño suave y humedo o un limpiador no
grasoso para limpiar
Instrucciones para apretar y aojar el cuello lupa:
Sielcuelloluparequiereunajuste:
1. Busqueaprietelaperillajuntoalacabezade
ampliación.
2. Girelaperillahacialaizquierdaparaaojarelcuello
de ampliación.
3. Mueva el cuello de ampliación a la ubicación
deseada.
4. Para mantener la ubicación del cuello, gire la perilla
hacialaderechahastaqueelbotónesapretado.
Pinza de Ampliación de la lám-
para
Número de modelo: MAG10
LEA TODAS LAS INSTRUCCIONES ANTES DE
USAR
CARACTERÍSTICAS
La lámpara de escritorio de doble amplicación
se dobla como una luz de escritorio y una lupa.
Cuenta con las siguientes especicaciones:
• 1.75xdeampliacióndelobjetivoprincipal(5“de
diámetro)
• 90SuperlucesLEDbrillantes
•LucesLEDderecrearlosefectosdelaluznatural
•LaslucesLEDutilizanhastaun70%menos
electricidadquelasbombillasestándar
• Protección para cubrir el lente contra el polvo, los
arañazos y daños
• Cuelloycabezaadjustableparaunamajoriluminacion
y visualizacion
INSTRUCCIONES DE MONTAJE
1. Retire la unidad y desenvolver todas las piezas del
empaque.
2. Tomesiempreelsoportedemontajeyjeala
ubicación deseada.
3. Girelamanijadesoportedemontajedelasagujas
delrelojparaapretarcontralaubicacióndemontaje
deseada.
NOTA:Noaprietedemasiadoelsoportedemontaje.
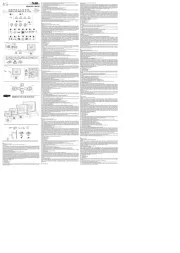
4. Coloquelaunidaddeaumentoenelsoportede
montaje.(Veaeldiagrama)
INSTRUCCIONES DE USO
1. Conecte la lámpara de pinza de ampliación en la toma
de corriente eléctrica.
2. Paraencenderlasluces,sólotienequeaccionarel
cambio de la parte superior de la lupa.
3. Despuésdesuuso,siemprecambiealaposición
“OFF”.
4. Tu Luz Natural de pinza de la lámpara El aumento es
enánguloyalturaajustable.
PELIGRO / ADVERTENCIA
Para reducir el riesgo de quemaduras, incendio,
choque eléctrico o lesiones a personas:
• Nodejelalupaconluzsolardirectaopermitirquelaluz
del sol pase a través de la lente.
Instrucciones importantes de seguridad
Unidad de Ampliaci
ón
Aprieta la Perilla
SoportedeMontaje
prévu, comme décrit dans ce manuel. Ne pas utiliser
d’accessoires non recommandés par le fabricant.
• Nejamaisfairefonctionnercetteloupesielledispose
d’uncordonouunecheendommagé,siellene
fonctionne pas correctement, si elle a été échappé ou
endommagé, ou s’il est tombé dans l’eau. Retourner
l’appareil au fabricant pour inspection et réparation.
• Gardez le cordon loin des surfaces chauffées.
• Nefaitesjamaisfonctionnerdanslequeldesaérosols)
on utilise des produits, ou de l’oxygène est administré.
• Pour déconnecter, appuyez sur l’interrupteur à la
position«OFF»,puisretirezlachedelaprise.
Ce produit est fourni avec une che polarisée. Par
mesure de sécurité, cette che ne s’insère dans
une prise polarisée que dans un seul sens. Si la
che ne rentre pas, inverser la che. Si elle ne
rentre toujours pas, contactez un électricien qualié.
Ne pas essayer de contourner ce dispositif de
sécurité.
ENTRETIEN ET MAINTENANCE
• Toujoursdébrancherlaloupeavantdelenettoyer.
• Utilisezuniquementunchiffondouxhumideounon-
abrasif pour nettoyer.
Instructions pour serrer et desserrer le cou loupe:
Silecouloupenécessiteunajustement:
1. Localisez le bouton de serrage côté de la tête de
grossissement.
2. Tourner le bouton de gauche pour desserrer le cou
grossissement.
3. Déplacezlecouagrandissementàl’endroitdésiré.
4. Pour tenir lieu du cou, tournez le bouton vers la
droitejusqu’àcequeleboutonestbienserré.
Clamp-On Lampe loupe
Numéro de modèle: MAG10
LIRE TOUTES LES INSTRUCTIONS AVANT
L’EMPLOI
CARACTÉRISTIQUES
The dual magnication desk lamp doubles as a
desk light and a magnier. It has the following
specications:
• 1.75XLentilleGrossissementprincipal(5“de
diamètre)
• 90SuperBrightLEDLights
•LumièresLEDderecréerleseffetsdelalumière
naturelle
•LumièresDELutilisentjusqu’à70%moins
d’électricitéquelesampoulesordinaires
• Deprotectiondesgardescachedel’objectifcontrela
poussière, les rayures et les dommages
• Cou réglable et chef pour l’éclairage amélioré
• &afchage
INSTRUCTIONS DE MONTAGE
1. Retirez l’unité et déballer toutes les pièces de
l’emballage.
2. Prenezfournilesupportdemontageetxezàl’endroit
désiré.
3. Tournez la poignée support de montage dans le
sens antihoraire pour serrer contre emplacement de
montage désiré.
NOTE:Nepastropserrerlesupportdemontage.
4. Placez l’unité de grossissement dans le support de
montage.(Voirschéma)
MODE D’EMPLOI
1. Branchezlalampeàpinceoptiquedanslaprise
électrique.
2. Pour allumer les lumières, tout simplement appuyer
sur l’interrupteur en haut de la loupe.
3. Aprèsutilisation,metteztoujoursàlaposition«OFF».
4. VotreLumièredujouràpinceLampeagrandissement
est l’angle et réglable en hauteur.
DANGER / AVERTISSEMENT
Pour réduire le risque de brûlures, d’incendie, de choc
électrique, ou de blessures:
• Ne laissez pas la loupe en plein soleil ou la lumière du
soleil permet de passer à travers la lentille.
• Ne pas utiliser à l’extérieur.
• Utilisezcetteloupeuniquementpoursonusage
Consignes de sécurité importantes
Unité de Grossissement
Serrage Bouton
Support de Montage
Product specificaties
| Merk: | Zadro |
| Categorie: | Lamp |
| Model: | MAG10 |
Heb je hulp nodig?
Als je hulp nodig hebt met Zadro MAG10 stel dan hieronder een vraag en andere gebruikers zullen je antwoorden
Handleiding Lamp Zadro

16 April 2024
Handleiding Lamp
- Lirio By Philips
- Lutec
- Einhell
- Trust
- Digitus
- G3 Ferrari
- Velamp
- Kartell
- Perfect Christmans
- Physa
- Hansa
- Schwaiger
- Eufy
- Lume Cube
- KonstSmide
Nieuwste handleidingen voor Lamp

18 September 2025

18 September 2025
18 September 2025
16 September 2025
15 September 2025
13 September 2025

13 September 2025
12 September 2025
12 September 2025
12 September 2025