XU1 XSG-100U Handleiding
Bekijk gratis de handleiding van XU1 XSG-100U (2 pagina’s), behorend tot de categorie Verfspuit. Deze gids werd als nuttig beoordeeld door 39 mensen en kreeg gemiddeld 4.0 sterren uit 3 reviews. Heb je een vraag over XU1 XSG-100U of wil je andere gebruikers van dit product iets vragen? Stel een vraag
Pagina 1/2
SAFETY
INSTRUCTIONS
ALWAYS WEAR EYE, FACE
AND EAR PROTECTION
When operating the tool
Electrical safety
Using an extension lead
Spray Gun Safety Warnings
Check that the switch is in the “OFF” position before
connecting to the power supply. Switch to “OFF”
immediately after completion of the task.
Keep the mains cable away from any moving parts or
accessories.
Never cover the ventilation slots in the tool.
Always use an approved extension lead suitable for
the power input of this tool. Before use, inspect the
extension lead for signs of damage, wear and ageing.
Replace the extension lead if damaged or defective.
When using an extension lead on a reel, always
unwind the lead completely. Use of an extension lead
not suitable for the power input of the tool or which is
damaged or defective may result in a risk of re and
electric shock.
The power supply for this product should be protected
by a residual current device (rated at 30mA or less).
A residual current device reduces the risk of electric
shock.
If the supply cord is damaged, it must be replaced
by the manufacturer, its service agent or similarly
qualied persons in order to avoid a hazard.
Original Instructions
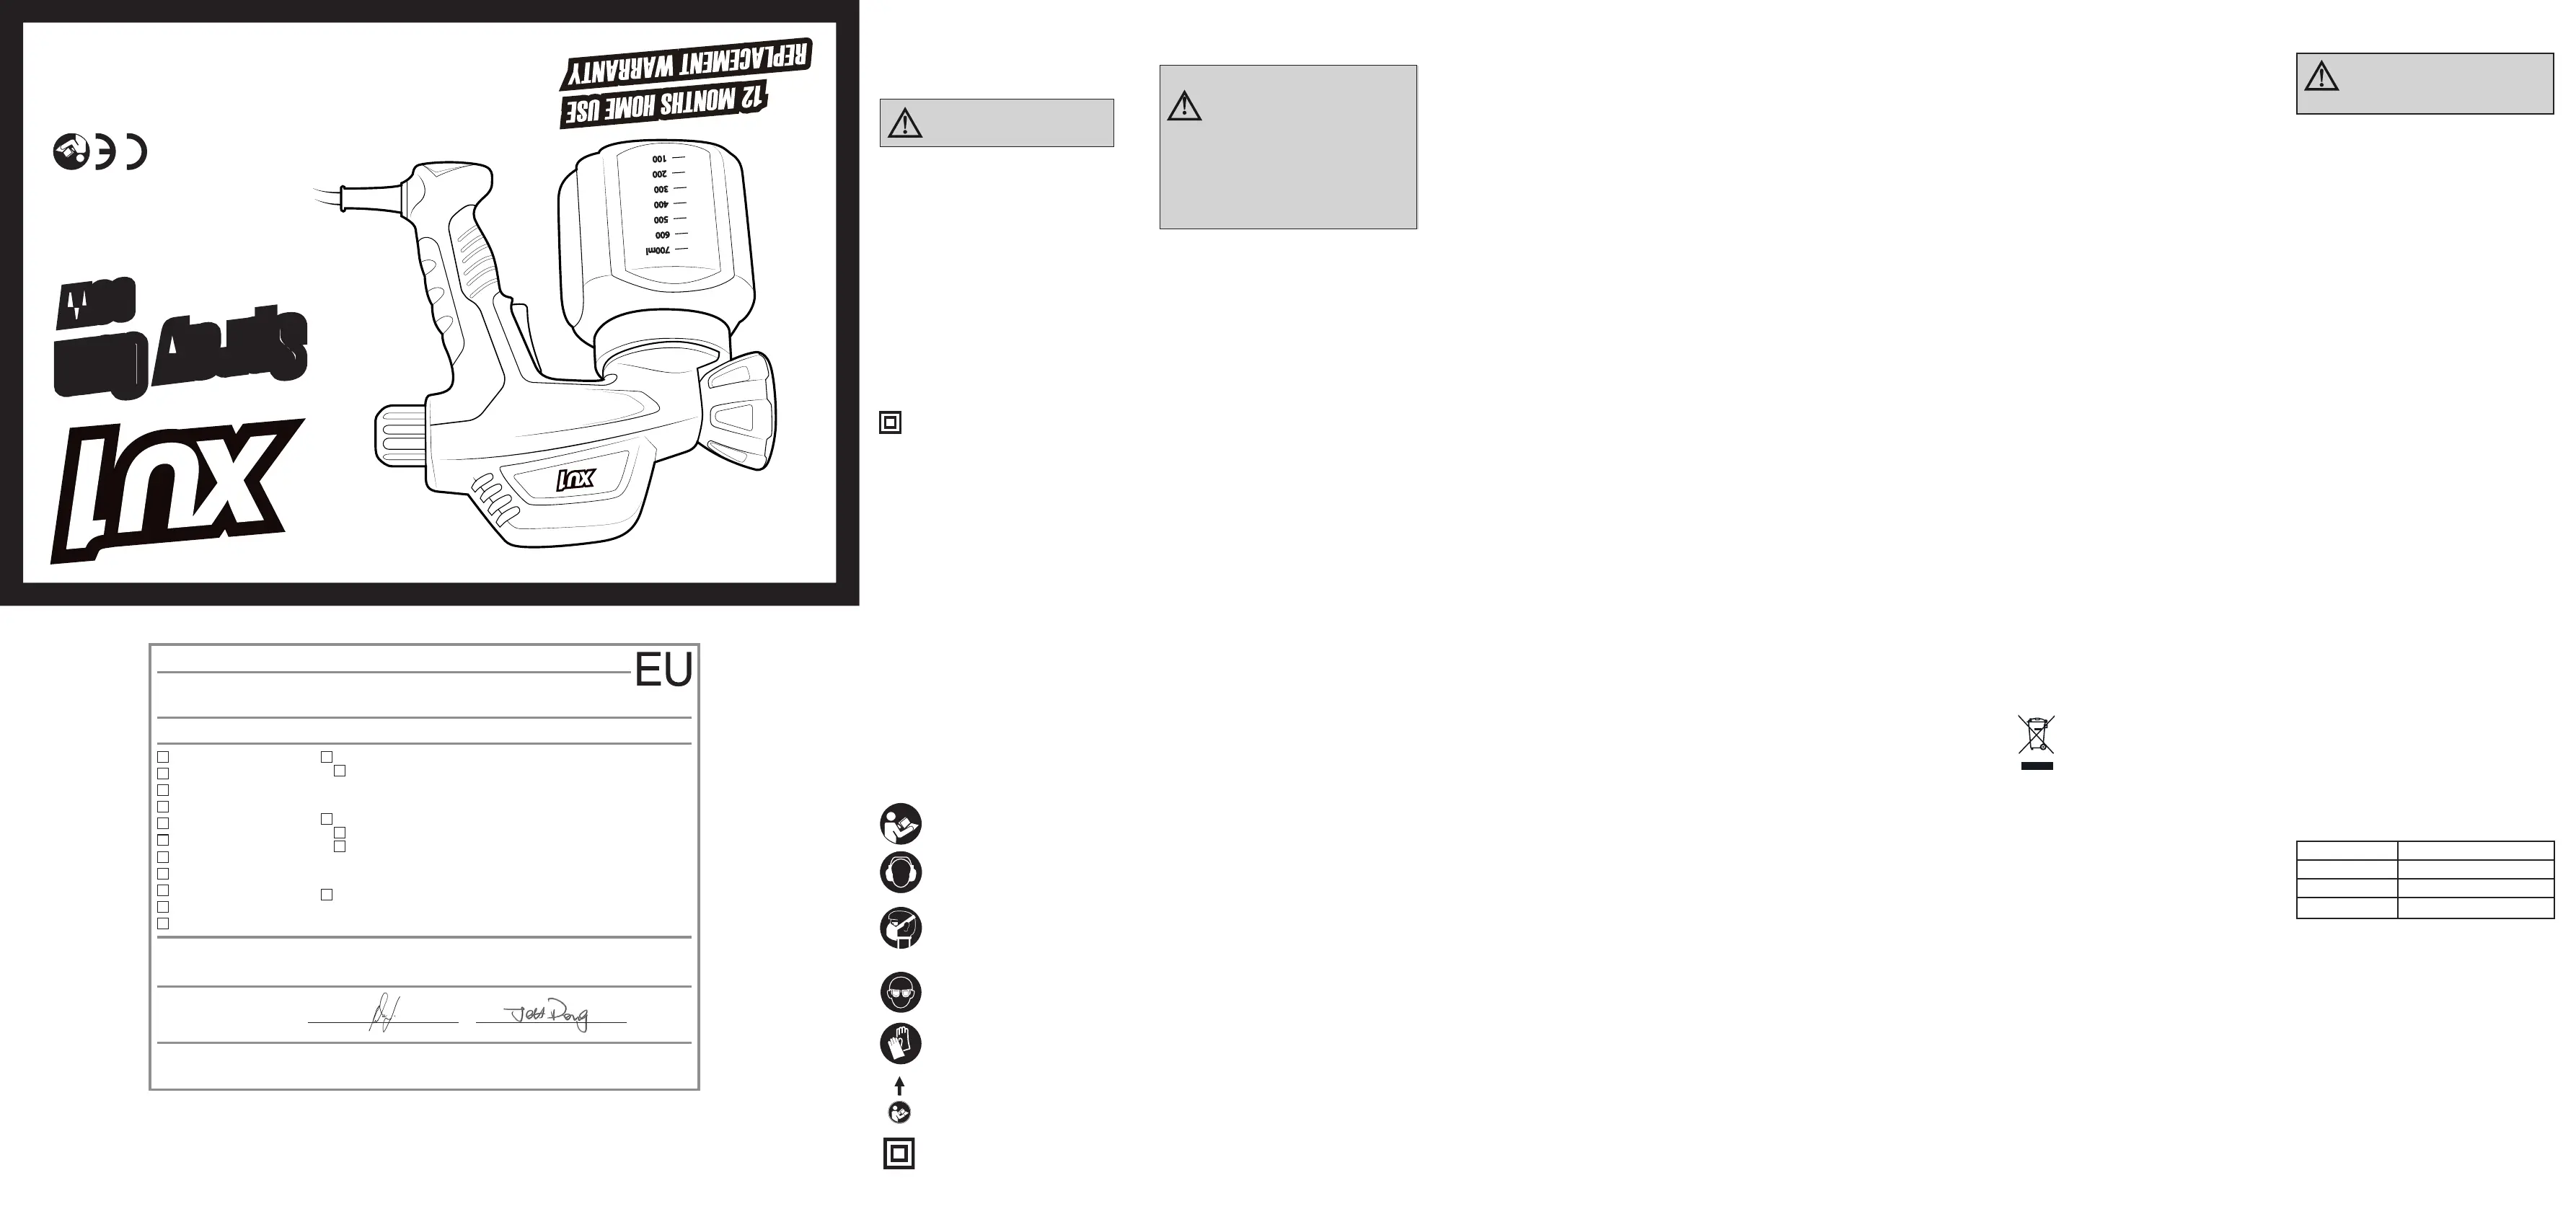
XSG-100U
60W
Spray Gun
• Always disconnect the mains plug before doing any work
on the equipment.
• You may only spray materials such as paint, lacquer,
varnish, etc. which have a ash point above 55°C, without
additional heating. (Hazard Class A II or A III, refer to
material tin)
• Be aware of the hazards associated with the material you
are spraying. Read the hazard information on the tin or the
information provided by the manufacturer.
• Follow the manufacturer‘s safety precautions when
working with the material you are spraying.
• Do not spray any materials if you do not know how
hazardous they are.
• Use personal protective equipment (face mask) which
lters the air to avoid inhalation of spray mist.
• Wear gloves and protective clothing to avoid skin contact
with the paint.
• Wear suitable eye protection (goggles).
• The work area must exceed 30m
3
, and sufcient ventilation
must be ensured during spraying and drying.
• Be aware that paint and lacquer can be highly inammable
and potentially explosive. There must be no ignition
sources such as replaces, open ames, buring cigarettes
or machines that generate sparks.
• The paint spray gun may not be used in premises were the
explosion protection directive applies.
• When you are spraying, there must be no ignition sources
nearby such as open ames, cigarette smoking, sparks,
hot glowing wires, hot surfaces, etc.
• The paint spray gun must not be used to spray ammable
substances.
• Flammable solvents must not be used to clean the paint
spray gun.
• INJURY RISK! Never point the paint spray gun at yourself,
other people or animals.
• Properly dispose of residual paint and cleaning agents in
accordance with local laws and regulations.
• Residual paint must be taken to a suitable collection point.
If you are not sure, ask the local council where the nearest
collection point is.
• When you are working with the paint spray gun indoors or
outdoors, the gun must not suck in any solvent fumes.
• When you are working outdoors, pay attention to the wind
direction. The wind can distribute the material over long
distances and cause damage.
• Do not allow children to handle the gun.
• Never open the gun to carry out electrical repairs.
• Spraying into the skin can introduce toxins into the body.
Call a doctor immediately if the jet causes a skin injury or
penetrates the skin.
• Children are not allowed to use this equipment. Children
should be supervised so that they do not play with the
equipment. Children are not allowed to carry out cleaning
or maintenance.
• This equipment must not be used by persons with reduced
physical, sensory or mental capacities or those with a lack
of experience and knowledge.
Materials to be used:
1. Paints and varnishes containing solvents, acrylic
enamel paints, water-soluble varnishes, glazes,
polishes, wood preservatives, disinfectants, plant
protectives, saturants, as well as oils and other watery
liquids.
The following spray substances are not
suitable for use:
Dispersion and latex paints, materials containing
strong abrasives, glazes with coarse particles,
strippers and caustic solutions, silicate paints.
Use of these spray materials can lead to increased
wear or corrosion damage in the pump area.
21
700ml700ml
600600
500500
400400
300300
200200
100100
Dong/Product-Management
Weichselgartner/General-Manager
explains the following conformity according to EU directives and norms for
the following product
Spray Gun XSG-100U (XU1)
2014/29/EU
2005/32/EC_2009/125/EC
2014/35/EU
2006/28/EC
X
2014/30/EU
2014/32/EU
2014/53/EC
2014/68/EU
90/396/EC_2009/142/EC
89/686/EC_96/58/EC
X
2011/65/EU
X
2006/42/EC
Annex IV
Notied Body:
Notied Body No.:
Reg. No.:
2000/14/EC_2005/88/EC
Annex V
Annex VI
Noise: measured L
WA
= dB (A); guaranteed L
WA
= dB (A)
P = KW; L/Ø = cm
Notied Body:
2012/46/EU
Emission No.:
Standard references: EN 60745-1; EN 50580; EN 62321;
EN 55014-1; EN 55014-2; EN 61000-3-2; EN 61000-3-3
Landau/Isar, den 01.08.2017
First CE: 17 Archive-File/Record: NAPR017202
Art.-No.: 30.001.62 I.-No.: 11017 Documents registrar: R. Gehard
Subject to change without noticeWiesenweg 22, D-94405 Landau/Isar
ISC GmbH · Eschenstraße 6 · D-94405 Landau/Isar
3000162_11017_XSG-100U.indd 13501.09.2017 08:48:41
XU1 Power tools
XSG-100U 0917
Telephone: GB: 0151 294 4488 / IRL: 1850 882711
This tool is double insulated; therefore no
earth wire is required.
Before you connect the charger to the mains supply
make sure that the data on the rating plate are identical
to the mains data.
Description of symbols
Wear eye protection
Double insulated (Protection Class II)
Note! Disassemble and clean the equipment
immediately after each use. This is the only way to
keep the wetted parts clean and prevent clogging. Parts
that are not cleaned can become clogged, causing an
equipment fault.
Caution! Wear gloves.
Danger! - Read the operating instructions to
reduce the risk of inquiry
Caution! Wear ear-muffs. The impact of noise
can cause damage to hearing.
Caution! Wear a breathing mask. Dust which
is injurious to health can be generated when
working on wood and other materials. Never use
the device to work on any materials containing
asbestos!
General Power Tool Safety
Warnings
WARNING! Read all safety
warnings and all instructions. Failure
to follow the warnings and instructions may
result in electric shock, re and/or serious
injury.
Save all warnings and instructions
for future reference. The term “power
tool” in all of the warnings refers to your
mains-operated (corded) power tool or battery-
operated (cordless) power tool.
1. Work area safety
a. Keep work area clean and well lit. Cluttered or
dark areas invite accidents.
b. Do not operate power tools in explosive
atmospheres, such as in the presence of
ammable liquids, gases or dust. Power tools
create sparks which may ignite the dust or fumes.
c. Keep children and bystanders away while
operating a power tool. Distractions can cause you
to lose control.
2. Electrical safety
a. Power tool plugs must match the outlet.
Never modify the plug in any way. Do
not use any adapter plugs with earthed
(grounded) power tools. Unmodied plugs and
matching outlets will reduce risk of electric shock.
b. Avoid body contact with earthed or
grounded surfaces, such as pipes,
radiators, ranges and refrigerators. There is
an increased risk of electric shock if your body is earthed
or grounded.
c. Do not expose power tools to rain or wet
conditions. Water entering a power tool will increase
the risk of electric shock.
d. Do not abuse the cord. Never use the cord
for carrying, pulling or unplugging the
power tool. Keep cord away from heat, oil,
sharp edges or moving parts. Damaged or
entangled cords increase the risk of electric shock.
e. When operating a power tool outdoors, use
an extension cord suitable for outdoor use.
Use of a cord suitable for outdoor use reduces the risk of
electric shock.
f. If operating a power tool in a damp location
is unavoidable, use a residual current
device (RCD) protected supply. Use of an RCD
reduces the risk of electric shock.
3. Personal safety
a. Stay alert, watch what you are doing and
use common sense when operating a power
tool. Do not use a power tool while you
are tired or under the inuence of drugs,
alcohol or medication.A moment of inattention
while operating power tools may result in serious
personal injury.
b. Use personal protective equipment. Always
wear eye protection. Protective equipment such as
dust mask, non-skid safety shoes, hard hat, or hearing
protection used for appropriate conditions will reduce
personal injuries.
c. Prevent unintentional starting. Ensure
the switch is in the off-position before
connecting to power source and/or battery
pack, picking up or carrying the tool. Carrying
power tools with your nger on the switch or energising
power tools that have the switch on invites accidents.
d. Remove any adjusting key or wrench before
turning the power tool on.A wrench or a key left
attached to a rotating part of the power tool may result in
personal injury.
e. Do not overreach. Keep proper footing and
balance at all times. This enables better control of
the power tool in unexpected situations.
f. Dress properly. Do not wear loose clothing
or jewellery. Keep your hair, clothing and
gloves away from moving parts. Loose clothes,
jewellery or long hair can be caught in moving parts.
g. If devices are provided for the connection
of dust extraction and collection facilities,
ensure these are connected and properly
used. Use of dust collection can reduce dust-related
hazards.
h) Do not let familiarity gained from
frequent use of tools allow you to become
complacent and ignore tool safety
principles.A careless action can cause severe injury
within a fraction of a second.
4. Power tool use and care
a. Do not force the power tool. Use the correct
power tool for your application. The correct
power tool will do the job better and safer at the rate for
which it was designed.
b. Do not use the power tool if the switch does
not turn it on and off.Any power tool that cannot
be controlled with the switch is dangerous and must be
repaired.
c. Disconnect the plug from the power
source and/or remove the battery pack,
if detachable, from the power tool before
making any adjustments, changing
accessories, or storing power tools. Such
preventive safety measures reduce the risk of starting the
power tool accidentally.
d. Store idle power tools out of the reach
of children and do not allow persons
unfamiliar with the power tool or these
instructions to operate the power tool. Power
tools are dangerous in the hands of untrained users.
e. Maintain power tools and accessories.
Check for misalignment or binding of
moving parts, breakage of parts and any
other condition that may affect the power
tool’s operation. If damaged, have the
power tool repaired before use. Many accidents
are caused by poorly maintained power tools.
f. Keep cutting tools sharp and clean. Properly
maintained cutting tools with sharp cutting edges are less
likely to bind and are easier to control.
g. Use the power tool, accessories and
tool bits etc. in accordance with these
instructions, taking into account the
working conditions and the work to be
performed. Use of the power tool for operations
different from those intended could result in a hazardous
situation.
h) Keep handles and grasping surfaces dry,
clean and free from oil and grease. Slippery
handles and grasping surfaces do not allow for safe
handling and control of the tool in unexpected situations.
5. Service
a. Have your power tool serviced by a
qualied repair person using only identical
replacement parts. This will ensure that the safety
of the power tool is maintained.
SOUND AND VIBRATION
Danger!
Sound and vibration
Sound and vibration values were measured in
accordance with EN 60745.
L
pA
Sound Pressure Level: 87.0dB(A)
K
pA
Uncertainty: 3 dB
L
WA
Sound Power Level: 10.0dB(A)
K
WA
Uncertainty: 3 dB
Wear ear-muffs.
The impact of noise can cause damage to hearing.
Total vibration values (vector sum of three directions)
determined in accordance with EN 60745.
Vibration Emission Value a
h
: 3.61m/s²
K Uncertainty: 1.5m/s²
The specied vibration value was established in
accordance with a standardized testing method. It
may change according to how the electric equipment
is used and may exceed the specied value in
exceptional circumstances.
The specied vibration value can be used to compare
the equipment with other electric power tools.
The specied vibration value can be used for initial
assessment of a harmful effect.
Keep the noise emissions and vibrations
to a minimum.
•
Only use appliances which are in perfect working
order.
•
Service and clean the appliance regularly.
•
Adapt your working style to suit the appliance.
•
Do not overload the appliance.
•
Have the appliance serviced whenever necessary.
•
Switch the appliance off when it is not in use.
•
Wear protective gloves.
SERVICE INFORMATION
Please note that the following parts of this product are subject
to normal or natural wear and that the following parts are
therefore also required for use as consumables.
* Not necessarily included in the scope of delivery!
CategoryExample
Wear parts*
Consumables*Nozzle
Missing parts
For EU countries only
Never place any electric power tools in your household
refuse.
To comply with European Directive 2012/19/EC concerning
old electric and electronic equipment and its implementation
in national laws, old electric power tools have to be separated
from other waste and disposed of in an environment-friendly
fashion, e.g. by taking to a recycling depot.
Recycling alternative to the return request:
As an alternative to returning the equipment to the
manufacturer, the owner of the electrical equipment must
make sure that the equipment is properly disposed of if p1-he
no longer wants to keep the equipment. The old equipment
can be returned to a suitable collection point that will dispose
of the equipment in accordance with the national recycling
and waste disposal regulations. This does not apply to any
accessories or aids without electrical components supplied
with the old equipment.
Subject to technical changes
MAINTENANCE
CLEANING
Caution: The spray gun must not be cleaned by using
ammable liquids with a ash point of less than 21ºC.
After every use it is essential that you clean the gun
thoroughly. This will prevent any blockages occurring
and provide constant performance when you next come
to use it.
When you have nished using the gun, empty any
remaining liquid out of the paint pot. Rinse the pot with
paint thinners and spray through the gun onto cardboard
or newspaper.
Remove the paint pot and suction tube, nozzle and
valve (the spring and piston will be attached to the
cylinder). Lubricate the cylinder, piston, valve and
suction tube with drops of a low-viscosity oil.
Assemble the parts back on the gun and briey switch
on (1-2 secs) to disperse the oil around the piston and
cylinder. This practise will help prevent corrosion and
keep parts lubricated for next use.
• If the housing of the gun requires cleaning dip a
cloth in the paint thinners, ensuring the cloth is not
dripping, wipe the exterior of the spray gun.
• Please be aware that certain parts of this spray gun
will wear, eventually requiring replacement and that
these parts are not covered by warranty. These parts
include the atomiser valve, spray nozzles, piston and
spring.
• Prior to storing the spray gun, ensure that it is
completely dry. This will minimise residue build-up for
the next use.
Note: XU1 will not be responsible for any damage
or injuries caused by the repair of the tool by an
unauthorised person or by mishandling of the tool.
WARNING! Ensure the tool is
disconnected from the power supply before
performing any of the following operations.
Product specificaties
| Merk: | XU1 |
| Categorie: | Verfspuit |
| Model: | XSG-100U |
Heb je hulp nodig?
Als je hulp nodig hebt met XU1 XSG-100U stel dan hieronder een vraag en andere gebruikers zullen je antwoorden
Handleiding Verfspuit XU1

16 Maart 2024
Handleiding Verfspuit
Nieuwste handleidingen voor Verfspuit
7 Mei 2026
6 Mei 2026
20 April 2026
10 Maart 2026
9 Maart 2026
9 Maart 2026
4 Maart 2026
2 Maart 2026
5 Januari 2026
23 December 2025