Westcott Zeppelin Handleiding
Westcott Niet gecategoriseerd Zeppelin
Bekijk gratis de handleiding van Westcott Zeppelin (2 pagina’s), behorend tot de categorie Niet gecategoriseerd. Deze gids werd als nuttig beoordeeld door 77 mensen en kreeg gemiddeld 4.2 sterren uit 3 reviews. Heb je een vraag over Westcott Zeppelin of wil je andere gebruikers van dit product iets vragen? Stel een vraag
Pagina 1/2
QUICK START GUIDE
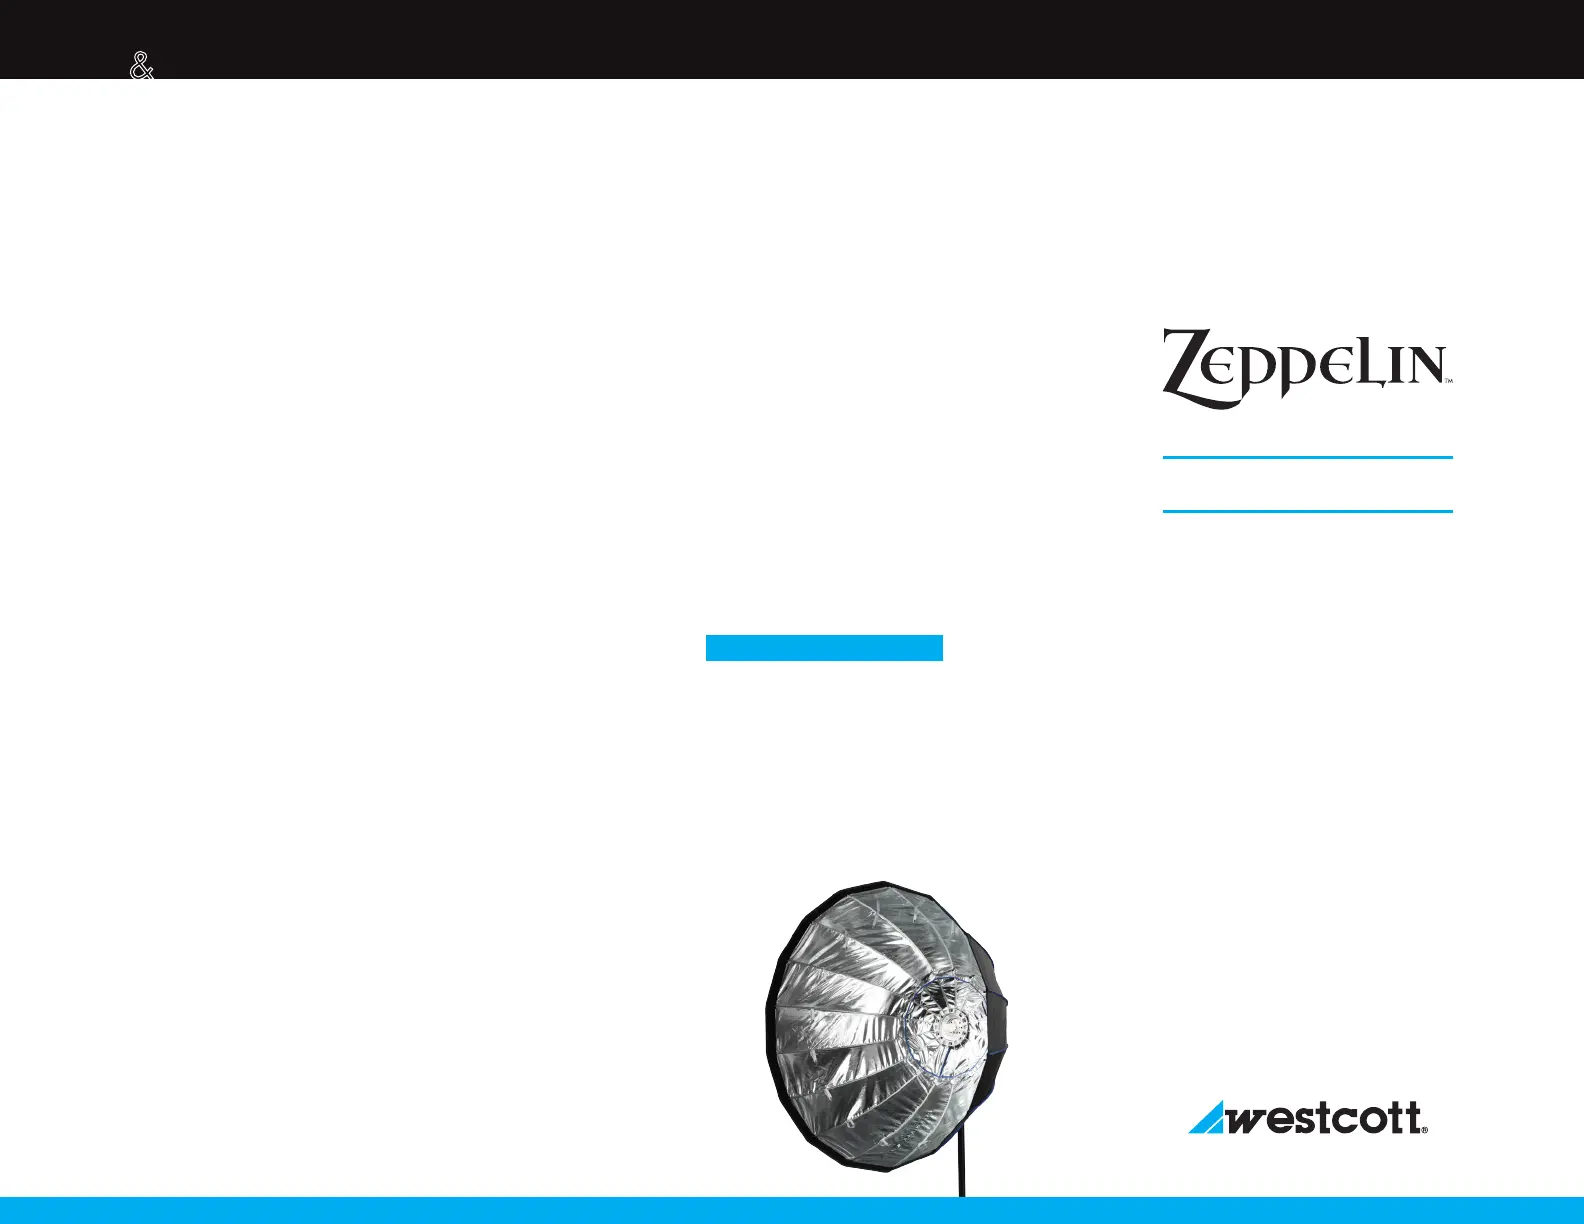
Zeppelin
™
Para-35
650-watt max
Zeppelin
™
Para-47
1000-watt max
Zeppelin
™
Para-59
1000-watt max
WARRANTY
One year against manufacturer defect.
Westcott’s warranty obligations for this product are limited to the terms set forth
below: The F.J. Westcott Co. (“Westcott”) warrants this Westcott branded product
against defects in materials and workmanship under normal use for a period of
ONE (1) YEAR from the date of retail purchase by the original end-user purchaser
(“Warranty Period”). If a defect arises and a valid claim is received within the
Warranty Period, at its option and to the extent permitted by law, Westcott will either
(1) repair the defect at no charge, using new or refurbished replacement parts, or (2)
exchange the product with a product that is new or which has been manufactured
from new or serviceable used parts and is at least functionally equivalent to the
original product. This Limited Warranty applies only to products manufactured by
or for Westcott that can be identified by the “Westcott” trademark, trade name, or
logo affixed to them.
This warranty does not apply: (a) to damage caused by accident, abuse, misuse,
flood, fire, earthquake or other external causes; (b) to damage caused by operating
the product outside the permitted or intended uses described by Westcott; (c) to a
product or part that has been modified to alter functionality or capability without the
written permission of Westcott.; or (d) to cosmetic damage, including but not limited
to scratches, dents and broken plastic.
Please contact Westcott’s Repair Department for a Return Authorization Number
“RMA" prior to requesting warranty service. This RMA must be clearly written on
the outside of the box to the left of the shipping label. Items sent in without pre-
authorization or that do not fall under the ONE (1) YEAR limited warranty will be
returned at the expense of the sender.
Register this product atFJWESTCOTT.COM/WARRANTY
Repair Dept.: 800-886-1689 / 419-243-7311 (International)
E-Mail: INFO@FJWESTCOTT.COM SUBJECT: ATTN: REPAIR DEPT.
Shipping: F.J. Westcott Co, 1425-B Holland Rd, Maumee, OH 43537
©F.J. WESTCOTT CO. ALL RIGHTS RESERVED. AU0514
SETUP USAGE
CAUTION
• Never use lighting products in or around liquid.
• Zeppelin owners should comply with the Maximum Wattages
stated by Westcott.
• Important: When using the internal mounting method please
avoid touching the light head’s bulbs and/or flash tubes to the
fabric as this could result in permanent damage to the bulbs
and/or the Zeppelin softbox.
• Important: Westcott recommends that ALL Zeppelin owners use
ONLY those Zeppelin Speedrings & Mounting brackets specified
and approved by Westcott. Failure to do so could result in
damaging the light head and/or the Zeppelin softbox. Please
visit the Zeppelin product pages at fjwestcott.com to find a
complete listing of approved speedrings and mounting brackets.
• Each rod must be gently seated completely into the
corresponding speedring hole before moving to the next hole.
Do not force rods into place. Failing to do so could result in
the rods becoming permanently bent, damaging the softbox,
damaging the light head, or causing personal injury.
• Rods may become bent due to improper assembly. Slight
bending of the rods WILL NOT affect the performance of the
Zeppelin product.
REMOVING THE WESTCOTT ZEPPELIN
™
FROM THE ZEPPELIN
™
MOUNTING
BRACKET WITH BUILT-IN SPEEDRING
1. Remove the rear ventilation cover and both diffusion panels.
2. If using Mounting Method #1, remove your light head from the
Zeppelin Speedring Mounting Bracket.
3. If using Mounting Method #2, remove the light head and second
light stand through the zippered opening.
4. If using Mounting Method #3, remove the light head from the
Boom Arm within the softbox.
5. Loosen the silver tension knobs on the Zeppelin Speedring Bracket
and remove the Zeppelin from the light stand.
6. Place the front edge/face of the Zeppelin Softbox onto a flat
surface.
7. Grasp one rod with your dominant hand and pull slightly while
pushing against the bracket. Repeat with each rod. Remove every
other rod from the speedring for easiest disassembly.
For setup video tutorials please visit: westcottu.com
Product specificaties
| Merk: | Westcott |
| Categorie: | Niet gecategoriseerd |
| Model: | Zeppelin |
| Kleur van het product: | Zilver |
| Gewicht: | 2800 g |
| Breedte: | 119.4 mm |
| Diepte: | 119.4 mm |
| Hoogte: | 81.9 mm |
| Opbergetui: | Ja |
Heb je hulp nodig?
Als je hulp nodig hebt met Westcott Zeppelin stel dan hieronder een vraag en andere gebruikers zullen je antwoorden
Handleiding Niet gecategoriseerd Westcott

26 Maart 2026
31 Januari 2024
31 Januari 2024
Handleiding Niet gecategoriseerd
Nieuwste handleidingen voor Niet gecategoriseerd
7 Juni 2026
7 Juni 2026
7 Juni 2026
7 Juni 2026
7 Juni 2026
6 Juni 2026
6 Juni 2026
6 Juni 2026
6 Juni 2026
6 Juni 2026