Verbatim PowerBay Handleiding
Verbatim Externe harde schijf PowerBay
Bekijk gratis de handleiding van Verbatim PowerBay (5 pagina’s), behorend tot de categorie Externe harde schijf. Deze gids werd als nuttig beoordeeld door 65 mensen en kreeg gemiddeld 5.0 sterren uit 8 reviews. Heb je een vraag over Verbatim PowerBay of wil je andere gebruikers van dit product iets vragen? Stel een vraag
Pagina 1/5
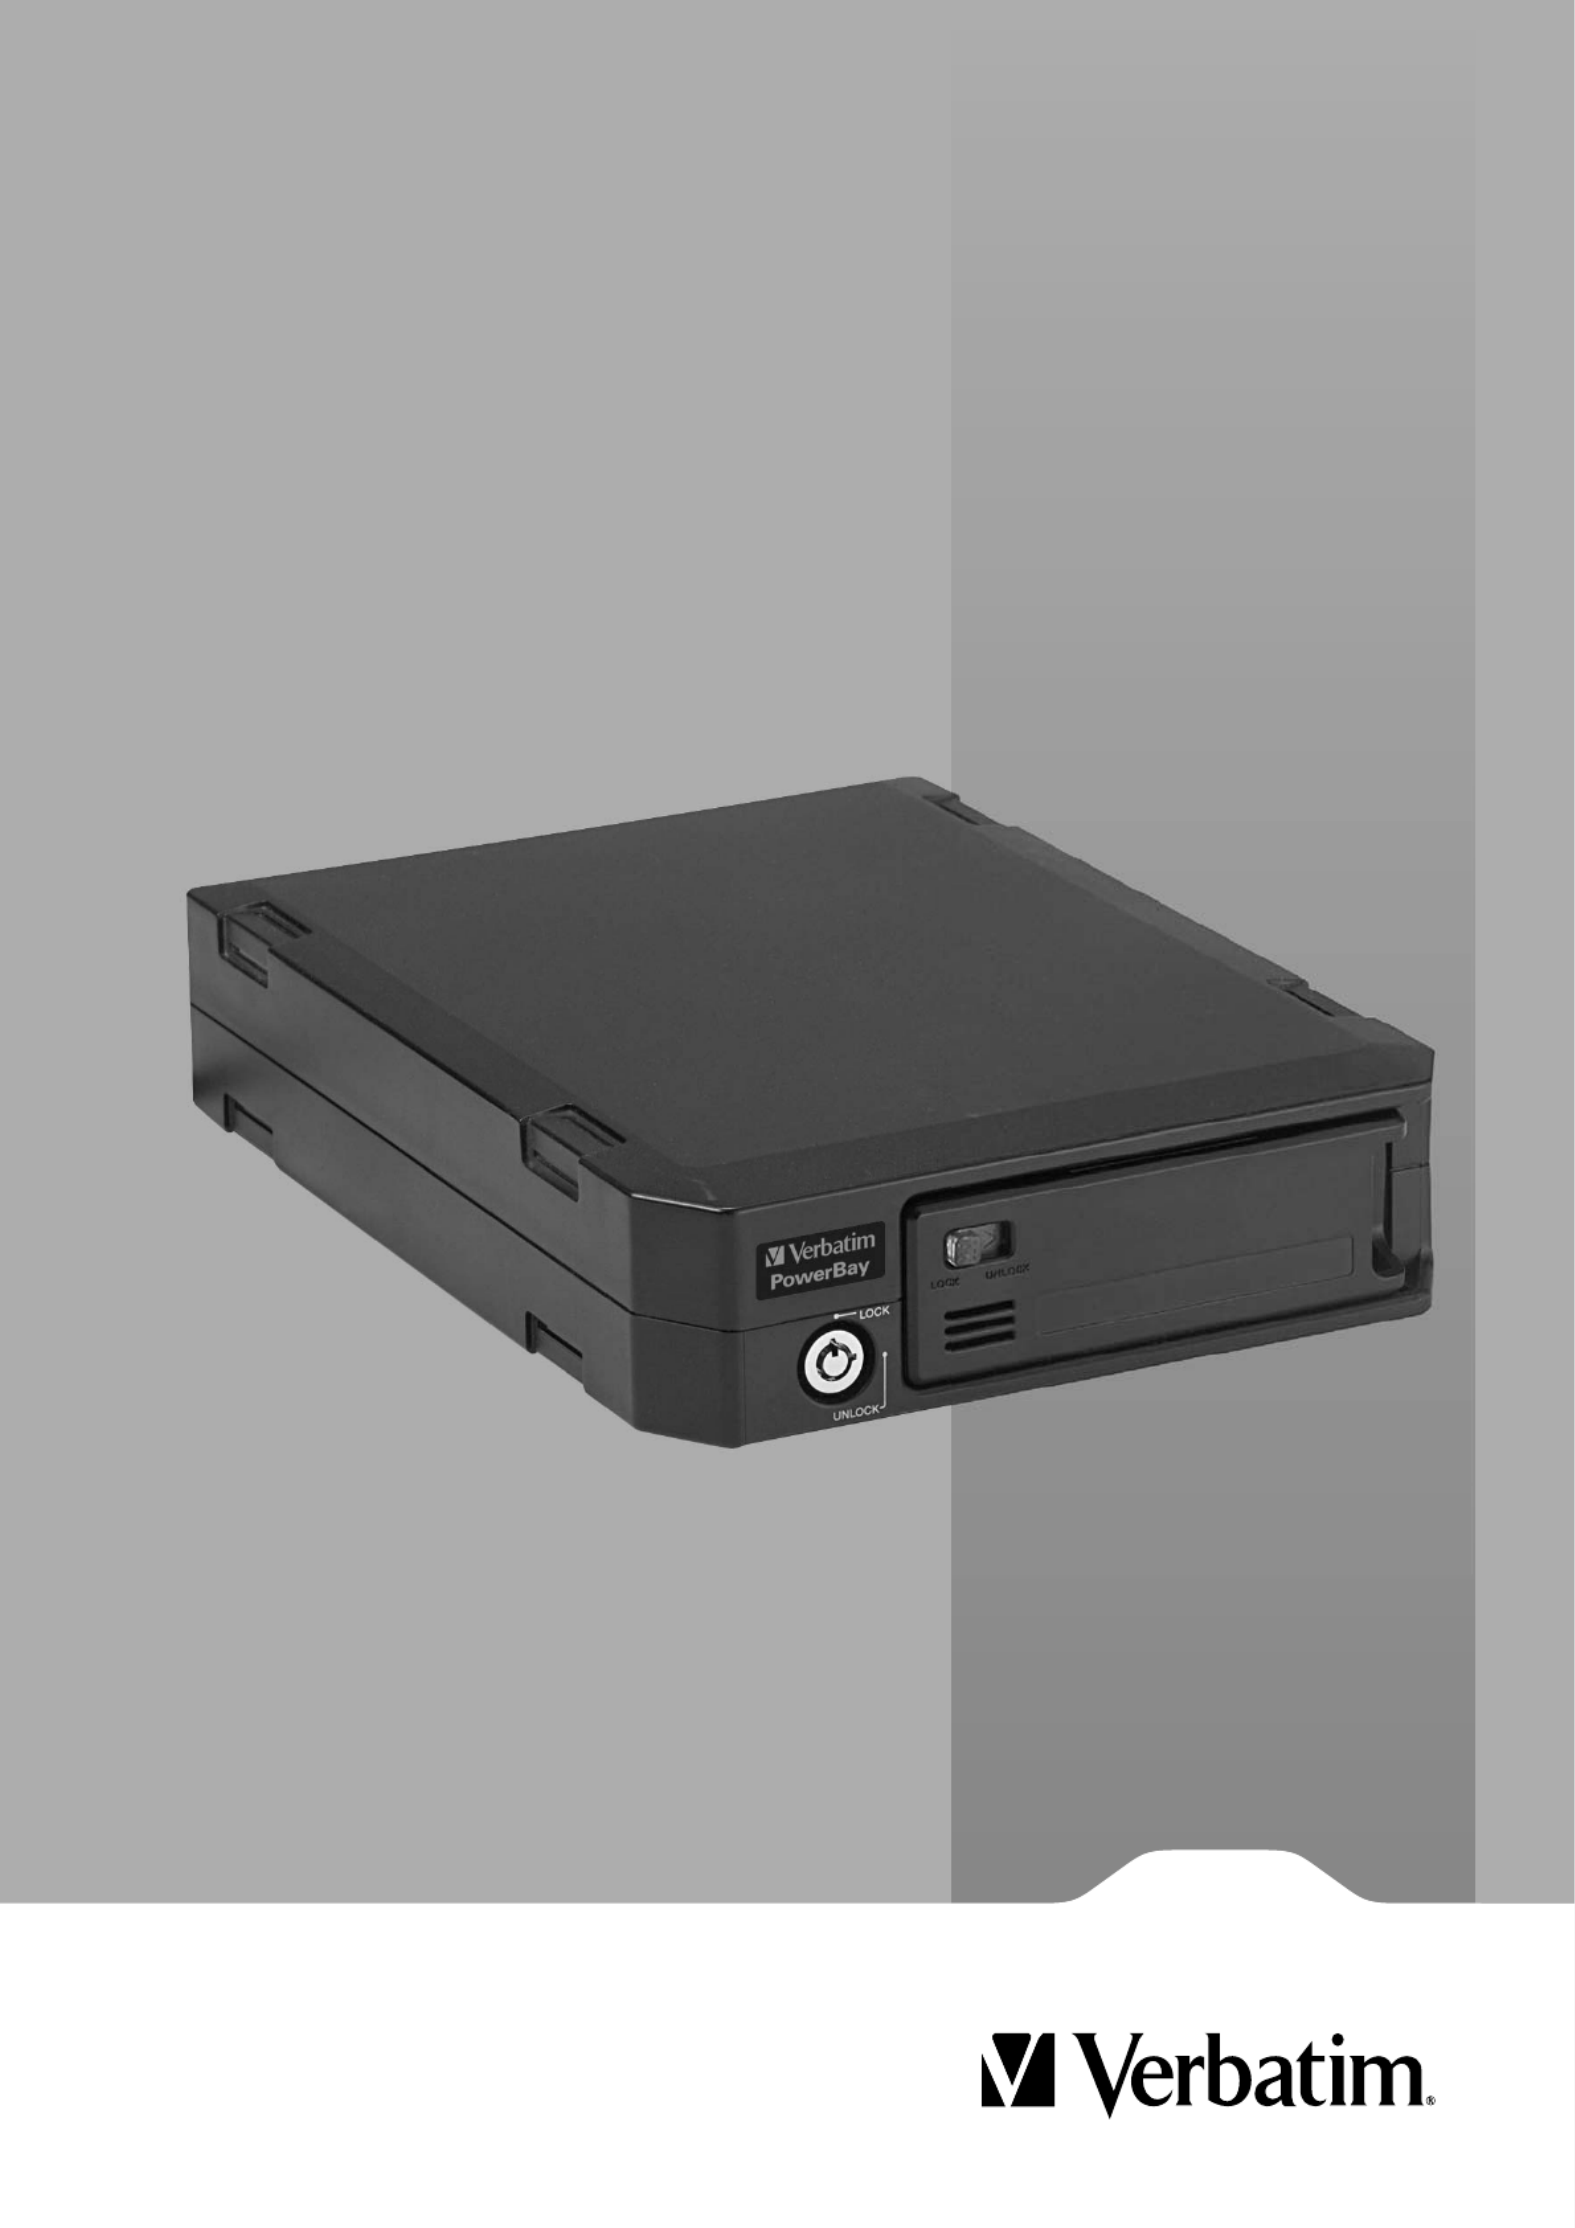
PowerBay™
Removable Hard Drive System
USB / eSATA
User Guide
English
Product specificaties
| Merk: | Verbatim |
| Categorie: | Externe harde schijf |
| Model: | PowerBay |
| Kleur van het product: | Zwart |
| Gewicht: | 2500 g |
| Breedte: | 50 mm |
| Diepte: | 230 mm |
| Hoogte: | 170 mm |
| Soort: | HDD |
| Gebruiksaanwijzing: | Ja |
| Connectiviteitstechnologie: | Bedraad |
| Meegeleverde kabels: | eSATA, USB |
| Vingerafdruklezer: | Nee |
| Wachtwoordbeveiliging: | Nee |
| USB-versie: | 2.0 |
| Plug and play: | Ja |
| Ondersteunt Windows: | Ja |
| Ondersteunt Mac-besturingssysteem: | Ja |
| Externe adapter: | Ja |
| AC-adapter, uitgangsspanning: | 12 V |
| USB-connector: | USB |
| HDD capaciteit: | 1000 GB |
| HDD rotatiesnelheid: | 7200 RPM |
| Maximale overdrachtssnelheid van gegevens: | - Mbit/s |
| Ondersteunde server operating systems: | Windows Server 2003, Windows Server 2003 R2, Windows Server 2003 x64, Windows Server 2008, Windows Server 2008 R2, Windows Server 2008 R2 x64, Windows Server 2008 x64 |
| HDD omvang: | 3.5 " |
| Bedrijfstemperatuur (T-T): | 5 - 35 °C |
| Relatieve vochtigheid in bedrijf (V-V): | 20 - 80 procent |
| eSATA: | Ja |
| Buffergrootte opslagstation: | - MB |
| Busgevoed: | Nee |
Heb je hulp nodig?
Als je hulp nodig hebt met Verbatim PowerBay stel dan hieronder een vraag en andere gebruikers zullen je antwoorden
Handleiding Externe harde schijf Verbatim

9 Juli 2023
8 Juli 2023
5 Juli 2023
2 Juli 2023
30 Juni 2023
30 Juni 2023
28 Juni 2023
28 Juni 2023
27 Juni 2023
22 Juni 2023
Handleiding Externe harde schijf
Nieuwste handleidingen voor Externe harde schijf
21 Mei 2026
12 Mei 2026
27 April 2026
30 Maart 2026
26 Maart 2026
25 Maart 2026
13 Maart 2026
12 Maart 2026
25 Februari 2026
14 Januari 2026