Toyotomi EPA-200EF Handleiding

Toyotomi Kachel EPA-200EF

Lees hieronder de 📖 handleiding in het Nederlandse voor Toyotomi EPA-200EF (25 pagina's) in de categorie Kachel. Deze handleiding was nuttig voor 50 personen en werd door 2 gebruikers gemiddeld met 4.5 sterren beoordeeld

Pagina 1/25
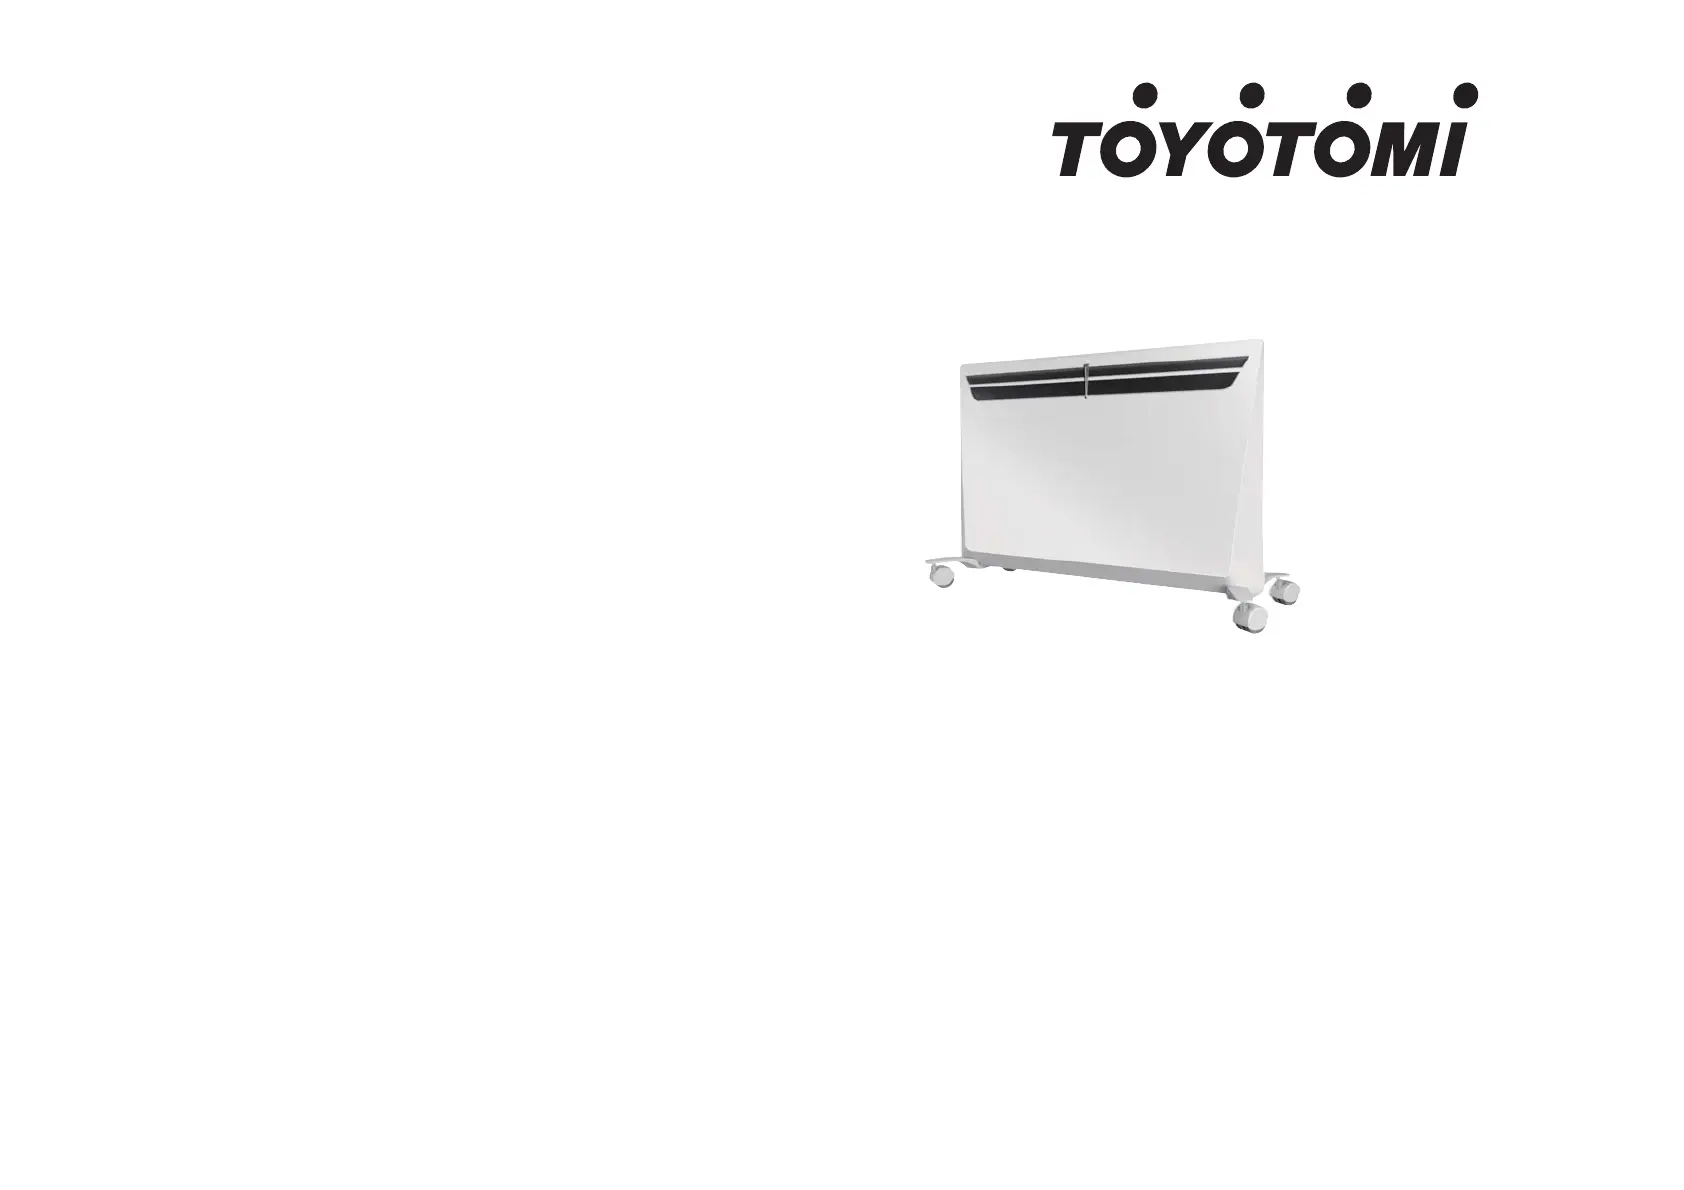
Electric convector heater
Radiateur électrique
Elektroheizkörper
Elektrische
convectorkachel
Termoconvettore elettrico
Termoconvector ectrico
Aquecedor etrico por
convectores
Elektrisk
konvektorvarmer
OPERATING MANUAL ENGLISH P. 1
MANUAL D’UTILISATION FRANÇAIS P. 7
BEDIENUNGSANLEITUNG DEUTSCH P.13
GEBRUIKSAANWIJZING NEDERLANDS P.19
MANUALE DI ISTRUZIONI ITALIANO P.25
MANUAL DE INSTRUCCIONES ESPAÑOL P.31
MANUAL DE INSTRUÇÕES PORTUGUÊS P.37
BETJENINGSVEJLEDNING DANSK P.43
EPA-100EF
EPA-150EF
EPA-200EF
New 07/16
TOYOTOMI CO., LTD.
5-17, Momozono-cho, Mizuho-ku,
Nagoya, 467-0855 Japan
www.toyotomi.jp Printed in China
-1- -2-
ENGLISHENGLISH
IMPORTANT SAFEGUARDS
PLEASE READ ALL INSTRUCTIONS BEFORE USING THIS HEATER
WHEN USING ELECTRICAL APPLIANCES, BASIC PRECAUTIONS SHOULD ALWAYS BE
FOLLOWED TO REDUCE RISK OF FIRE, ELECTRICAL SHOCK AND INJURY TO PERSONS OR
PROPERTY, INCLUDING THE FOLLOWING
When switching on the appliance for the rst time, allow it to run at full power for
about two hours to get rid of the unpleasant smell. Make sure that the room in
which the appliance is located is well ventilated during this operation. It is normal
for the appliance to emit small cracking sounds when you turn it on if the rst time.
1. Read all instructions before using this heater.
2. This heater is hot when in use. To avoid burns, DO NOT let bare skin touch hot surfaces.
Use handle when moving the unit. Keep combustible materials, such as furniture, pillows,
bedding, papers, clothes and curtains at least 3 feet (0.9 meters) from the front and top of
the radiator and keep them away from the sides and rear. Keep the rear grille away from
walls or drapes so as not to block the air intake.
3. Extreme caution and supervision is necessary when any heater is used near children or
pets and whenever the heater is left operating and unattended.
4. ALWAYS unplug heater when not in use.
5. DO NOT operate any heater with a damaged cord or plug or after the heater malfunctions,
has been dropped or damaged in any manner. Return the heater to an authorized service
facility for examination, electrical or mechanical adjustment or repair.
6. DO NOT use outdoors.
7. This heater is not intended for use in any area where there is standing water. NEVER locate
heater where it may fall into a bathtub or other water container.
8. DO NOT run cord under carpeting. DO NOT cover cord with throw rugs, runners or the like.
Arrange cord away from traf c area where it will not be tripped over.
9. To disconnect the heater, turn controls to OFF, then remove the plug from the outlet.
10. Connect to properly polarized outlets only.
11. DO NOT insert or allow foreign objects to enter any ventilation or exhaust opening as this
may cause electric shock, re or damage to the heater.
12. To prevent possible re, DO NOT block air intakes or exhaust in any manner. DO NOT use
on soft surfaces, like a bed, where openings may become blocked.
13. A heater has hot or arcing or sparking pads inside. DO NOT use it in areas where gasoline,
paint or fl ammable liquids are used or stored.
14. Use this heater only as described in this manual. Any other use not recommended by the
manufacturer may cause fi re, electric shock, injury to persons or other damage to property.
15. To prevent overload and blown fuses, be sure that no other appliance is plugged into the
same outlet (receptacle) or into another outlet (receptacle) wired into the same circuit.
16. It is normal for the heaters plug and cord to feel warm to the touch. A plug or cord
which becomes hot to the touch or becomes distorted in shape may be a result of a worn
electrical outlet. Worn outlets or receptacles should be replaced prior to further use of the
heater. Plugging heater into a worn outlet/receptacle may result in overheating of the
power cord or fi re.
17. Ensure the heater is on a stable, secure surface to eliminate the potential of tipping it over.
18. We DO NOT recommend use of an extension cord as it may overheat and cause a risk
of fire. However, if you have to use an extension cord, the cord should be No. 14 AWG
minimum size and rated not less than 1875 watts, and has to be used only for supplying
power to this heater.
19. Be sure that the plug is fully inserted into appropriate receptacle. Please remember that
receptacles also deteriorate due to aging and continuous use: check periodically for signs
of overheating or deformations evidenced by the plug. DO NOT use the receptacle and
CALL your electrician.
20. Check that neither the appliance nor the power cable has been damaged in any way during
transportation.
21. Make sure that no pieces of polystyrene or other packaging material have been left
between elements of the appliance. It may be necessary to pass over the appliance with a
vacuum cleaner.
22. The appliance is not to be used by persons (including children) with reduced physical,
sensory or mental capabilities, or lack of experience and knowledge, unless they have been
given supervision or instruction.
23. Children being supervised not to play with the appliance.
24. In order to avoid overheating, DO NOT cover the heater. Heater is not located immediately
below a socket-outlet. The heater is to be installed so that switches and other controls
cannot be touched by a person in the bath or shower.
25. Children of less than 3 years should be kept away unless continuously supervised. Children
aged from 3 years and less than 8 years shall only switch on/off the appliance provided
that it has been placed or installed in its intended normal operating position and they have
been given supervision or instruction concerning use of the appliance in a safe way and
understand the hazards involved. Children aged from 3 years and less than 8 years shall
not plug in, regulate and clean the appliance or perform user maintenance.
26. CAUTION Some parts of this product can become very hot and cause burns. Particular
attention has to be given where children and vulnerable people are present.
CAUTION:
TO PREVENT ELECTRIC SHOCK, MATCH WIDE BLADE OF PLUG TO WIDE SLOT, FULLY
INSERT.
Control function
Check the household voltage to ensure it matches the appliance's rated specifi cation.
Be sure to plug into a 220-240V, 50Hz outlet.
Key Operating Instructions
1. On/Off switch
2. Upper key
3. Down key
4. Low power indicator light
5. High power indicator light
6. Anti-frost indicator light
7. Timer indicator light
8. Low power key
9. High power key
10. Timer key
11. Anti-frost key
12. LED display
2
3 4 5 6 7 9 11 1
12 8 10
-3- -4-
ENGLISH ENGLISH
1. Function Introduction
(1) ON/OFF: Power on, inset the plug, the heater enters into standby mode. Press and the heater start to work
under the previous mode, LED display show the set temperature. Power off, press again, the heater stop to
work and enter into standby mode, display show ;
(2) Power setting: When user uses the heater for the rst time, it works in default mode-high power. Press , enter
into low power mode, the indicator light will on; press , enter into high power mode, the indicator light
will off, indicator light will on.
(3) Temperature setting: Under working mode, press to increase or decrease the temperature degree. The
temperature range is C-35°C. Press the key over 2s, the degree can set quickly. When nish setting, it confi rm
automatically, the dot stop ashing and off, the LED display shows setting temperature. Note: If under Anti-frost
mode, the temperature cannot be setting.
(4) Timer off setting: When the heater is working, press , the timer indicator light will fl ash, the display shows timer,
press to set the hours, range is 0-24 hours. Press the over 2s, can set the hour quickly. After 5s nish
setting timer, the indicator light on. Display shows the set temperature.
(5) Anti-frost mode: Under working mode, press , the indicator light on. Press again, the anti-frost mode
cancelled and indicator light off.
(6) Child lock function: Press together for 3s, the display shows [ ] symbol, after 5s, display shows the previous
status, the keys cannot work. If press the keys, display is ashing [ ] symbol. Press together for 3s again, the
keys unlock.
(7) Memory function: If suddenly power off, after power on again, the heater will enter into previous working mode.
Installation the panel heater
Recommended Installation The convector shall be installed so that produced heat will mix
maximum volume of air. The convector should be attached in accordance with applicable
requirements. The switch and other mechanisms should be away from a person who takes bath
or shower. The device should not be exposed to water splashes. If the device is covered there is
a risk of overheating. It is strictly forbidden to cover or plug inlets and outlets (air grids) as it can
cause an accident or damage the device. DO NOT place the convector behind curtains, doors,
under wall opening or ventilation hole. Keep minimum distance required for installation on oor,
surface, near furniture, etc. (Figure 1).
Wall Mounting:
DO NOT t the castors to the base of the heater. Make sure
the heater is unplugged from the mains power and the wall
is suitable for mounting the panel heater and there are the
correct clearances. Make sure the panel heater is within 1
meter of a power socket.
Detach the mounting bracket from the rear of the heater by compressing the
2 bracket clips, pulling the clips out of the heater rear & removing the bracket
hooks from the heater.
Figure 1
Position the bracket on the wall in the desired position & drill holes for two mounting screws. Once the holes are drilled,
use two screws (appropriate for the type of wall) to x the bracket rmly in place. Check for strength.
Carefully place the heater (slightly tilted forward) onto the hooks at the bottom of the bracket & rotate back so the clips
x back into their original holes. Check that they are xed correctly. If possible, have a second person help to check for
alignment as the heater is attached. The heater is now ready to connect to the mains power.
Floor Mounting:
The device can be mounted on special legs enabling to move it in the room.
Support foots are attached as follows:
Turn the convector upside down;
Take one of support foots with rollers;
Place the plate of the support foot to the attaching point on the convector so that the dome-shaped part of the plate will
be tightly attached to the convector close to its rear panel the screw holes should match;
Tighten the support foots with the screws in parts kitting.


Product specificaties

Merk: Toyotomi
Categorie: Kachel
Model: EPA-200EF

Heb je hulp nodig?

Als je hulp nodig hebt met Toyotomi EPA-200EF stel dan hieronder een vraag en andere gebruikers zullen je antwoorden


Handleiding Kachel Toyotomi

Handleiding Kachel

Nieuwste handleidingen voor Kachel