SilverStone LSB01 Handleiding
Bekijk gratis de handleiding van SilverStone LSB01 (2 pagina’s), behorend tot de categorie Niet gecategoriseerd. Deze gids werd als nuttig beoordeeld door 259 mensen en kreeg gemiddeld 4.4 sterren uit 6 reviews. Heb je een vraag over SilverStone LSB01 of wil je andere gebruikers van dit product iets vragen? Stel een vraag
Pagina 1/2
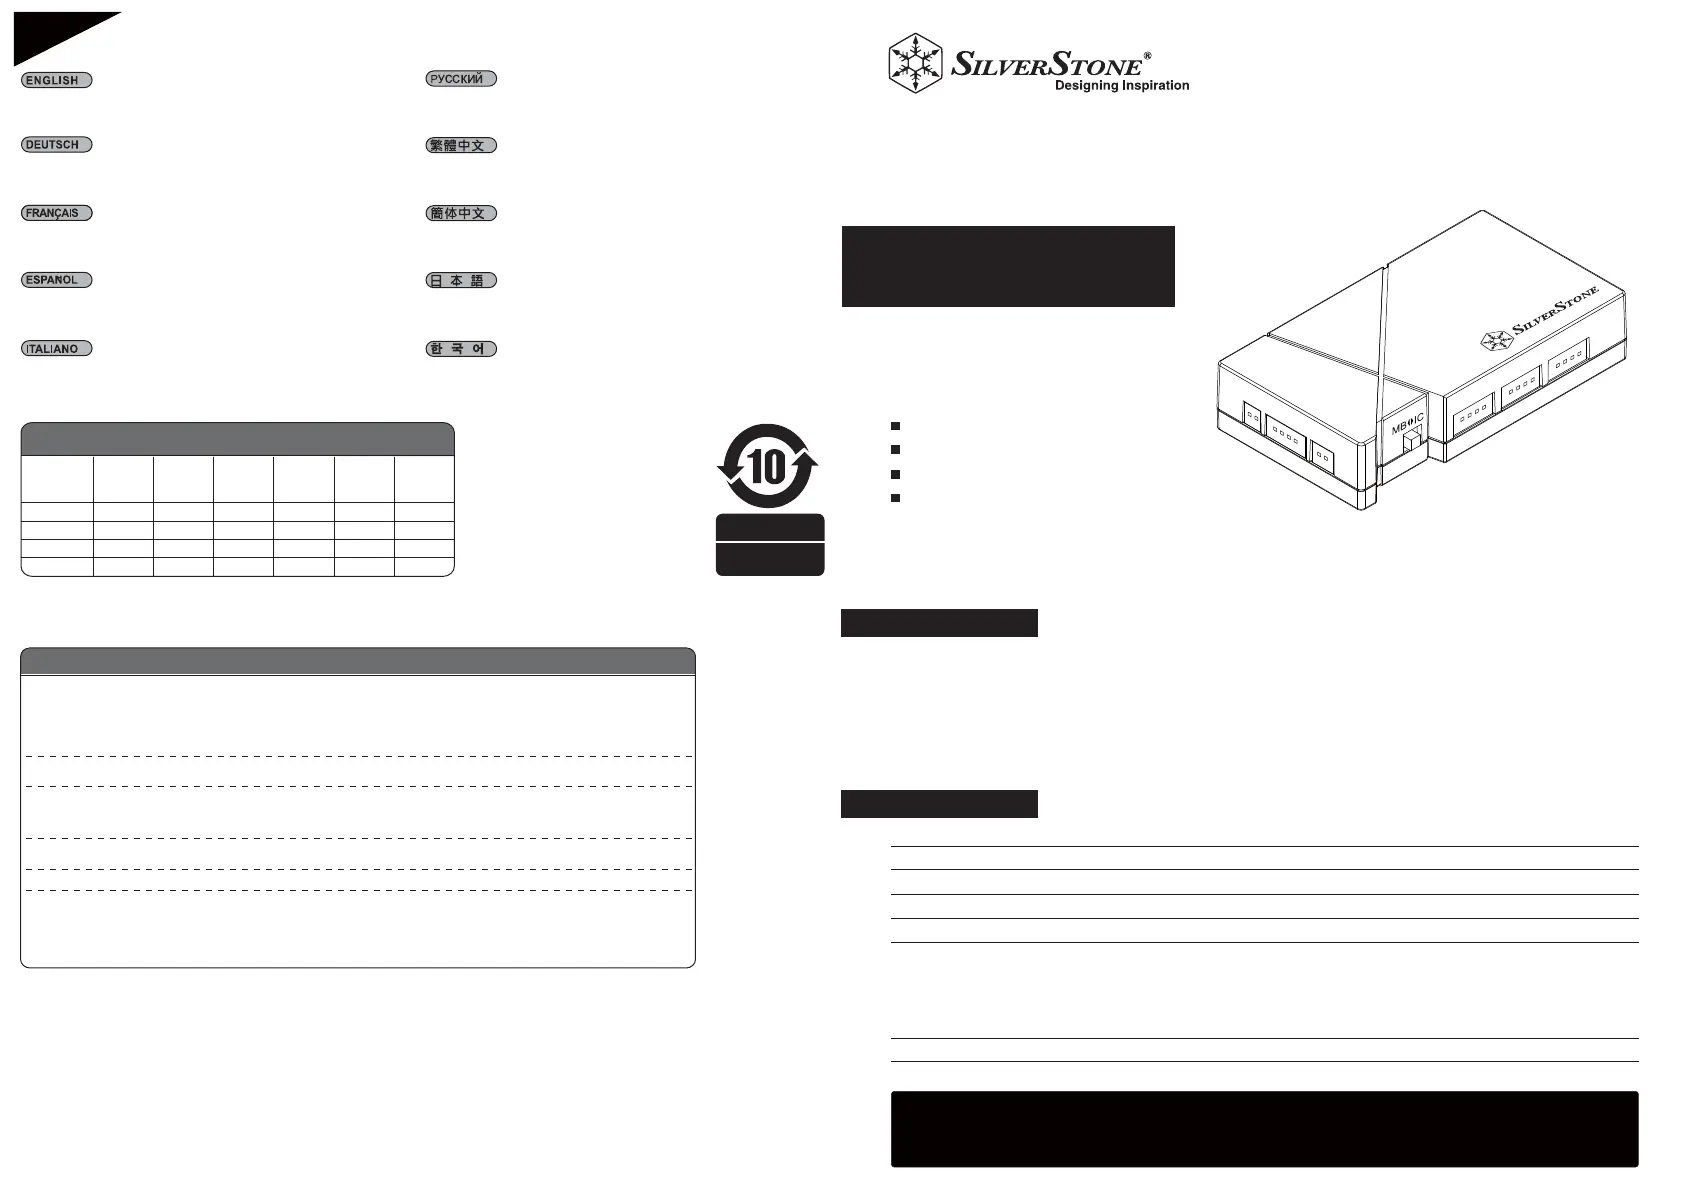
8 port RGB light strip control box
www.silverstonetek.com
LSB01
Model No.
Material
Signal input
Signal output
Output limitation (each port)
Included parts
Net weight
Dimension
LSB01 is a SilverStone designed RGB light strip control box with 8 port signal control. For use in conjunction
with SilverStone LS02, it easily expands the amount of lighting that one can control and solves the problem
of insufficient RGB 4pin connectors. It can control light via motherboard RGB software or other RGB 4pin
host. Apart from this, for those enthusiast‘s motherboard that lacks RGB 4pin or without another signal
source, the LSB01 can still offer direct control via case switch with an included cable adapter.
SST-LSB01
Plastic outer shell
*Via RGB 4pin host (+12V, G, R, B**) or built-in IC control
SilverStone custom RGB 4pin x 8***
SST-LS02 (12V, 0.12A) x 5 or other identically spec’d RGB light strips
SST-LS02 RGB LED strip x 2
Extend Y cable x 2****
RGB 4pin signal cable x 1
4pin peripheral cable x 1
30g
46mm (W) x 19mm (H) x 85mm (D)
Eight port RGB light strip connectors
Includes two RGB LED light strips
Built-in IC preset for directly changing colors
Built-in magnetic strip and adhesive tape provide
flexible install option
* Be sure to turn off power before switching signal input switch or install / remove LED strip
** Please check the signal source’s pin header that you want to connect is the same as LSB01’s pin definition.
*** Control box’s connectors are proprietary SilverStone custom connectors and are not compatible
with other RGB strip’s 4pin connectors.
**** One to two Y cable can support SilverStone custom connectors and others RGB 4pin connectors.
Specifications
Introduction
Warranty Information
This product has a limited 1 year warranty in North America and Australia.
For information on warranty periods in other regions, please contact your reseller or SilverStone authorized distributor.
Additional info & contacts
For North America ([email protected])
SilverStone Technology in North America may repair or replace defective product with refurbished product that is not new but has been functionally tested.
Replacement product will be warranted for remainder of the warranty period or thirty days, whichever is longer. All products should be sent
back to the place of purchase if it is within 30 days of purchase, after 30 days, customers need to initiate RMA procedure with SilverStone Technology
in USA by first downloading the “USA RMA form for end-users” form from the below link and follow its instructions.
http://silverstonetek.com/contactus.php
For Australia only ([email protected])
Our goods come with guarantees that cannot be excluded under the Australian Consumer Law.
You are entitled to a replacement or refund for a major failure and for compensation for any other reasonably foreseeable loss or damage.
You are also entitled to have the goods repaired or replaced if the goods fail to be of acceptable quality and the failure does not amount to a major failure.
Please refer to above “Warranty terms & conditions” for further warranty details.
SilverStone Technology Co., Ltd. 12F No. 168 Jiankang Rd., Zhonghe Dist., New Taipei City 235 Taiwan R.O.C. + 886-2-8228-1238
(standard international call charges apply)
For Europe ([email protected])
For all other regions ([email protected])
Warranty terms & conditions
1. Product component defects or damages resulted from defective production is covered under warranty.
Defects or damages with the following conditions will be fixed or replaced under SilverStone Technology’s jurisdiction.
a) Usage in accordance with instructions provided in this manual, with no misuse, overuse, or other inappropriate actions.
b) Damage not caused by natural disaster (thunder, fire, earthquake, flood, salt, wind, insect, animals, etc…)
c) Product is not disassembled, modified, or fixed. Components not disassembled or replaced.
d) Warranty mark/stickers are not removed or broken.
Loss or damages resulted from conditions other than ones listed above are not covered under warranty.
2. Under warranty, SilverStone Technology’s maximum liability is limited to the current market value for the product (depreciated value, excluding
shipping, handling, and other fees). SilverStone Technology is not responsible for other damages or loss associated with the use of product.
3. Under warranty, SilverStone Technology is obligated to repair or replace its defective products. Under no circumstances will SilverStone
Technology be liable for damages in connection with the sale, purchase, or use including but not limited to loss of data, loss of business, loss of
profits, loss of use of the product or incidental or consequential damage whether or not foreseeable and whether or not based on breach of warranty,
contract or negligence, even if SilverStone Technology has been advised of the possibility of such damages.
4. Warranty covers only the original purchaser through authorized SilverStone distributors and resellers and is not transferable to a second hand
purchaser.
5. You must provide sales receipt or invoice with clear indication of purchase date to determine warranty eligibility.
6. If a problem develops during the warranty period, please contact your retailer/reseller/SilverStone authorized distributors or SilverStone
http://www.silverstonetek.com.
Please note that: (i) You must provide proof of original purchase of the product by a dated itemized receipt; (ii) You shall bear the cost of shipping
(or otherwise transporting) the product to SilverStone authorized distributors. SilverStone authorized distributors will bear the cost of shipping
(or otherwise transporting) the product back to you after completing the warranty service; (iii) Before you send the product, you must be issued a
Return Merchandise Authorization (“RMA”) number from SilverStone. Updated warranty information will be posted on SilverStone’s official website.
Please visit http://www.silverstonetek.com for the latest updates.
NO: G11229620
周邊產品有毒有害物质/元素及其化学含量表
○:表示该有害物质在该部件所有均质材料
中的含量均在GB/T 26572规定的限量
要求以下。
×:表示该有害物质至少在该部件的某一均
质材料中的含量超出GB/T 26572规定
的限量要求。
本表格依据SJ/T 11364的规定编制.
部件名称
机壳(塑胶)
电子卡
线材
包材
○
×
○
○
○
○
○
○
○
○
○
○
○
○
○
○
○
○
○
○
○
○
○
○
多溴二苯醚
(PBDE)
多溴联苯
(PBB)
六价铬
(Cr(VI))
镉
(Cd)
汞
(Hg)
铅
(Pb)
产品合格证
检验员:检01
生产日期:见产品条码
本表中有×的部件均符合欧盟RoHS指令的
豁免项目,即欧盟第2011/65/EC号指令要
求。
內建IC模式下,長按4秒可馬上關閉,輕按一下即恢復關閉前的選項
内蔵ICコントロール使用の際は、ボタンを4秒間押し続けるとオフになり
ます。再度押すと、オフにした直前の状態に復帰します
Прииспользованиивстроенных IC управления, чтобывыключить
нажмитеиудерживайтевтечениичетырёхсекунд. Нажмитеещёраз,
чтобывозобновитьсостояниепередотключением
内建IC模式下,长按4秒可马上关闭,轻单击即恢复关闭前的选项
내장 IC 컨트롤을 사용하는 경우 4초 동안 누르면 꺼집니다. 다시 한 번
누르면 끄기 전에 상태를 다시 시작합니다
Bei Verwendung der integrierten IC-Steuerung zum Abschalten vier
Sekunden gedrückt halten. Zum Wiederherstellen des Zustands vor der
Abschaltung erneut drücken
Quando si utilizza il controllo IC integrato, tenere premuto per quattro
secondi per spegnere. Premere di nuovo per ripristinare lo stato
precedente allo spegnimento
When using built-in IC control, press and hold for four seconds to turn off.
Press again to resume state prior to turning off
En cas d'utilisation de la commande CI intégrée, appuyez et maintenez
enfoncé pendant quatre secondes pour l'éteindre. Appuyez à nouveau
pour retrouver l'état avant l'arrêt
Cuando use el control IC incluido presione y manténgalo durante cuatro
segundos para apagar. Presione de nuevo para volver al estado anterior
al apagado
Step 8
Product specificaties
| Merk: | SilverStone |
| Categorie: | Niet gecategoriseerd |
| Model: | LSB01 |
| Kleur van het product: | Zwart |
| Gewicht: | 30 g |
| Breedte: | 46 mm |
| Hoogte: | 19 mm |
| Soort: | Verlichting led-controller |
| Materiaal behuizing: | Kunststof |
| Aantal per verpakking: | 1 stuk(s) |
| Lengte: | 85 mm |
Heb je hulp nodig?
Als je hulp nodig hebt met SilverStone LSB01 stel dan hieronder een vraag en andere gebruikers zullen je antwoorden
Handleiding Niet gecategoriseerd SilverStone

6 Juli 2026
1 April 2026
30 Maart 2026
30 Maart 2026
16 Maart 2026
20 Februari 2026
20 Februari 2026
20 Februari 2026
20 Februari 2026
19 Februari 2026
Handleiding Niet gecategoriseerd
Nieuwste handleidingen voor Niet gecategoriseerd
22 Juli 2026
22 Juli 2026
22 Juli 2026
22 Juli 2026
21 Juli 2026
21 Juli 2026
21 Juli 2026
21 Juli 2026
21 Juli 2026
21 Juli 2026