Sheeran Looper Looper+ Handleiding
Sheeran Looper
Niet gecategoriseerd
Looper+
Bekijk gratis de handleiding van Sheeran Looper Looper+ (25 pagina’s), behorend tot de categorie Niet gecategoriseerd. Deze gids werd als nuttig beoordeeld door 39 mensen en kreeg gemiddeld 5.0 sterren uit 20 reviews. Heb je een vraag over Sheeran Looper Looper+ of wil je andere gebruikers van dit product iets vragen? Stel een vraag
Pagina 1/25
1
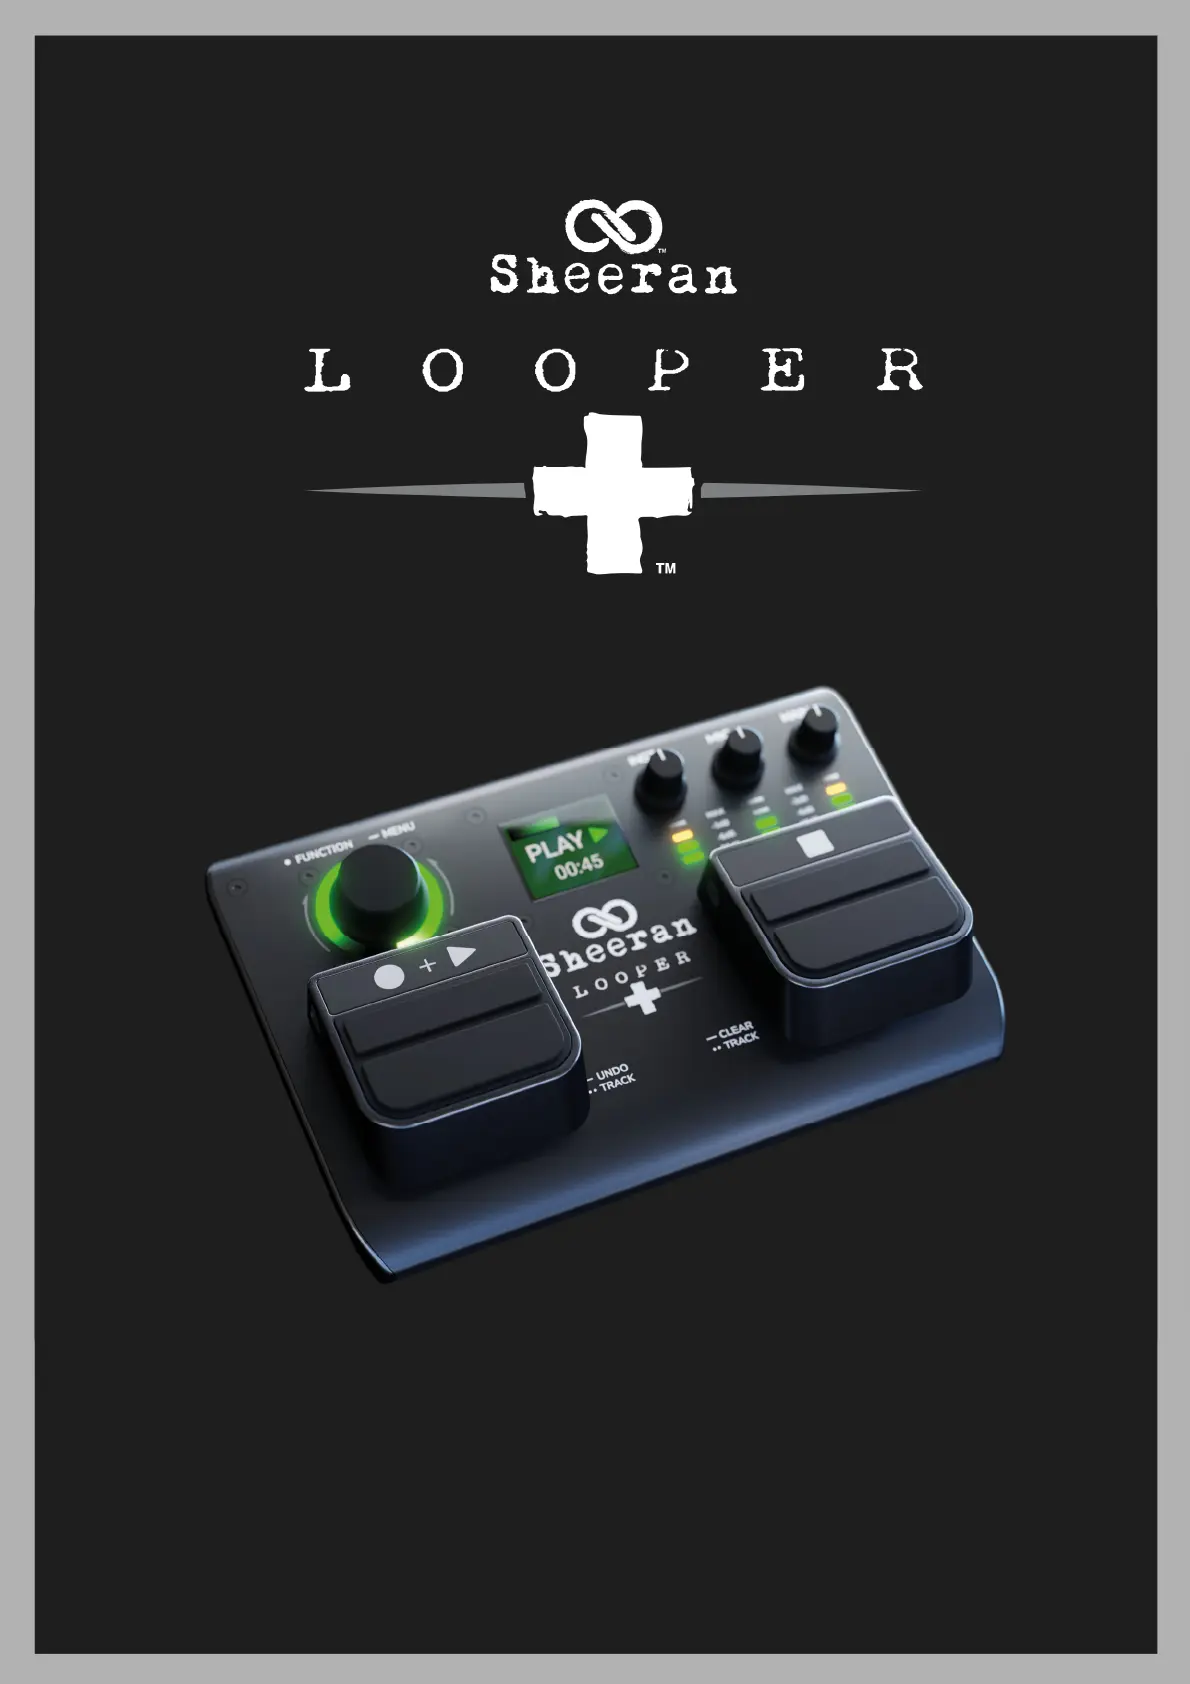
User Guide
English
Manual Version 1.0.0

2
Table of Contents
(1.0) Introduction ............................... 3
(1.1) Box Contents ................................... 3
(1.2) Support ............................................ 3
(2.0) Setting Up Your Rig .................. 3
(2.1) Connection Diagram ..................... 4
(3.0) Features ..................................... 5
(3.1) Top Panel ........................................ 5
(3.2) Rear Panel ...................................... 7
(4.0) Operation .................................. 9
(4.1) Performance Screen Overview .... 9
(4.2) Basic Looping .............................. 10
(4.3) Looper Modes .............................. 12
(4.4) Menu Screen ................................. 14
(4.4.1) Fade ......................................................... 14
(4.4.2) Reverse .................................................. 14
(4.4.3) Speed ...................................................... 14
(4.4.4) Save ......................................................... 15
(4.4.5) Load ........................................................ 15
(4.4.6) Delete ..................................................... 15
(4.4.7) Logic ....................................................... 16
(4.4.8) Mode ....................................................... 16
(4.4.9) Assign ..................................................... 16
(4.4.10) MIDI ........................................................ 17
(4.4.11) Output .................................................... 17
(4.4.12) USB ........................................................ 17
(4.4.13) About .................................................... 17
(4.5) Other Functions .......................... 18
(4.5.1) Energy Save Mode .............................. 18
(4.5.2) Low Battery Warning ........................ 18
(4.5.3) Memory Full Warning ....................... 18
(4.5.4) MIDI Control ......................................... 19
(4.5.5) Factory Reset ....................................... 21
(5.0) Appendix ................................. 22
(5.1) Technical Specifications ............. 22
(5.2) Trademarks & Licenses ..............24
Product specificaties
| Merk: | Sheeran Looper |
| Categorie: | Niet gecategoriseerd |
| Model: | Looper+ |
Heb je hulp nodig?
Als je hulp nodig hebt met Sheeran Looper Looper+ stel dan hieronder een vraag en andere gebruikers zullen je antwoorden
Handleiding Niet gecategoriseerd Sheeran Looper

10 April 2024
Handleiding Niet gecategoriseerd
- Bleep Labs
- AJA
- Kopp
- Paasche
- Moki
- Carnielli
- Profizelt24
- Lifepak
- Astralpool
- Intex
- Esatto
- Majella
- BikeYoke
- ASI
- HiFuture
Nieuwste handleidingen voor Niet gecategoriseerd

14 September 2025

14 September 2025

13 September 2025

13 September 2025

13 September 2025

13 September 2025

13 September 2025

13 September 2025

13 September 2025

13 September 2025