Robbe ROXXY BL-Control 820 Handleiding
Robbe Radiografisch bestuurbaar speelgoed ROXXY BL-Control 820
Bekijk gratis de handleiding van Robbe ROXXY BL-Control 820 (4 pagina’s), behorend tot de categorie Radiografisch bestuurbaar speelgoed. Deze gids werd als nuttig beoordeeld door 81 mensen en kreeg gemiddeld 4.3 sterren uit 9 reviews. Heb je een vraag over Robbe ROXXY BL-Control 820 of wil je andere gebruikers van dit product iets vragen? Stel een vraag
Pagina 1/4
No.
8645/8646
Bedienungsanleitung
Roxxy® BL-Control 810-820
No.
8645/8646
Operating Instructions
Roxxy® BL- Control 810-820
Die Regler BL-Control 810 und BL-Control 820 sind kleine, microprozessorgesteuerte Flugregler mit proportionaler
Steuerung für Brushless Motoren in Slow und Park-Flyern. Vor Anschluss und In be trieb nah me diese An lei tung und die
Sicherheitshinweise bitte aufmerksam lesen.
Technische Daten: Roxxy® BL-Control 810 No. 8645 Roxxy® BL-Control 820 No. 8646
Funktion: Vorwärts, Stopp oder Bremse Vorwärts, Stopp oder Bremse
Motorstrom: 10 A Kurzz.max. 15A 20 A Kurzz.max. 25A
Akkutyp (Zellenzahl): NC / NiMH (6 – 10 Zellen) NC / NiMH (6 – 10 Zellen)
oder LiPo (2 –3 Zellen) oder LiPo (2 –3 Zellen)
Abmessung: 28 x 23 x 8 mm 28 x 23 x 8 mm
Gewicht: 13 g 18 g
BEC: 5V max.1,5A 5V max. 3A
Taktfrequenz: 32 kHz 32 kHz
Programmierbar: Ja (siehe Tabelle) Ja (siehe Tabelle)
Automatische Abschaltung: Ja Ja
Besonderheit Empfängerakku:
Soll statt des BEC-Systems ein separater Empfängerakku verwendet werden, dann muss die rote Leitung
am Empfänger-Anschlusskabel des Reglers aus dem Steckergehäuse gezogen und isoliert werden.
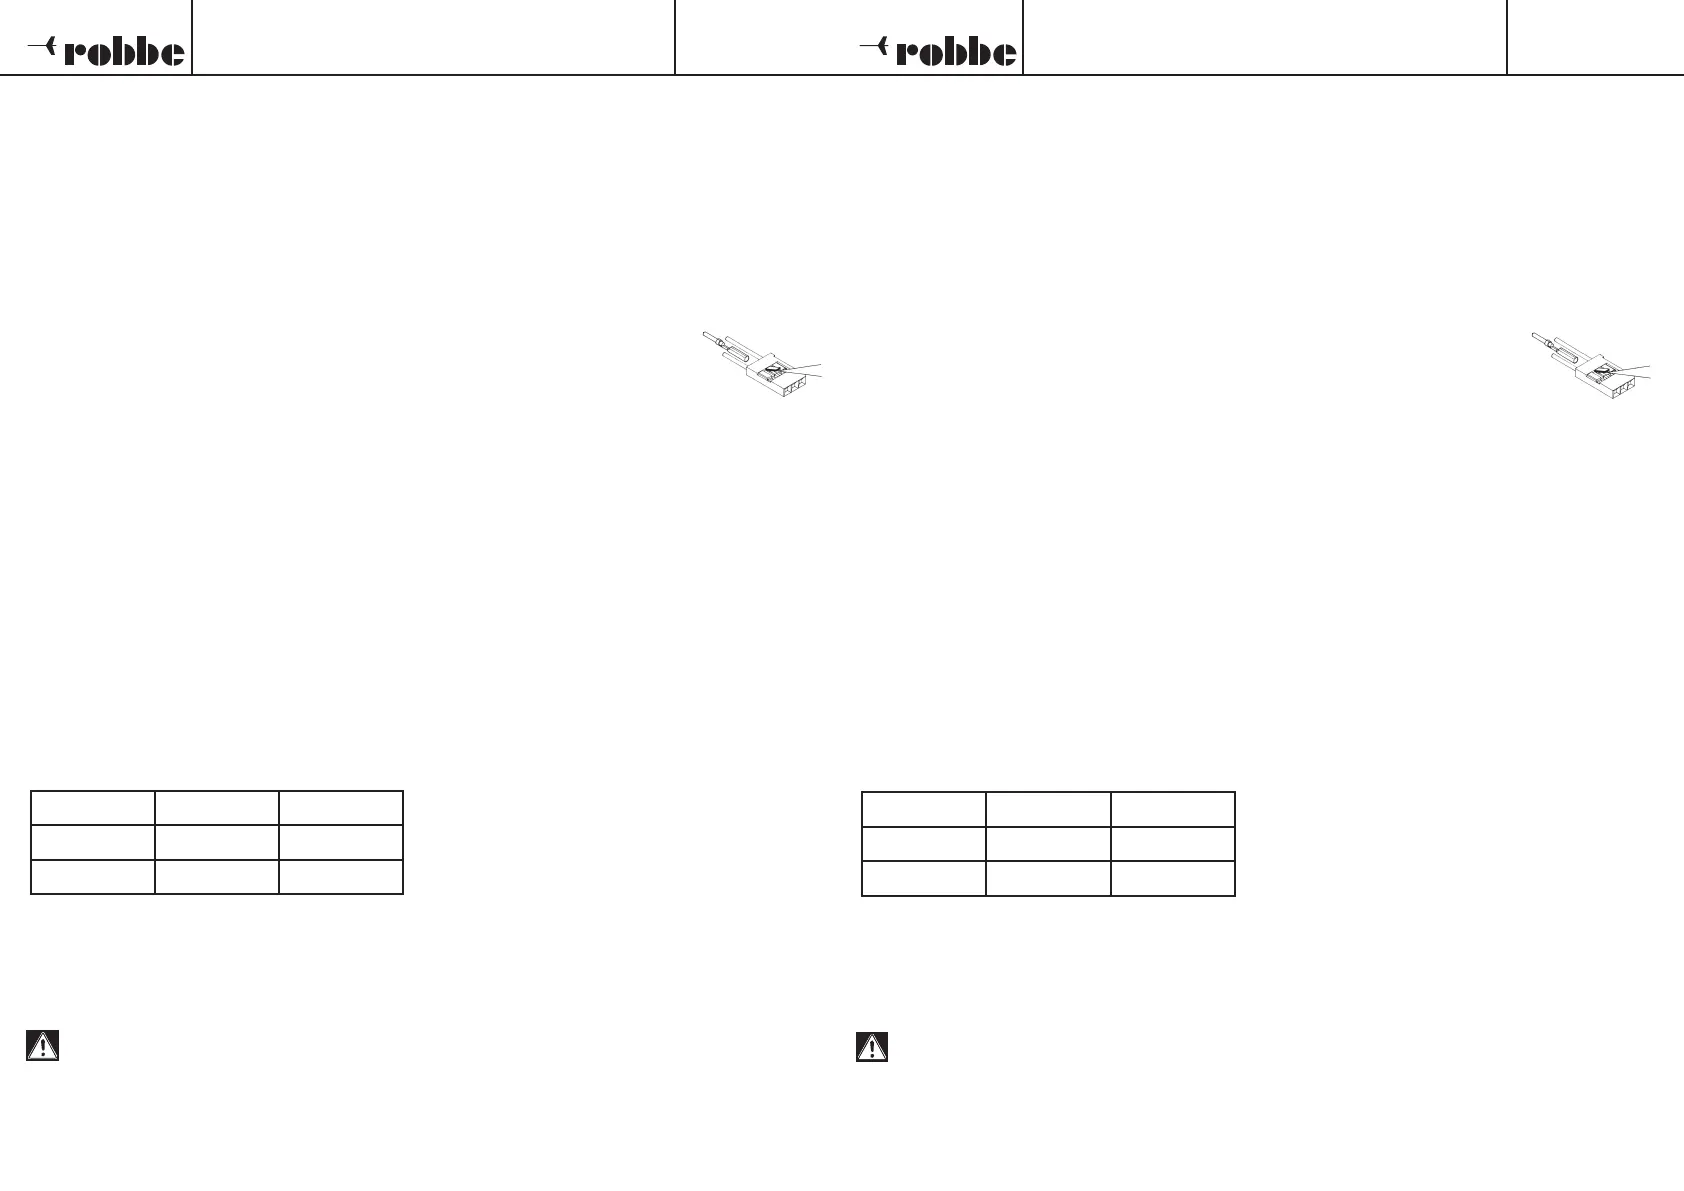
Anschluss :
1. Die drei Motoranschlußkabel an die Kabel des Motors anschließen, bei falscher Laufrichtung des Motors 2 Kabel tauschen.
2. Empfängerkabel mit dem Gaskanal des Empfängers verbinden.
Programmierung der Stop/ Vorwärts Position:
1. Sender einschalten und Gasknüppel in die Vorwärtsposition bringen.
2. Spannungsversorgung an den Regler anschließen.
3. Der Regler bestätigt mit einer kurzen Tonfolge.
4. Nach ca. 10 Sekunden ertönt eine Doppeltonfolge als Bestätigung für erfolgreiche Programmierung der Vorwärtsposition.
5. Gasknüppel in die Stopposition bringen, eine kurze Tonfolge bestätigt die erfolgreiche Programmierung der Stopposition.
6. Zum Speichern der Einstellung trennen Sie den Regler vom Akku.
Programmierung der Parameter:
Es können zwei Parameter programmiert werden.
Der Eintritt in den Programmiermodus erfolgt durch:
1. Sender einschalten und Gasknüppel in die Vorwärtsposition bringen.
2. Spannungsversorgung an den Regler anschließen.
3. Der Regler bestätigt mit einer kurzen Tonfolge.
4. Nach ca. 10 Sekunden ertönt eine Doppeltonfolge, nach weiteren ca. 3 Sekunden ertönt eine Dreifachtonfolge.
Der Regler zeigt jetzt durch kontinuierliches einmaliges Piepsen und Blinken der LED, Parameter 1 (Akkutyp) an.
Zum Ändern des Akkutyps ist zunächst ein Wechsel des Gasknüppels aus der Vorwärtsposition in die Stopposition
erforderlich. Danach zeigt der Regler den aktuell eingestellten Akkutyp an (siehe Tabelle).
Sicherheitshinweise
- Bei Inbetriebnahme nie in den Drehkreis der Luftschraube greifen - Verletzungsgefahr.
- Beachten Sie die technischen Daten des Reglers.
- Polung aller Anschlusskabel beachten.
- Kurzschlüsse unbedingt vermeiden.
- Den Regler so einbauen bzw. verpacken, dass er nicht mit Fett, Öl oder Wasser in Berührung kommen kann.
- Für ausreichende Luftzirkulation sorgen.
Parameter 1 (Akkutyp). Zum Abspeichern der zuvor gemachten Einstellung trennen Sie den Regler vom Akku.
Auswahl Parameter 2 (Bremse)
Der Regler zeigt jetzt durch kontinuierliches Piepsen und Blinken der LED die Auswahl von Parameter 2 an. Befindet sich der
Regler wieder auf Parameter 1 (Akkutyp), erfolgt die Umstellung auf Parameter 2 in dem Sie den Gasknüppel aus der Vorwärts-
position in die Stopposition und zurück in die Vorwärtsposition bringen. Die Einstellung der Bremse erfolgt analog zur Einstellung
des Akkutyps.
Parameter
LED EIN
Beep alle 2 Sek.
LED blinkt
Beep alle 0,5 Sek.
Akkutyp
LiPoNiCD/NiMH
Bremse
AusEin
Um nun den Akkutyp zu ändern, bewegen Sie den Gasknüppel
schnell aus der Stopposition in die Vorwärtsposition und zurück in
die Stoppposition. Der pieps und blink Intervall ändert sich
entsprechend (siehe Tabelle).
Die Übernahme der Änderung erfolgt durch einen Wechsel des
Gasknüppels von der Stopposition in die Vorwärtsposition.
Nach der erfolgreichen Übernahme schaltet der Regler wieder auf
The BL-Control 810 and BL-Control 820 controllers are small, microprocessor-controlled flight controller with propor-
tional control for brushless motors in slow and park flyers. Carefully read through these instructions and the safety infor-
mation before connecting and starting up your model.
Technical data: Roxxy® BL-Control 810 No. 8645 Roxxy® BL-Control 820 No. 8646
Function: Forward, stop or brake Forward, stop or brake
Motor current: 10 A short-term.max. 15A 20 A short-term.max. 25A
Battery type (number of cells): NC/NiMH (6 – 10 cells) NC/NiMH (6 – 10 cells)
or LiPo (2 –3 cells) or LiPo (2 –3 cells)
Dimensions: 28 x 23 x 8 mm 28 x 23 x 8 mm
Weight: 13 g 18 g
BEC: 5V max.1.5A 5V max. 3A
Clock frequency: 32 kHz 32 kHz
Programmable:Yes (see table) Yes (see table)
Automatic deactivation: Yes Yes
Note on receiver battery:
If a separate receiver battery is used instead of the BEC system, the red wire
at the receiver connection cable of the controller must be disconnected from the connector housing and insulated.
Connection:
1. Connect the three motor connection cables to the cables at the motor. Interchange the two cables if the motor turns in the
wrong direction.
2. Connect the receiver cable to the throttle channel of the receiver.
Programming the Stop/Forward position:
1. Switch on the transmitter and move the throttle stick to the Forward position.
2. Connect the voltage supply to the controller.
3. The controller confirms power is connected by sounding a short tone sequence.
4. A double tone sequence sounds after about 10 seconds, confirming that the Forward position has been successfully pro-
grammed.
5. Move the throttle stick to the Stop position, a short tone sequence confirms that the Stop position has been programmed suc-
cessfully.
6. Disconnect the controller from the battery to save the setting.
Programming the paramters:
Two parameters can be programmed.
Access programming mode as follows:
1. Switch on the transmitter and move the throttle stick to the Forward position.
2. Connect the voltage supply to the controller.
3. The controller confirms power is connected by sounding a short tone sequence.
4. A double tone sequence sounds after about 10 seconds, a triple tone sequence sounds after a further 3 seconds.
The controller now indicates Parameter 1 (battery type) by a continuous beeping and the LED flashing.
To change the battery type, it is first necessary to move the throttle stick from the Forward position to the Stop position.
Safety Information
- When starting the model, never reach into the rotating propeller - risk of injury.
- Pay attention to the technical data of the controller.
- Ensure correct polarity of all connection cables.
- Make sure you avoid short-circuits.
- Install or pack the controller in such a way that it cannot come in contact with grease, oil or water.
- Ensure adequate air circulation.
successfully, the controller switches back to Parameter 1 (battery type). Disconnect the controller from the battery to save the
setting.
Selection parameter 2 (brake)
The controller now indicates the selection of parameter 2 by a continuous beeping and the LED flashing. If the controller is still set
to parameter 1 (battery type) change over to parameter 2 by moving the throttle stick from the Forward position to the Stop position
and back to the Forward position. The brake is set in the same way as setting the battery type.
The controller then shows the battery type currently set (see table).
To change the battery type, quickly move the throttle stick from the
Stop position to the Forward position and back to the Stop position.
The beep and flashing interval changes accordingly (see table).
The change is adopted by moving the throttle stick from the Stop
position to the Forward position.Once the setting has been adopted
Parameter
LED ON
Beep every 2 Sek.
LED flashing
Beep every 0,5 Sek.
Battery type
LiPoNiCD/NiMH
Brake
OFFOn
Product specificaties
| Merk: | Robbe |
| Categorie: | Radiografisch bestuurbaar speelgoed |
| Model: | ROXXY BL-Control 820 |
| Kleur van het product: | Meerkleurig |
| Gewicht: | 18 g |
| Breedte: | 28 mm |
| Diepte: | 23 mm |
| Hoogte: | 8 mm |
| Soort: | Radio-Controlled (RC) Model Parts |
Heb je hulp nodig?
Als je hulp nodig hebt met Robbe ROXXY BL-Control 820 stel dan hieronder een vraag en andere gebruikers zullen je antwoorden
Handleiding Radiografisch bestuurbaar speelgoed Robbe

30 Maart 2025
30 Maart 2025
30 Maart 2025
30 Maart 2025
30 Maart 2025
30 Maart 2025
28 Maart 2025
26 Maart 2025
25 Februari 2025
25 Februari 2025
Handleiding Radiografisch bestuurbaar speelgoed
Nieuwste handleidingen voor Radiografisch bestuurbaar speelgoed
16 Juli 2026
13 Juli 2026
9 Juli 2026
9 Juli 2026
8 Juli 2026
8 Juli 2026
7 Juli 2026
7 Juli 2026
7 Juli 2026
6 Juli 2026