Petsafe PPA19-16732 Handleiding
Petsafe Niet gecategoriseerd PPA19-16732
Bekijk gratis de handleiding van Petsafe PPA19-16732 (16 pagina’s), behorend tot de categorie Niet gecategoriseerd. Deze gids werd als nuttig beoordeeld door 41 mensen en kreeg gemiddeld 4.9 sterren uit 6 reviews. Heb je een vraag over Petsafe PPA19-16732 of wil je andere gebruikers van dit product iets vragen? Stel een vraag
Pagina 1/16
Please read this entire guide before beginning.
Veuillez lire ce manuel en entier avant de commencer.
Gelieve deze gids volledig door te lezen voordat u begint.
Por favor, lea detenidamente este manual antes de empezar.
Si prega di leggere attentamente la guida al uso prima di utilizzare il collare.
Bitte lesen Sie die gesamte Betriebsanleitung vor dem Train.
Quick Start Guide
Guide de démarrage rapide
Beknopte handleiding
Guía de inicio rápido
Guida rapida
Schnellstartanleitung
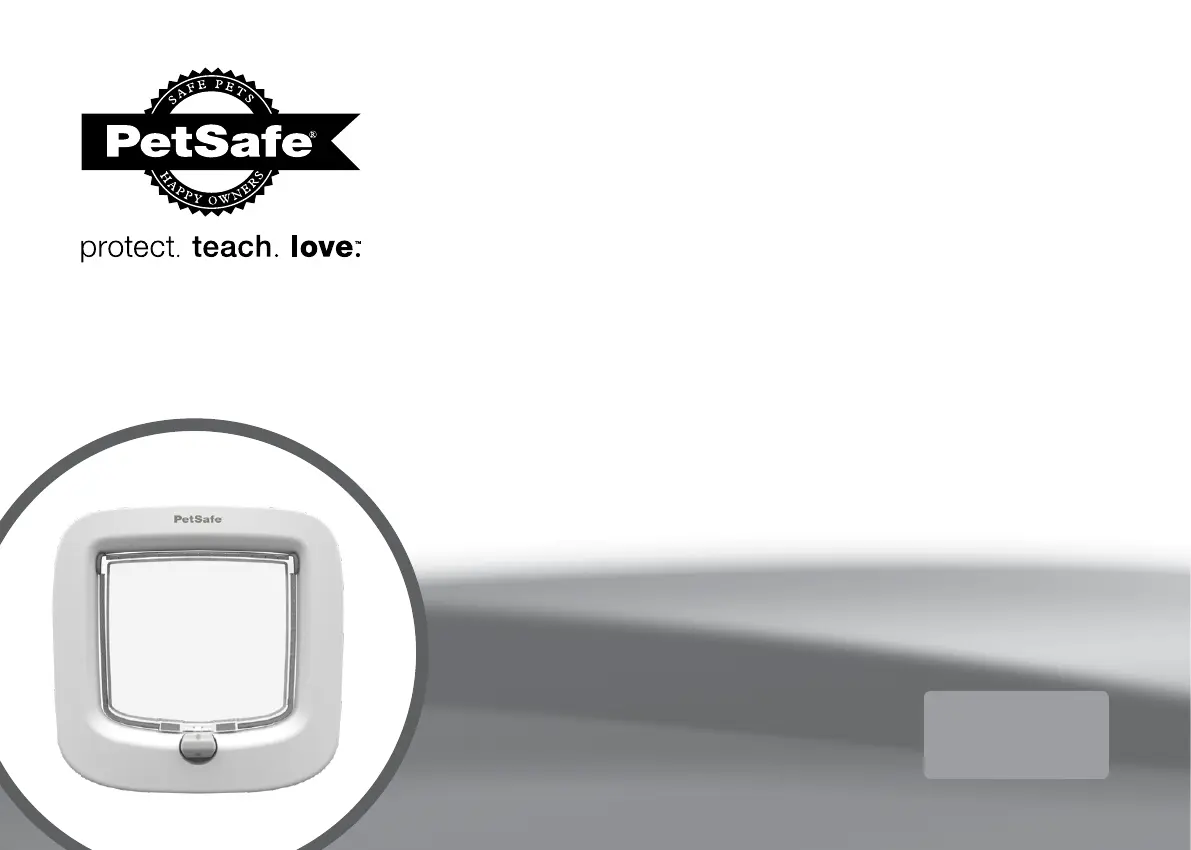
Manual-Locking Cat Flap
Chatière à verrouillage manuel
Handmatig afsluitbaar kattenluik
Puerta para gatos de bloqueo manual
Porta per gatti a bloccaggio manuale
Katzenklappe mit Handverriegelung
300
Series
Série
Serie
Serie
Serie
Serie
Product specificaties
| Merk: | Petsafe |
| Categorie: | Niet gecategoriseerd |
| Model: | PPA19-16732 |
Heb je hulp nodig?
Als je hulp nodig hebt met Petsafe PPA19-16732 stel dan hieronder een vraag en andere gebruikers zullen je antwoorden
Handleiding Niet gecategoriseerd Petsafe

15 Juli 2025
14 Juli 2025
14 Juli 2025
14 Juli 2025
29 Maart 2025
29 Maart 2025
24 Maart 2025
24 Maart 2025
15 November 2024
7 Oktober 2024
Handleiding Niet gecategoriseerd
Nieuwste handleidingen voor Niet gecategoriseerd
23 Juli 2026
23 Juli 2026
23 Juli 2026
23 Juli 2026
23 Juli 2026
23 Juli 2026
22 Juli 2026
22 Juli 2026
22 Juli 2026
22 Juli 2026