K&K Sound Volume Control Handleiding
K&K Sound Niet gecategoriseerd Volume Control
Bekijk gratis de handleiding van K&K Sound Volume Control (5 pagina’s), behorend tot de categorie Niet gecategoriseerd. Deze gids werd als nuttig beoordeeld door 183 mensen en kreeg gemiddeld 4.1 sterren uit 8 reviews. Heb je een vraag over K&K Sound Volume Control of wil je andere gebruikers van dit product iets vragen? Stel een vraag
Pagina 1/5
PRODUCTMANUAL
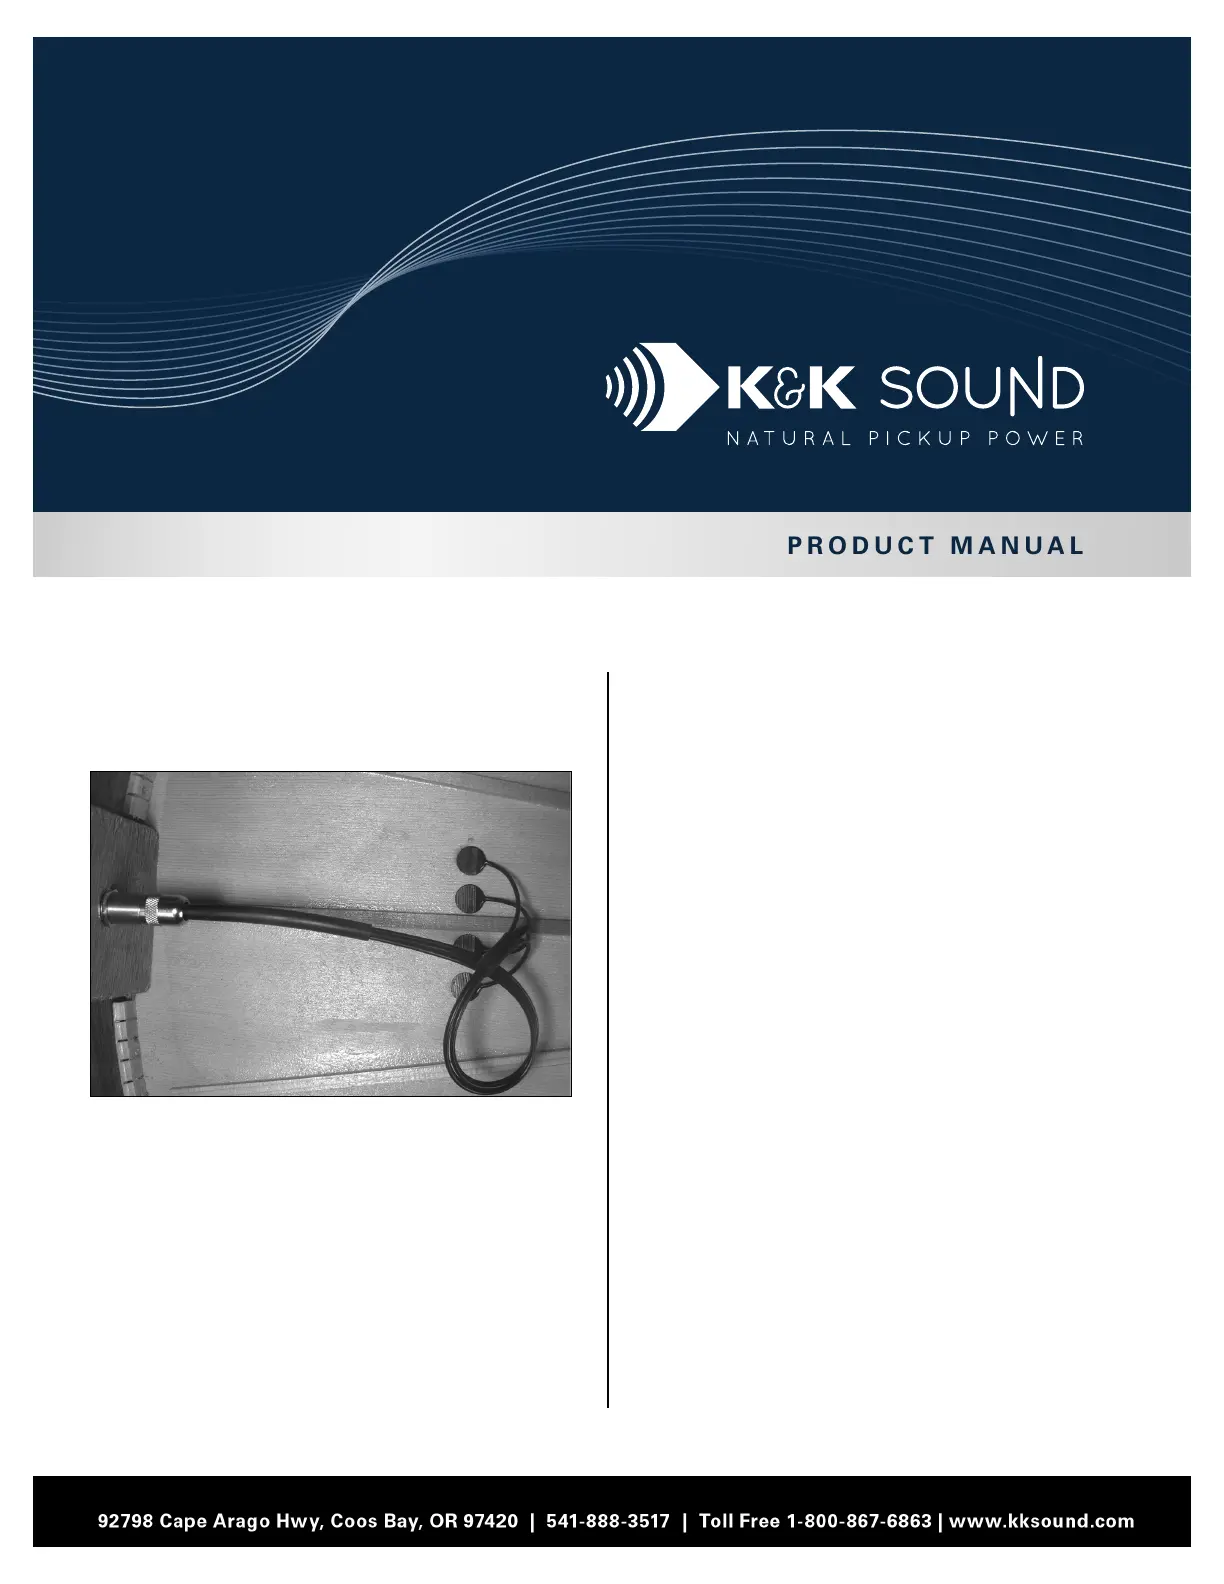
PURE CLASSIC
Thank you for buying the Pure Classic Transducer
System for your guitar! The Pure Classic is a four-
head piezo-ceramic transducer with endpin jack.
Please read through the complete instructions
before beginning installation. This manual is written
in great detail to help you install the Pure Classic for
best possible performance. Please also familiarize
yourself with the handling instructions of superglue
(if used) and the supplied double-sided tape and with
the disclaimer at the end of this manual.
TABLE OF CONTENTS
1.Tools Needed
2.Package Contents
3.Removable vs. Permanent Installation
4.Installation Preparation
5.Installation for Guitars without Bridge
Reinforcement Strip
6.Installation for Guitars with Bridge Reinforcement
Strip
7.Drilling the Endpin Jack Hole
8.Installing the Endpin Jack
9.Removing the Pickups
1. TOOLS & SUPPLIES NEEDED
•Superglue gel (any brand of Cyanacrylate glue
will do as long as it is gel)
•Electric drill (for drilling endpin jack hole and
pickup reference hole)
•Proper drill bits for endpin jack mount and a very
small bit for the reference holes
•Pliers or wrench for endpin jack installation
•4 latex gloves (if superglue is used, alternatively
use the supplied finger cots)
•Razorblade
2. PACKAGE CONTENTS
•Pure Classic 4-head transducer with cable
harness and endpin jack
•Double-sided tape for removable installation
Product specificaties
| Merk: | K&K Sound |
| Categorie: | Niet gecategoriseerd |
| Model: | Volume Control |
Heb je hulp nodig?
Als je hulp nodig hebt met K&K Sound Volume Control stel dan hieronder een vraag en andere gebruikers zullen je antwoorden
Handleiding Niet gecategoriseerd K&K Sound

13 September 2025
12 September 2025
19 Februari 2024
19 Februari 2024
19 Februari 2024
19 Februari 2024
19 Februari 2024
19 Februari 2024
19 Februari 2024
19 Februari 2024
Handleiding Niet gecategoriseerd
Nieuwste handleidingen voor Niet gecategoriseerd
7 Juni 2026
7 Juni 2026
7 Juni 2026
7 Juni 2026
7 Juni 2026
6 Juni 2026
6 Juni 2026
6 Juni 2026
6 Juni 2026
6 Juni 2026