ISpring RCC7 Handleiding
Bekijk gratis de handleiding van ISpring RCC7 (15 pagina’s), behorend tot de categorie Niet gecategoriseerd. Deze gids werd als nuttig beoordeeld door 214 mensen en kreeg gemiddeld 4.8 sterren uit 107.5 reviews. Heb je een vraag over ISpring RCC7 of wil je andere gebruikers van dit product iets vragen? Stel een vraag
Pagina 1/15

iSpring Reverse Osmosis Water Filter Systems
INSTALLATION INSTRUCTION
Ver 2005-6
Copyright ©2005-2015 ISPRING WATER SYSTEMS, LLC. All rights reserved.

www.123filter.com | (678) 261-7611 sales@ispringfilter.com Page 1
Please keep this owner’s manual for future reference.
It includes the information on how to properly operate and maintain your
iSpring Reverse Osmosis water filtration system.
TABLE OF CONTENT
BEFORE INSTALLATION.....................................................................................................................2
Inspect the package...............................................................................................................................2
Recommended tools list........................................................................................................................2
Operating conditions.............................................................................................................................2
Components Identification....................................................................................................................3
Installation Tips ........................................................................................................................................4
How to use Quick-Connect fitting........................................................................................................4
To connect: .......................................................................................................................................4
To disconnect:...................................................................................................................................4
How to use Compression fitting with brass Nut, Collar, and tube Insert.............................................5
How to drill a hole on sink or counter-top............................................................................................5
Installation Steps.......................................................................................................................................7
Step 1: Install Feed Water Adapter (AFW)..........................................................................................7
Step 2: Install Drinking Water Faucet..................................................................................................7
Step 3: Install Drain Saddle..................................................................................................................8
Step 4: Install the Vertical Filters: Stages 1, 2, and 3...........................................................................8
Step 5: Install Tank Shut-off Valve (TSV)...........................................................................................8
Step 6: Install Reverse Osmosis Membrane.........................................................................................9
Step 7: Tubing Hook up (model specific sub-steps are marked with * )..............................................9
Step 8: System Start Up (model specific sub-steps are marked with * )............................................10
SYSTEM MAINTENANCE.................................................................................................................. 12
Stages 1 – 3 pre-filters: Replace every 6 – 12 months, or sooner if water flow gets slow.................12
How to change in-housing cartridges in 1st – 3rd pre-filter stages....................................................12
Stage 4 RO membrane: Replace every 2 – 3 years or sooner if TDS level starts increasing.............13
How to change reverse osmosis membrane........................................................................................13
Stage 5 T33 fine carbon: Replace every 12 months ...........................................................................13
How to change inline cartridges in 5th – 7th stages...........................................................................13
O-rings: Replace every 3 years or sooner if leak happens at O-ring..................................................13
Extra Installation.....................................................................................................................................14
UV Lamp (part# iSpring UVB11) and Ice maker kit (part# iSrping ICEK)......................................14
www.123filter.com | (678) 261-7611 sales@ispringfilter.com Page 2
Thank you for choosing the iSpring Reverse Osmosis Water Filtration System.
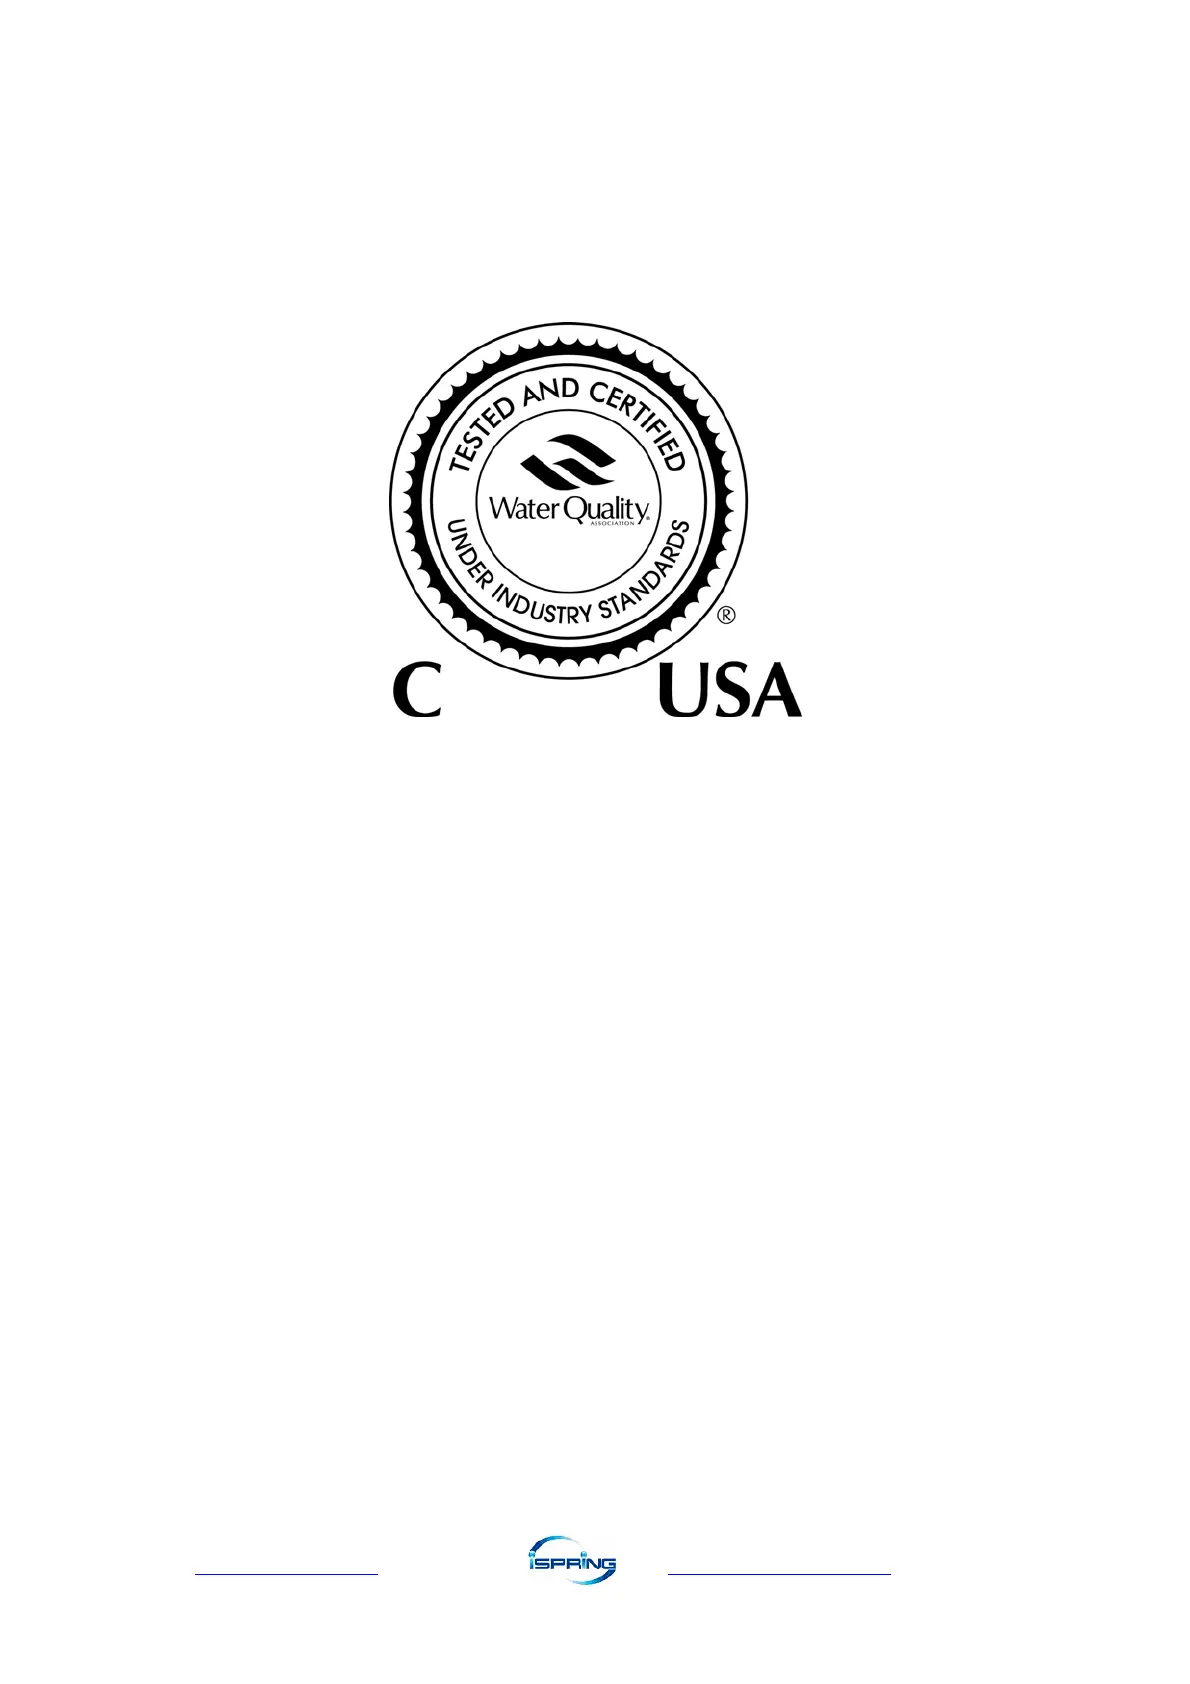
It was built from quality components, and has earned WQA GOLD SEAL certification against NSF/ANSI
STANDARD 58 for performance and material safety. Please check the attached iSpring RO Systems
WQA Gold Seal Certification for details.
BEFORE INSTALLATION
Inspect the package
Please open the box, and take all the components and tool kit out. Inspect them to ensure that nothing is
damaged during shipping. If any part is cracked or broken, please immediately contact iSpring Customer
Support for replacement. Identify and get familiar with the components.
Recommended tools list
• Variable speed drill with two bits: ¼” (for drilling a hole on PVC drain pipe), ½” hollow diamond (for
drilling a hole on countertop for drinking faucet)
• 5/8”, 9/16” open-end wrench, or adjustable wrench, pliers
• Phillips screwdriver
• Scissors or utility knife
Operating conditions
• Maximum water pressure: 80 psi, or pressure regulator (part no. APR70) is required if there is high
water pressure or water hammer)
• Minimum water pressure: 40 psi, or booster pump is needed to improve RO efficiency
• Water temperature: 40 – 100 °F (4 - 37 °C) (This RO system is NOT designed for HOT water)
• Maximum TDS: 750 ppm
• Install this RO system in a location where it is safe from hot/cold weather and direct sunlight. Avoid
hitting, falling, or dragging as they may cause cracks and leaks.
Product specificaties
| Merk: | ISpring |
| Categorie: | Niet gecategoriseerd |
| Model: | RCC7 |
Heb je hulp nodig?
Als je hulp nodig hebt met ISpring RCC7 stel dan hieronder een vraag en andere gebruikers zullen je antwoorden
Handleiding Niet gecategoriseerd ISpring

28 Februari 2024
Handleiding Niet gecategoriseerd
- Nintendo
- Kelty
- EmberGlo
- Ltech
- DeLock
- Joie
- EWON
- ETON
- Scheppach
- Deltaco
- OneTouch
- Schaffner
- Aerial
- KeoBin
- Siemon
Nieuwste handleidingen voor Niet gecategoriseerd

18 September 2025

18 September 2025
18 September 2025

18 September 2025

18 September 2025

18 September 2025

18 September 2025

18 September 2025
18 September 2025

18 September 2025