Iiyama WP II960A Handleiding
Iiyama Wireless presenter WP II960A
Bekijk gratis de handleiding van Iiyama WP II960A (8 pagina’s), behorend tot de categorie Wireless presenter. Deze gids werd als nuttig beoordeeld door 42 mensen en kreeg gemiddeld 4.7 sterren uit 6 reviews. Heb je een vraag over Iiyama WP II960A of wil je andere gebruikers van dit product iets vragen? Stel een vraag
Pagina 1/8
ScreenBeam®
|
960
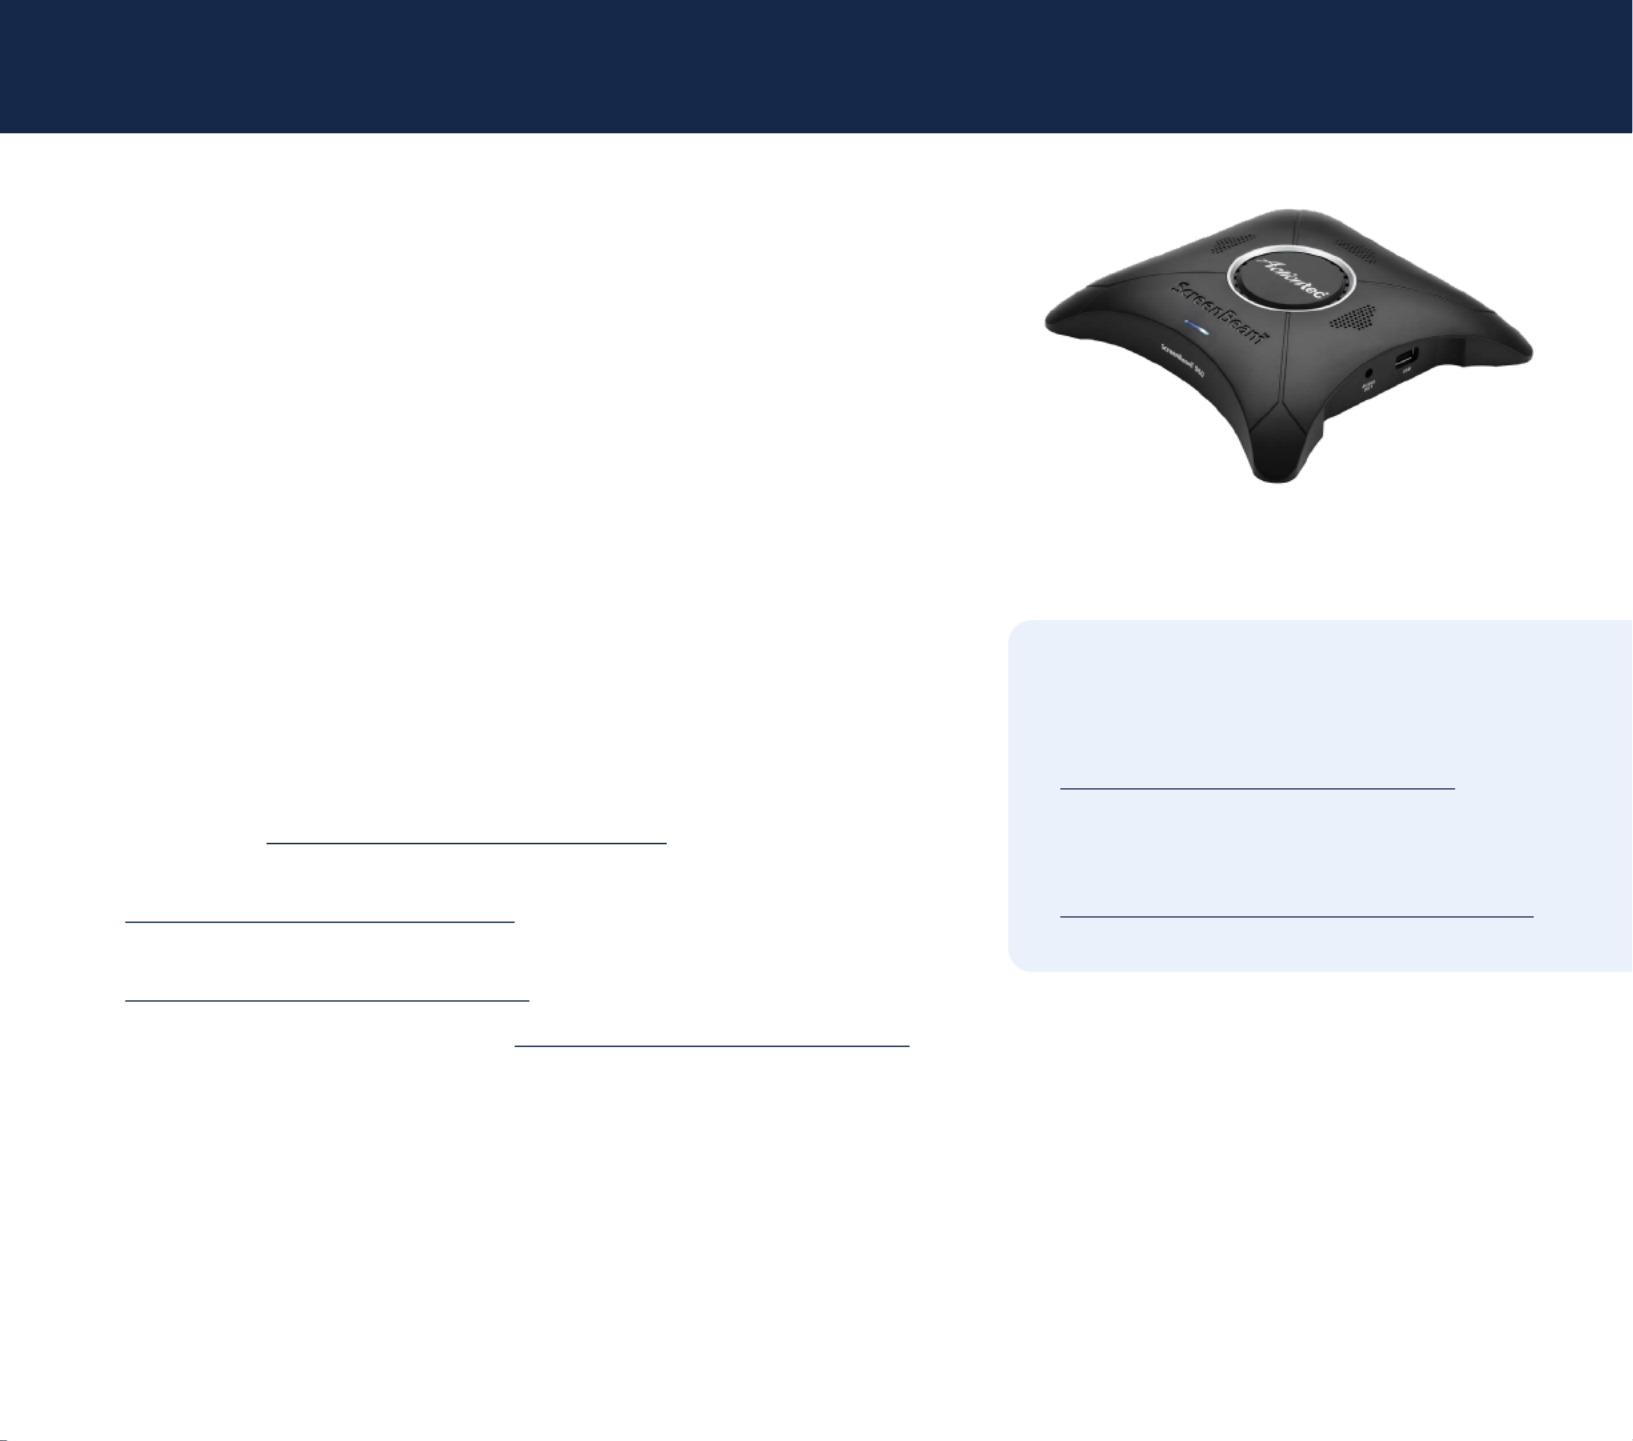
ScreenBeam 960
Wireless Display Receiver
Quick Start Guide
This Quick Start Guide provides the instructions on how to install ScreenBeam 960
receiver, connect client devices, and setup for deployment. Refer to the support
website for the full deployment guide, latest updates, and best practices.
Before Beginning Deployment
Before deploying ScreenBeam products, check for the latest firmware, release
documentation and tech tips.
zFor ScreenBeam receiver’s deployment guide, firmware upgrades, and release
notes, go to: https://support.screenbeam.com/960
zFor Miracast™ or native macOS/iOS wireless display connection tutorial, go to:
https://www.screenbeam.com/setup
zFor ScreenBeam Central Management System (CMS) software, go to:
https://support.screenbeam.com/cms
zFor Open Source information, go to: https://opensource.screenbeam.com
Package Contents
zScreenBeam 960 receiver
zPower supply
zHDMI cable
zQuick Start Guide (this document)
zRegulatory documents
Documentation
For FAQs, troubleshooting tips
and support, visit:
https://support.screenbeam.com
Need Help?
To open a ticket for support, visit:
https://support.screenbeam.com/ticket
1 | screenbeam.com
quick start guide
Product specificaties
| Merk: | Iiyama |
| Categorie: | Wireless presenter |
| Model: | WP II960A |
| Kleur van het product: | Zwart |
| Breedte: | 168 mm |
| Diepte: | 168 mm |
| Hoogte: | 34.5 mm |
| LED-indicatoren: | Ja |
| Wi-Fi-standaarden: | 802.11a, 802.11b, 802.11g, Wi-Fi 4 (802.11n), Wi-Fi 5 (802.11ac) |
| Vormfactor: | Desktop |
| Ethernet LAN: | Ja |
| Frequentieband: | 2.4 / 5 GHz |
| Inclusief AC-adapter: | Ja |
| Aantal Ethernet LAN (RJ-45)-poorten: | 1 |
| Hoofdtelefoonuitgangen: | 1 |
| Certificering: | CE, RED |
| Interface: | HDMI + VGA (D-Sub) |
| Aantal HDMI-invoerpoorten: | 1 |
| Duurzaamheidscertificaten: | RoHS |
| Miracast: | Ja |
| Wifi-standaard: | Wi-Fi 5 (802.11ac) |
| Ethernet LAN, data-overdrachtsnelheden: | 10, 100 Mbit/s |
| Bekabelingstechnologie: | 10/100Base-T(X) |
| Ondersteunt Windows: | Ja |
| Temperatuur bij opslag: | 0 - 70 °C |
| Luchtvochtigheid bij opslag: | 5 - 90 procent |
| Mac-compatibiliteit: | Ja |
| Ondersteunt Linux: | Ja |
| Aantal HDMI-uitgangen: | 1 |
| Stroomverbruik (typisch): | 5 W |
| Bedrijfstemperatuur (T-T): | 0 - 40 °C |
| Relatieve vochtigheid in bedrijf (V-V): | 10 - 85 procent |
| Code geharmoniseerd systeem (HS): | 85176990 |
| Maximale resolutie (HDMI): | 1920 x 1080 Pixels |
Heb je hulp nodig?
Als je hulp nodig hebt met Iiyama WP II960A stel dan hieronder een vraag en andere gebruikers zullen je antwoorden
Handleiding Wireless presenter Iiyama

21 Mei 2023
Handleiding Wireless presenter
Nieuwste handleidingen voor Wireless presenter
20 Maart 2026
14 Mei 2025
25 Februari 2025
20 Februari 2025
20 Februari 2025
20 Februari 2025
12 Februari 2025
14 December 2024
11 December 2024