GeoVision GV-EL124S Handleiding
GeoVision Niet gecategoriseerd GV-EL124S
Bekijk gratis de handleiding van GeoVision GV-EL124S (8 pagina’s), behorend tot de categorie Niet gecategoriseerd. Deze gids werd als nuttig beoordeeld door 53 mensen en kreeg gemiddeld 4.8 sterren uit 8 reviews. Heb je een vraag over GeoVision GV-EL124S of wil je andere gebruikers van dit product iets vragen? Stel een vraag
Pagina 1/8
GV-EL124S Electric Strike
Featured with a built-in door status sensor, the GV-EL124S is a fail-secure electric strike, but
it is field convertible from fail secure to fail safe. It can be mounted either right or left
reversibly on the doorjamb, providing remote release of a locked door.
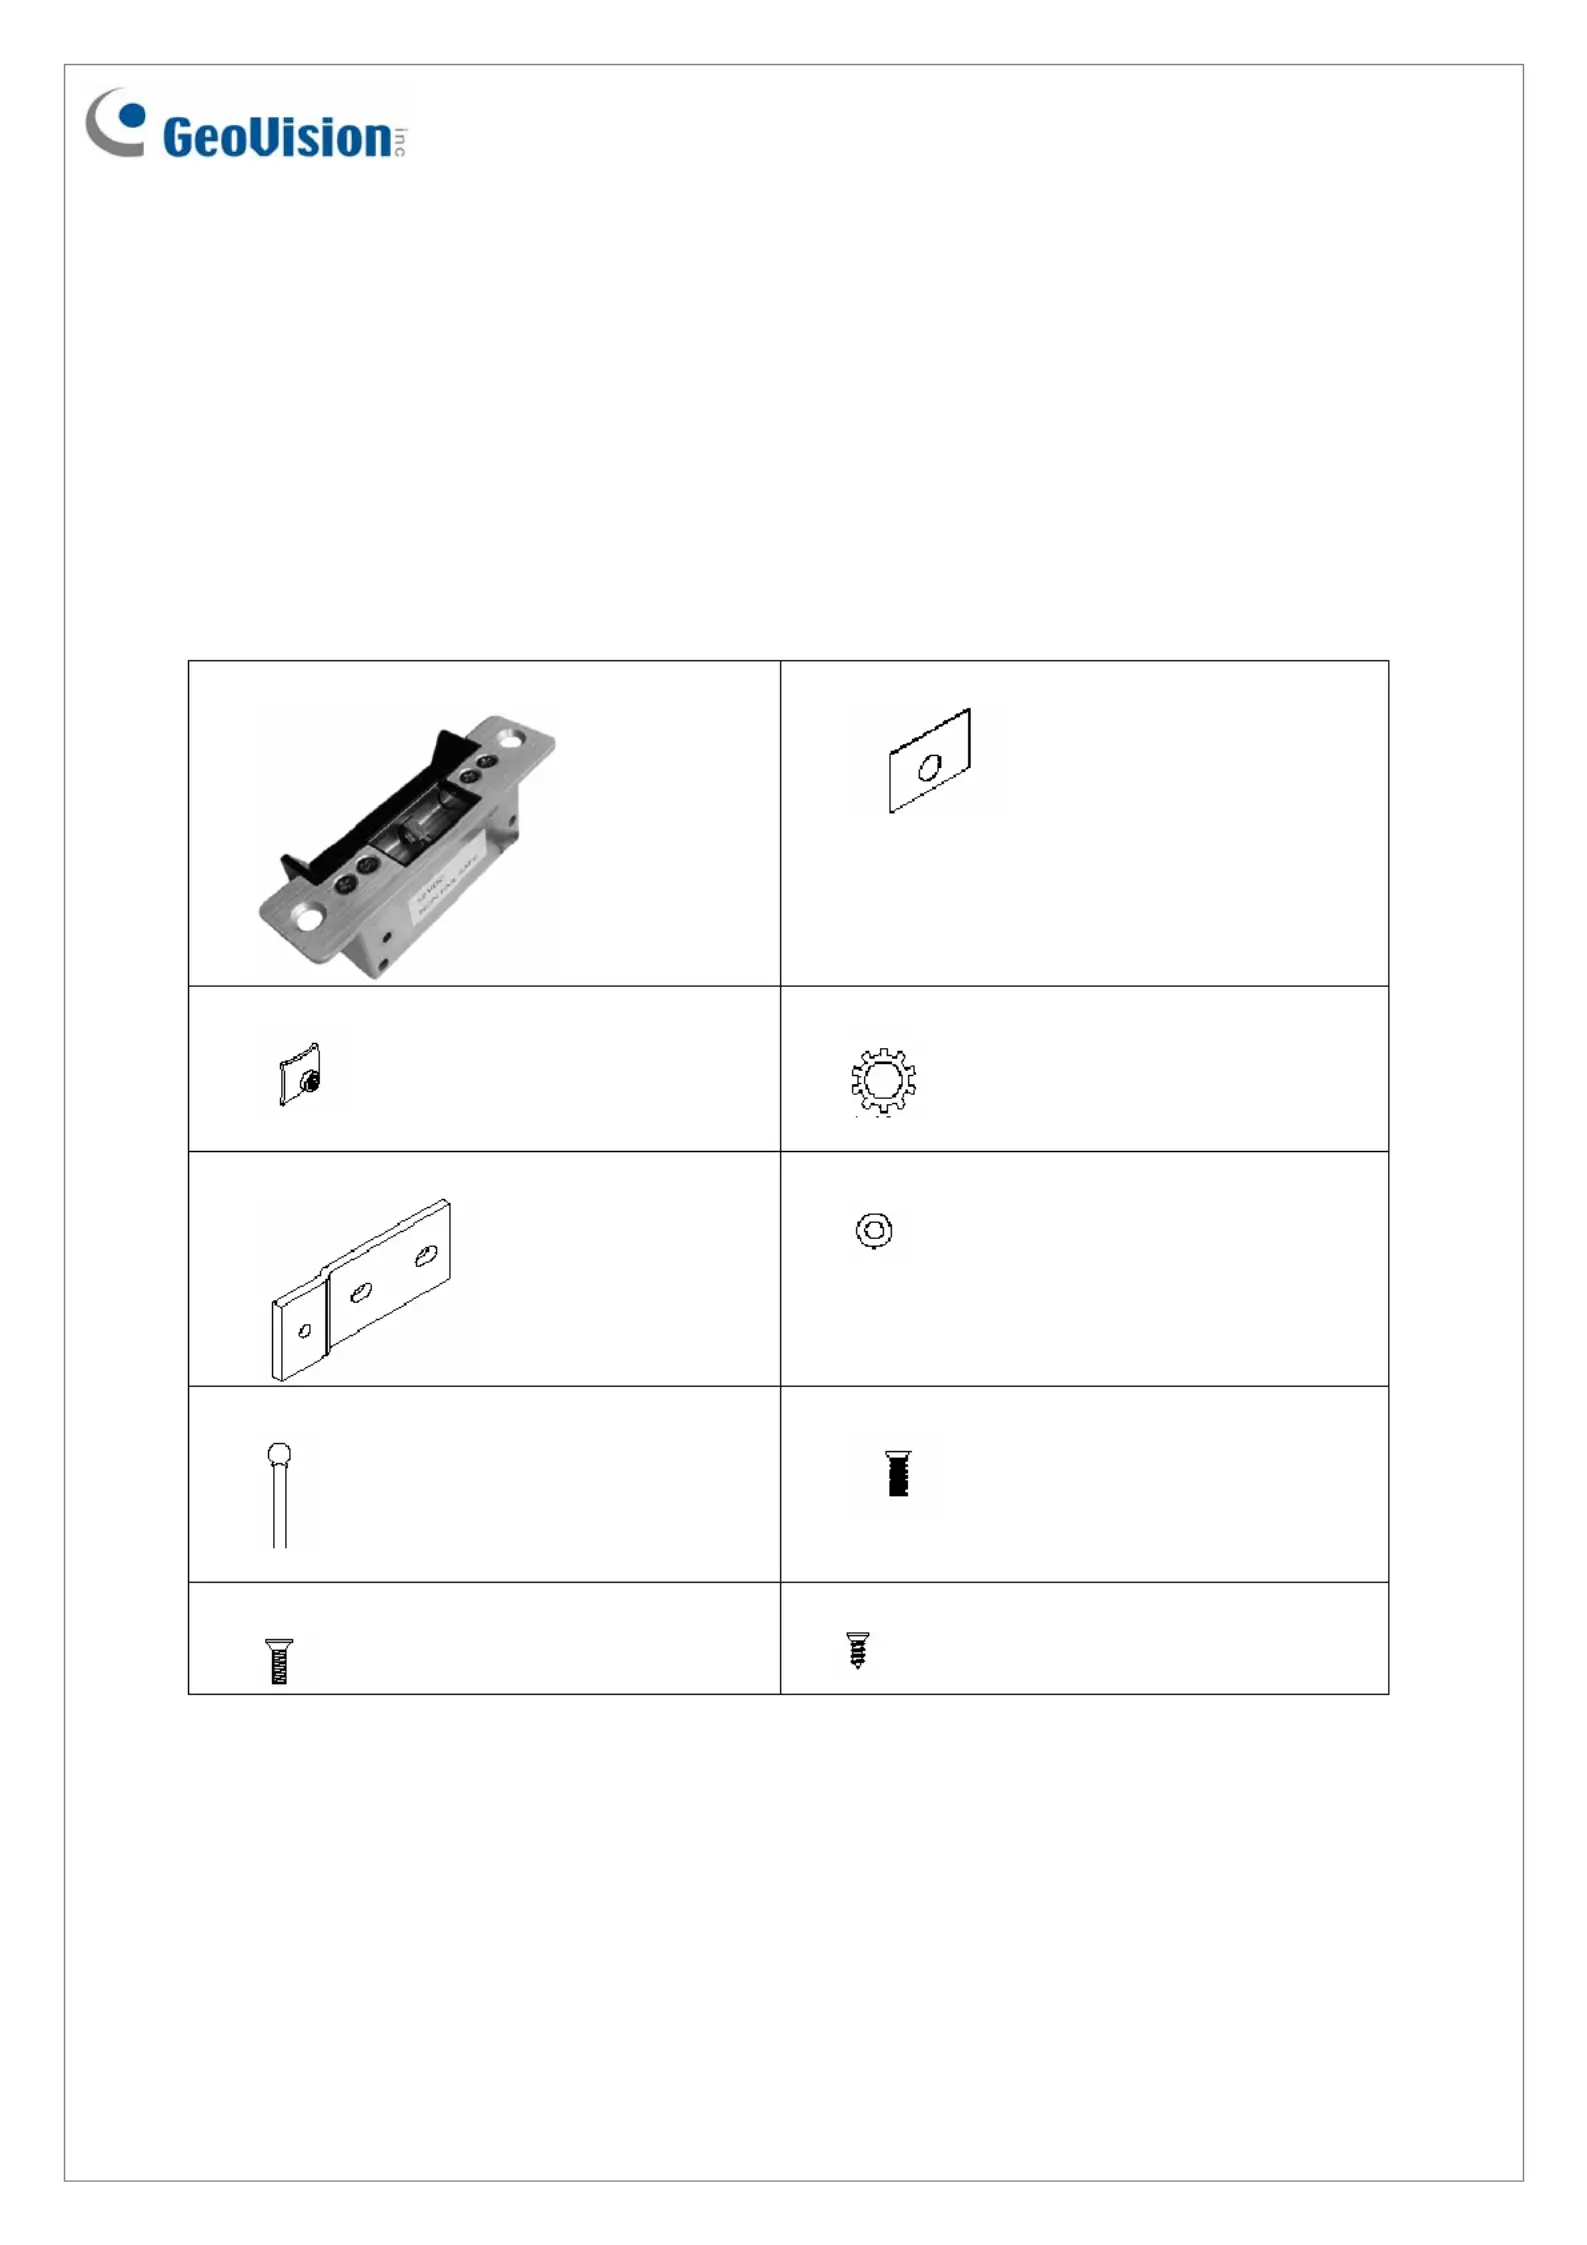
Packing List
1. GV-EL124S electric strike x 1
2. Aluminum spacer x 6
3. Clip nut x 2
4. Lock washer x 2
5. Extension plate x 2
6. Clip x 2
7. Varistor x 1
8. M4 screw x 2
9. #10-32 screw x 2
10. #8-32 flat-head screw x 2
June 3, 2015
1
Product specificaties
| Merk: | GeoVision |
| Categorie: | Niet gecategoriseerd |
| Model: | GV-EL124S |
Heb je hulp nodig?
Als je hulp nodig hebt met GeoVision GV-EL124S stel dan hieronder een vraag en andere gebruikers zullen je antwoorden
Handleiding Niet gecategoriseerd GeoVision

27 Maart 2025
13 Maart 2025
20 Februari 2025
20 Februari 2025
20 Februari 2025
20 Februari 2025
27 Januari 2025
18 Februari 2024
18 Februari 2024
7 December 2023
Handleiding Niet gecategoriseerd
Nieuwste handleidingen voor Niet gecategoriseerd
21 Juni 2026
20 Juni 2026
20 Juni 2026
20 Juni 2026
20 Juni 2026
20 Juni 2026
20 Juni 2026
20 Juni 2026
20 Juni 2026
20 Juni 2026