Energy RC-50 Handleiding
Bekijk gratis de handleiding van Energy RC-50 (18 pagina’s), behorend tot de categorie Speaker. Deze gids werd als nuttig beoordeeld door 44 mensen en kreeg gemiddeld 4.3 sterren uit 8 reviews. Heb je een vraag over Energy RC-50 of wil je andere gebruikers van dit product iets vragen? Stel een vraag
Pagina 1/18
LIMITED WARRANTY POLICY
IN THE UNITED STATES AND CANADA
ENERGY
®
warrants this product to the retail purchaser against any failure resulting
from original manufacturing defects in workmanship or materials.The warranty is in
effect for a period of:Speaker Section-five (5) years,Subwoofer Section-one (1) year
from date of purchase from an authorized
ENERGY
®
dealer and is valid only if the
original dated bill of sale is presented when service is required.
The warranty does not cover damage caused during shipment,by accident,misuse,
abuse,neglect,unauthorized product modification,failure to follow the instructions
outlined in the owner’s manual,failure to perform routine maintenance,damage
resulting from unauthorized repairs or claims based upon misrepresentations of the
warranty by the seller.
WARRANTY SERVICE
If you require service for your ENERGY
®
speaker(s) at any time during the warranty
period,please contact:
1) the dealer from whom you purchased the product(s),
2)
ENERGYNATIONAL SERVICE,203 Eggert Road,Buffalo,N.Y.14215
Tel:716-896-9801 or
3)
ENERGY
®
,a division of Audio Products International Corp.,3641 McNicoll
Avenue,Toronto,Ontario,Canada,M1X 1G5,
Tel:416-321-1800.
4) Additional service centers can be found by checking the ENERGY
®
website:
www.energy-speakers.com or,by calling either of the
above numbers.
You will be responsible for transporting the speakers in adequate packaging to
protect them from damage in transit and for the shipping costs to an authorized
ENERGY
®
service center or to ENERGY
®
.If the product is returned for repair to
ENERGY
®
in Toronto or Buffalo,the costs of the return shipment to you will be paid
by
ENERGY
®
,provided the repairs concerned fall within the Limited Warranty.The
ENERGY
®
Warranty is limited to repair or replacement of ENERGY
®
products.It
does not cover any incidental or consequential damage of any kind.If the provisions
in any advertisement,packing cartons or literature differ from those specified in this
warranty,the terms of the Limited Warranty prevail.
GARANTIE
GARANTIE AUX
ÉTATS-UNIS ET AU CANADA
La société ENERGY
®
garantit cet appareil contre toute défectuosité attribuable aux
pièces d’origine et à la main-d’oeuvre.Cette garantie est valide pendant une
période de cinq (5) ans (enceinte) et d’un (1) an (extreme graves) à partir de la date
d’achat auprès d’un revendeur
ENERGY
®
agréé ;la garantie ne sera honorée que
sur présentation d’une pièce justificative de la date d’achat.
La garantie ne couvre aucun dommage subi pendant le transport ou imputable à un
accident,à une utilisation impropre ou abusive,à la négligence,à une modification
non autorisée,à la non-observance des instructions décrites dans le manuel de
l’utilisateur ou des directives d’entretien,ni aucun dommage subi par suite de
réparations non autorisées ou de réclamations fondées sur une mauvaise
interprétation des conditions de la présente garantie par le revendeur.
SERVICE SOUS GARANTIE
Dans l’éventualité où une réparation deviendrait nécessaire
pendant la période de couverture de la garantie,communiquez avec :
1) le revendeur auprès de qui l’appareil a été acheté,
2)
ENERGYNational Service,203,Eggert Road,Buffalo,N.Y.14215,
tél.:716-896-9801 ou
3)
ENERGY
®
,3641,avenue McNicoll,Toronto (Ontario),Canada,M1X 1G5,tél.:
416-321-1800.
4) Pour connaître l'adresse de tous nos centres de service,consultez le site Web de
ENERGY
®
à www.energy-speakers.com ou composez l’un des numéros indiqués plus
haut.
Le propriétaire de l’appareil est responsable de son emballage et de tous frais
d’expédition à un centre de service
ENERGY
®
agréé ou à ENERGY
®
.
Si l’appareil est expédié à
ENERGY
®
à Toronto ou à Buffalo aux fins de réparation,
les frais de réexpédition seront assumés par
ENERGY
®
à la condition que les
réparations effectuées soient couvertes par la garantie.
La garantie est limitée à la réparation ou au remplacement des appareils fabriqués
et distribués par
ENERGY
®
.Elle ne couvre aucun dommage indirect ou consécutif
de quelque nature que ce soit.Si les conditions accompagnant toute publicité,
emballage ou documentation divergent de celles de la présente garantie,les
conditions de la présente garantie prévaudront.
WARRANTY
GARANTIE
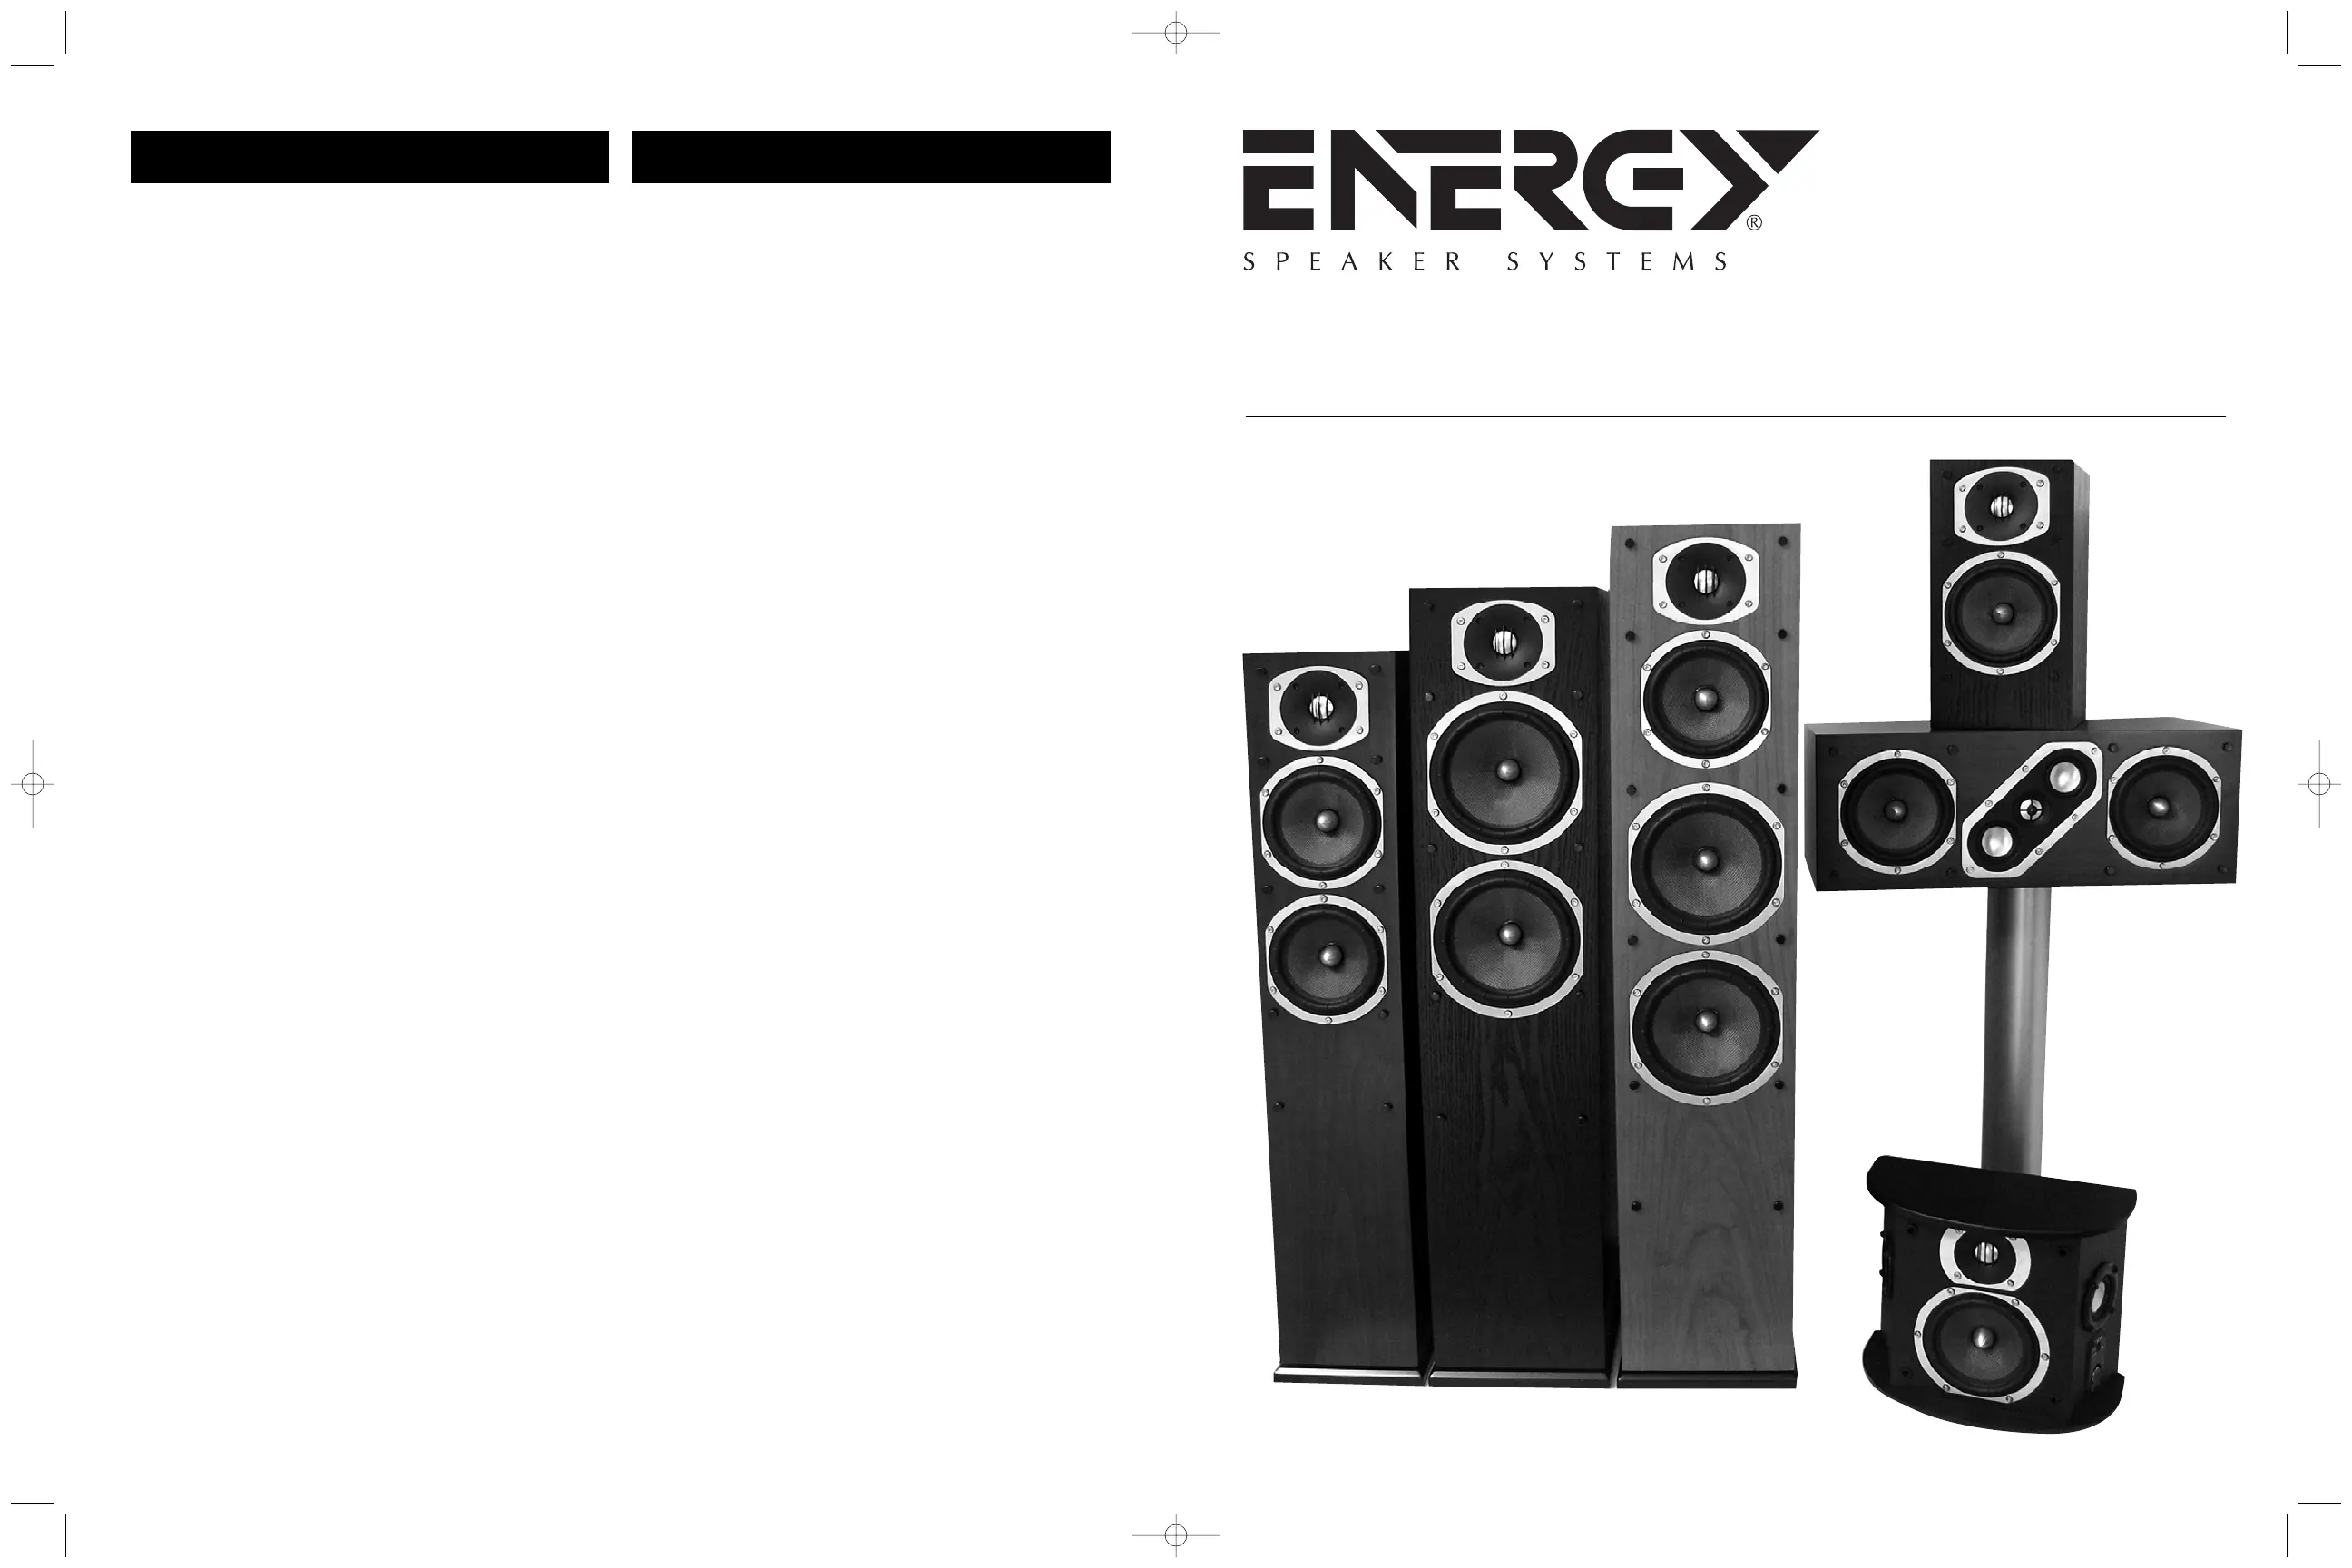
RC-10, RC-30,
RC-50, RC-70,
RC-LCR, RC-R
Reference
Connoisseur
Series
OWNERSMANUAL
Energy Ref. Conn.-9 lang printers 6/20/05 10:04 AM Page 1
Product specificaties
| Merk: | Energy |
| Categorie: | Speaker |
| Model: | RC-50 |
Heb je hulp nodig?
Als je hulp nodig hebt met Energy RC-50 stel dan hieronder een vraag en andere gebruikers zullen je antwoorden
Handleiding Speaker Energy

18 Augustus 2023
17 Augustus 2023
17 Augustus 2023
17 Augustus 2023
17 Augustus 2023
17 Augustus 2023
17 Augustus 2023
17 Augustus 2023
17 Augustus 2023
Handleiding Speaker
Nieuwste handleidingen voor Speaker
17 Juni 2026
17 Juni 2026
17 Juni 2026
17 Juni 2026
16 Juni 2026
16 Juni 2026
16 Juni 2026
16 Juni 2026
16 Juni 2026
16 Juni 2026