Burley 537-R Handleiding

Burley Heater 537-R

Lees hieronder de 📖 handleiding in het Nederlandse voor Burley 537-R (40 pagina's) in de categorie Heater. Deze handleiding was nuttig voor 40 personen en werd door 2 gebruikers gemiddeld met 4.5 sterren beoordeeld

Pagina 1/40
OPERATING INSTRUCTIONS
INSTRUCCIONES DE FUNCIONAMIENTO
GEBRUIKSAANWIJZING
BEDIENUNGSANLEITUNG
NOTICE D' UTILISATION POUR MODELES
Burley Appliances Ltd., Lands End Way, Oakham, Rutland. U.K. LE15 6RB.
Telephone +44 (0)1572 756956. Fax +44 (0)1572 724390.
E-mail info@burley.co.uk www.burley.co.uk
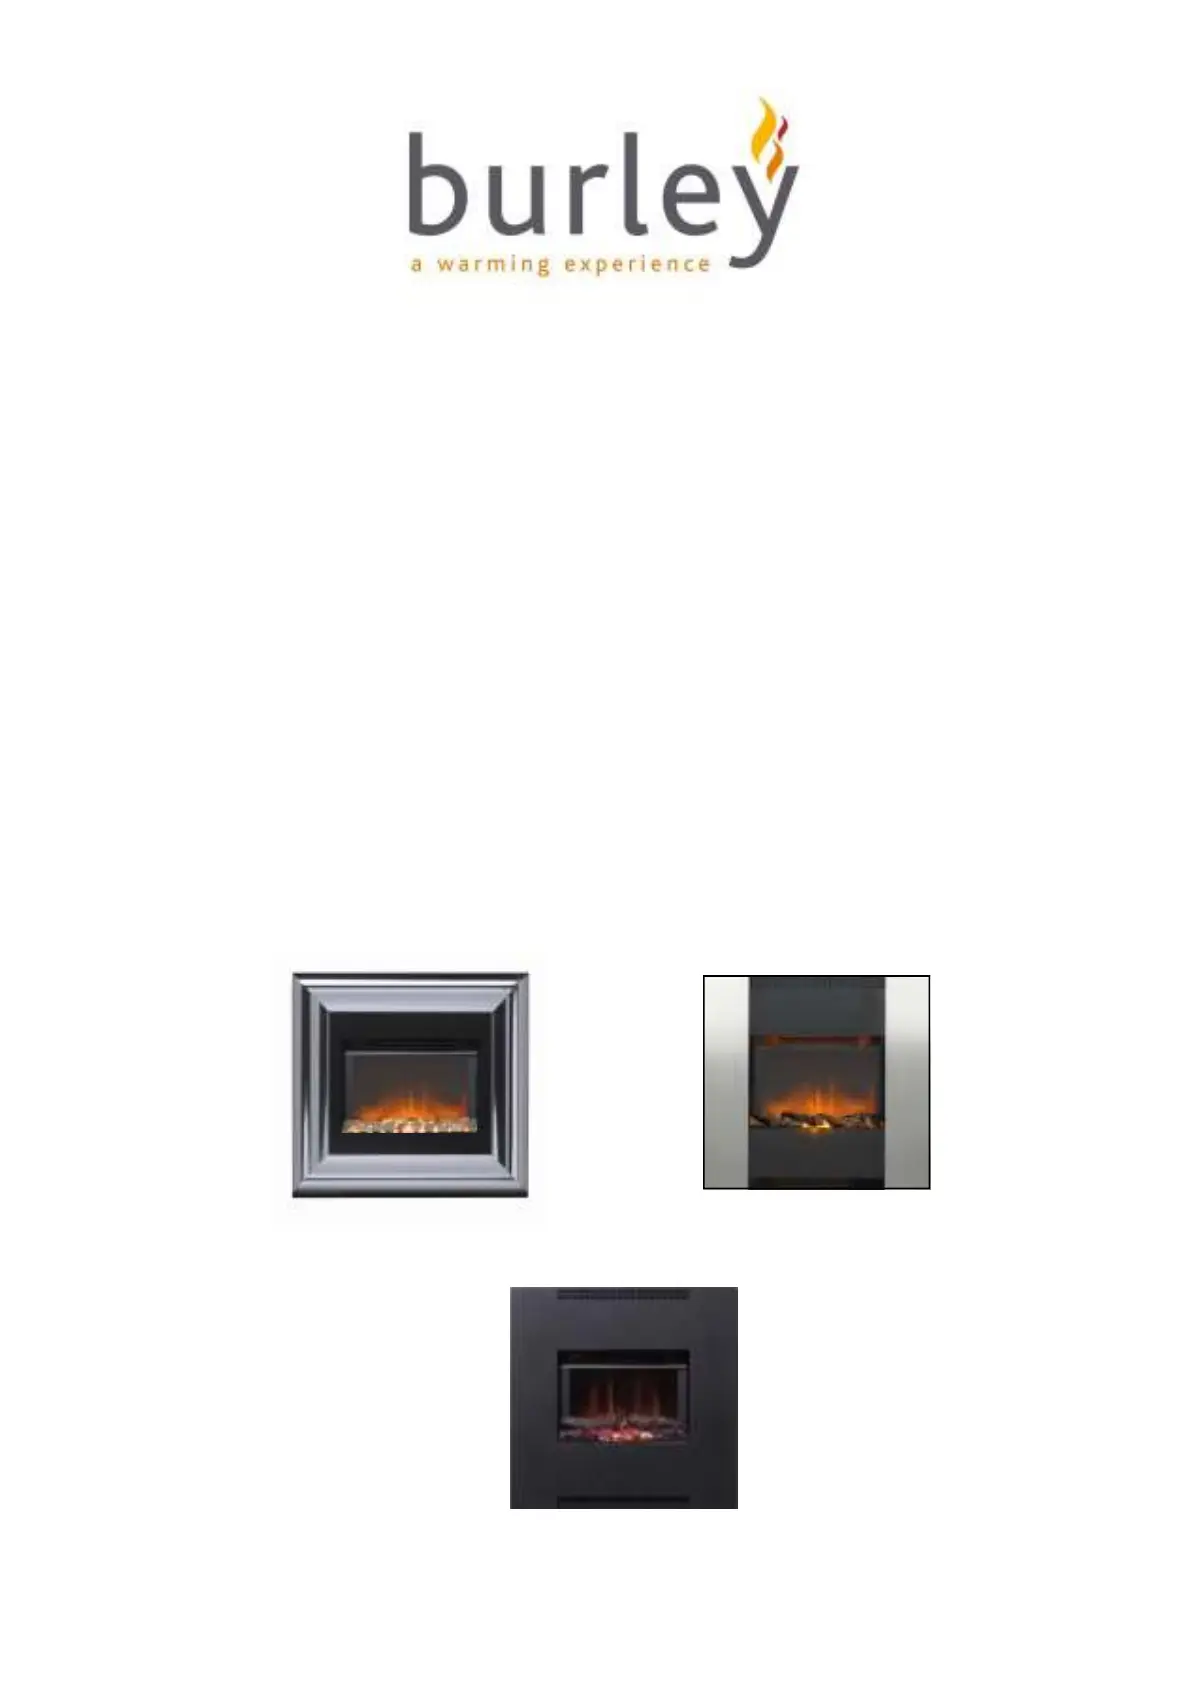
537-R / 537E-R / 537NZ-R / 537U-R
Trim / Remate / Kader / Rahm / Cadre
838CH
Thank you very much for purchasing a Burley electric fire. Please spend a couple of minutes reading these instructions before using
the appliance, they are to ensure your safety and convenience.
IMPORTANT SAFETY INSTRUCTIONS
1. To disconnect heater, turn controls to off, then remove plug from outlet.
2. A heater has hot and arcing or sparking parts inside. Do not use it in areas where gasoline, paint, or flammable liquids are used
or stored.
3. Use this heater only as described in this manual. Any other use not recommended by the manufacturer may cause fire, electric
shock, or injury to persons.
4. Do not use this appliance on an extension lead.
IMPORTANT INSTRUCTIONS
When using electrical appliances, basic precautions should always be followed to reduce the risk of fire, electric shock and injury to
persons. These include the following:
Installation.
1. Read all the instructions before using this heater.
2. Do not locate this heater immediately below a socket outlet.
3. Do not use this heater in the immediate surround of a bath, shower, or swimming pool. Do not allow any contact with water.
4. Do not cover this heater. Do not locate near curtains etc, they could blow and cover the heater. Do not allow any flammable ob-
jects such as chairs, tables etc to be placed within six feet of the heater. Do not allow anything to restrict the airflow around the
heater, there could be a risk of overheating.
5. Do not lead the cable in front of the air outlet.
6. Do not trap the cable. Ensure that the fire is not standing on the cable.
7. Before use the appliance must be securely fixed by the method described in the following pages. Until it has been fixed in place,
do not leave it in a location where it could be accidentally knocked over by children or pets etc.
8. Do not permanently fix the appliance, it will need removing for servicing.
9. Parts of this heater are hot when in use. To avoid burns, do not touch hot surfaces.
10. Do not run the cable under a carpet or rug etc. Arrange cable away from traffic areas and where it will not be tripped over.
11. This appliance must not be used by children or other persons without assistance or supervision if their physical, sensory or men-
tal capabilities prevent them from using it safely. Children must be supervised to ensure that they do not play with or touch the
appliance. Use an approved fixed fire screen or safety guard if there is any chance that the appliance could be inadvertently
touched.
12. Do not use outdoors.
13. Do not operate any heater with a damaged cable or plug or after the heater malfunctions, or after it has been dropped or dam-
aged in any manner. Return the appliance to an authorised service agent for examination and repair.
14. Do not insert or allow foreign objects to enter the appliance as this may cause electric shock, fire, or damage to the appliance.
15. This is an imitation flame effect electric fire and must not be used as a real fire.
16. Do not sit or put loads on top of the appliance.
17. If moving do not drag the appliance as this could cause damage. Lift the appliance (with help if required), move then lower.
18. Risk of choking. The pebbles on the fire are real. Do not allow children or pets etc to eat the pebbles due to the risk of choking.
Never leave unsupervised.
19. Switch off and unplug the appliance when not in use.
Save these instructions
Commissioning your fire
Carefully unpack your electric fire, it will consist of:
Electric fire, one spacer (already fixed to frame), 2 stainless steel panels, bag of pebbles, bag of coal, and a
fixing kit.
Some models may also contain a log effect.
The trims have sharp edges. Do not allow handling without the use of cut proof gloves.
1. There are two silver transit screws located at the rear of the appliance. These must be removed before
installation. See picture right .
2. Position the electric fire following the installation instructions above. For stability you must fix the fire
into position using the fixing kit, this is to ensure that the appliance will not fall forward. Using the wall plug, attach the eye-bolt to
the wall or the back of the fireplace or wall behind the fire. Screw the fixing screws and washers partway into the hole shown in the
diagram. Wrap one end of the wire half way around the left-hand screw and tighten so the wire is trapped between the washer and
the chassis. Now pass the other end of the wire through the eye bolt. Move the fire closer to the eyebolt . It is not usually neces-
sary to have the wire taut. Thread the wire through one of the two fixing holes in the other side of the chassis, position the fire,
then pull through the wire to take up the slack and thread the wire all the way back through the other hole. Move the
fire back to the required position and check it is secure by tipping the fire forwards so the wire is supporting the
weight. Give it a small tug to ensure that it is secured.
This product also has the option of being hung from a wall using the cut out keys on the rear( ). →
The product must be secured to a wall using appropriate wall plugs.
5. Place the pebbles on the fibreglass fuel bed. If for any reason you need more
pebbles it is quite acceptable to use normal pebbles. Alternatively, you may wish to fit
the log effect instead.
Adhesive
strips
Right Side Left Side
4. Fixing the stainless steel sides to the trim. Remove the backing off the adhesive
strips and press the stainless steel sides firmly to the trim. Be careful to get them
lined up. ONCE THE SIDES ARE IN PLACE THEY CANNOT EASILY BE REMOVED.
3. The appliance comes with one removable spacer. If you would like to use the electric fire
freestanding, leave the spacer fixed to the rear of the front trim. If you have a suitably sized
fireplace opening the spacer can be removed to allow insetting.
Fixing
holes
Fixing
Wire
2 Fixing
Holes
Controls.
To switch on the appliance, make sure the main isolation switch is in the on ‘I’ position and press
the button. This will start the flame effect only. To turn on the cold fan, press the ON/C/H ON/C/
H button again and turn the thermostat up to 10. To turn on the heater, press the ON/C/H button
again and turn the thermostat up to 10. The heater is now on and controlled by the thermostat.
At any time the fire can be turned off using the OFF button. These controls are duplicated on
the handset provided. Be vigilant and keep the handset out of reach of children or other poten-
tial risks. Due to the location of the infrared sensor, the remote works best from a position pre-
dominantly in front of the appliance. It should work from a distance of approximately 12 feet / 3
meters.
THERMOSTAT
The heater is automatically controlled by a thermostat to regulate the room temperature. The easiest way to
set the thermostat to your level of comfort is as follows:
a. Turn the heater on by following the instructions above.
b. Leave the heater running until the room has reached your desired comfortable temperature.
c. Slowly turn the thermostat down until it clicks and the heater fan stops.
d. The heater will now cycle on and off to keep the room at the chosen temperature. Each time the heat
is turned on, it will return the room to this preset temperature and then start cycling on and off. Should you
wish to raise or lower the room temperature, i.e. during particularly cold spells, simply turn the thermostat up
or down accordingly.
Note: The thermostat switches the heater fully on or fully off as the room temperature fluctuates. You do not
get 30% of the heat when the dial is turned 30% of the way round and 70% when it is turned 70%
of the way round.
MAINTENANCE
WARNING—UNPLUG THE APPLIANCE FROM THE MAINS POWER SUPPLY BEFORE UNDERTAKING ANY MAINTENANCE.
Wear protective gloves, boots, goggles and clothing.
1) Replacing the lamp -ensure the lamp is left to cool before changing.
a) Remove the pebbles or log bed effect.
b) Lift the two catches, one at each side of the fuel bed (see picture ).→
c) Carefully lift off the trim.
d) Replace bulb.
e) Re-assemble fire in reverse order before connecting back to the mains.
2) General cleaning.
a. The fire should only be dusted with a soft, clean, lint-free, dry duster. Do not use any polishes or
sprays. Should a panel need cleaning, wipe the entire panel in question with a clean soft, lint-free cloth,
dampened in soapy water. Do not use brasso or abrasive cleaners etc as they could damage the trim. The
brushed steel trim can be cleaned by wiping with a little baby oil on a clean soft cloth.
b. The heater grill at the top should be brushed clean periodically to remove any build up of fluff.
c. Approximately every year or two the blades of the heater fan and the flame effect fan should be gently brushed clean. This
should be done by a qualified electrician.
Trouble shooting guide.
The following instructions should solve any questions or problems which you may have.
To find the cause of an operational fault, if safe to do so, plug the fire into the wall socket, press the ON/C/H button on the fire 3
or 4 times (not the remote) and turn the thermostat up to 10.
Symptoms.
a) No heat or light. This will almost certainly mean that the wall socket is faulty. Check that the wall socket works by plugging
in another electrical appliance. Is the fire on an extension lead? Heaters must not be used on extension leads as most have their
own cut out and are not rated for the power required.
b) The heat comes on but no light. The lamp may have blown, see (Replacing Lamps). Check that a new lamp works by
testing it in a table lamp.
c) Light comes on but no heat. Turn the thermostat up to 10 and press the ON/C/H button on the fire 3 or 4 times. See
( Controls).
d) “The thermostat is not working.” The thermostat works by monitoring the room temperature, it is either on or off, you do
not get 10% of the heat on number 1 and 60% on number 6. See (Controls, Thermostat).
e) Plug gets hot. It is nearly always the socket which is at fault. Check the fire in another socket, it will not get as warm. Stop
using the socket immediately and call an electrician. Many house fires are caused by faulty sockets overheating.
f) Flame effect is not working. Check that the fan turns freely and is not being obstructed. Gently brush the blades of the fan
to remove any dust and reassemble. This should be carried out by a qualified electrician.
g) Lamp does not last very long. If the lamp is failing after a short period of time there is not a fault with the fire. It is not
possible to predict the life of a lamp, some burn out more quickly than others.
h) Noise from the fans. Unfortunately there is always some noise from the fans. We do our utmost to reduce this but they will
never be silent.
i) Heater cuts out and blows cold. See (cleaning maintenance 2b & 2c).
J) Remote does not work. This means the batteries in the remote are dead and need replacing with new ones.
Guarantee.
Although your guarantee is with the retailer from whom you purchased the fire, should you still have any questions please phone
us directly and we will inform you of your next course of action. Any fault, other than that caused by abnormal treatment, which
occurs within twelve months of the date of purchase, will be corrected without charge. This does not apply to lamp failures and
batteries whose life, regrettably, we can not predict. In the event of complaint, please phone us for guidance, or contact your
retailer. Should a repair be necessary the appliance will need returning to the point of purchase.
THERMOSTAT


Product specificaties

Merk: Burley
Categorie: Heater
Model: 537-R

Heb je hulp nodig?

Als je hulp nodig hebt met Burley 537-R stel dan hieronder een vraag en andere gebruikers zullen je antwoorden


Handleiding Heater Burley

Handleiding Heater

Nieuwste handleidingen voor Heater