Beverage-Air NC49-1-W Handleiding
Beverage-Air Vriezer NC49-1-W
Bekijk gratis de handleiding van Beverage-Air NC49-1-W (17 pagina’s), behorend tot de categorie Vriezer. Deze gids werd als nuttig beoordeeld door 73 mensen en kreeg gemiddeld 4.3 sterren uit 2 reviews. Heb je een vraag over Beverage-Air NC49-1-W of wil je andere gebruikers van dit product iets vragen? Stel een vraag
Pagina 1/17
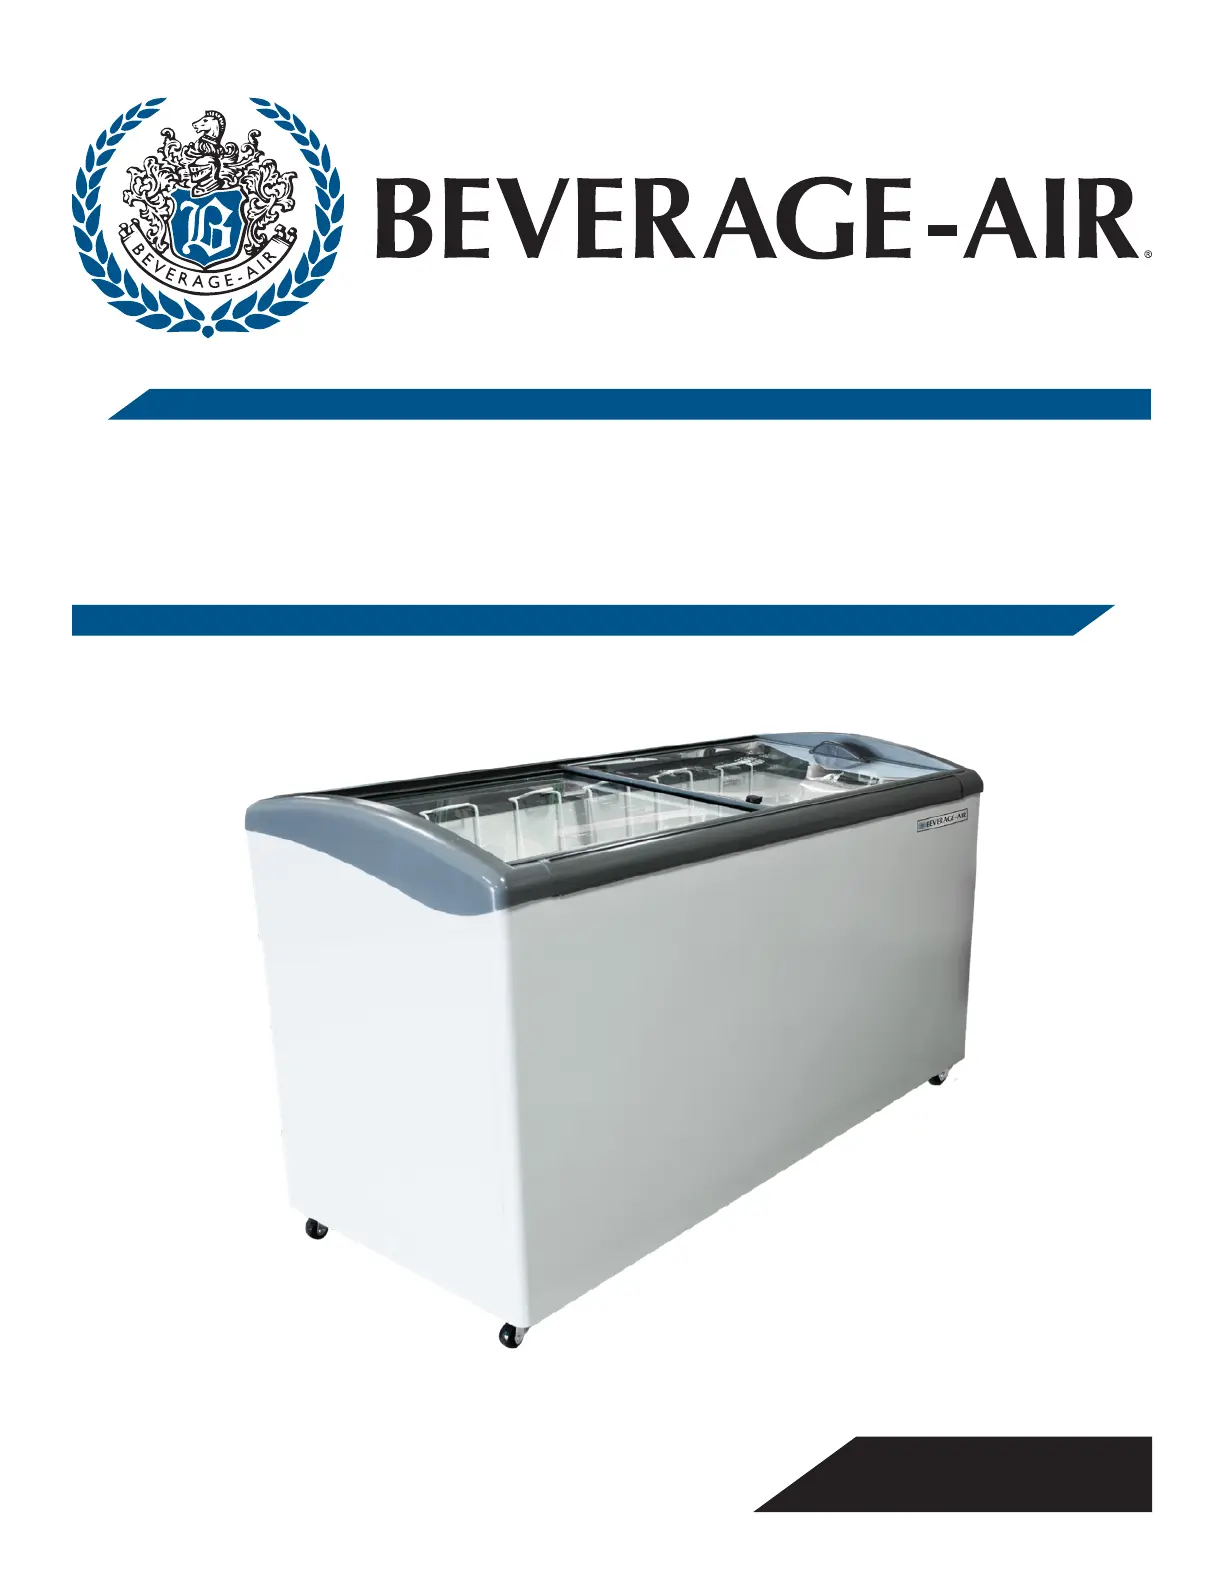
INSTALLATION AND OPERATING INSTRUCTIONS
for all Hydrocarbon
NC Freezer Models
3779 CHAMPION BLVD, WINSTON-SALEM, NC 27105
Phone: (888) 845-9800 | Fax: (800) 253-5168 | Web: beverage-air.com
809-165A REV. 04/28/2025
SEE BACK COVER FOR
WARRANTY REGISTRATION
MODEL:
NC60HC-1-W
●Refrigeration system uses R290 refrigerant to comply with all
environmental concerns
●The unit is best suited for an environment where temperatures
remain below 75°F and humidity does not exceed 55%
●Areas with direct sunlight should also be avoided
●Exterior is white coated steel
●Interior is white powder coated surface
●Low energy consumption
●LED lighting
●Adjustable thermostat
●Operating temperature of 0°F to -10°F
●Angle top design with LowE tempered glass lids
●Lids are easily removable with lid lock & keys standard
●Round exterior edges
●Integrated tag molding
●2” Heavy duty casters
●Drain plug for easy cleaning
●Six (6) removable baskets
5 Year Parts/Labor Warranty Available
7 Year Compressor Warranty
REFRIGERATION SYSTEM
OPTIONS & ACCESSORIES
CABINET CONSTRUCTION
●3 Year parts/labor standard, additional 2 year
warranty available
●2 Ring tub holder
●Custom graphics
●Dip well
NC NOVELTY CASES
NC60HC Novelty Freezers
Hydrocarbon Series
NC60HC NOVELTY FREEZER: SLANT TOP BUNKERS
Project: ____________________________
Item: ______________________________
Loca�on:___________________________
Approved:
AIA#
SIS#
3779 Champion Blvd., Winston-Salem, NC 27105
1-888-845-9800 Fax: 1-336-245-6453
Beverage-Air.com Sales@bevair.com
Specicationsaresubjecttochangewithoutpriornotice.Rev.10/23
Please verify qualifying units byvisiting:
www.energystar.gov/cfs
Product specificaties
| Merk: | Beverage-Air |
| Categorie: | Vriezer |
| Model: | NC49-1-W |
Heb je hulp nodig?
Als je hulp nodig hebt met Beverage-Air NC49-1-W stel dan hieronder een vraag en andere gebruikers zullen je antwoorden
Handleiding Vriezer Beverage-Air

3 November 2025
23 September 2025
22 September 2025
22 September 2025
22 September 2025
22 September 2025
22 September 2025
16 Augustus 2025
15 Augustus 2025
15 Augustus 2025
Handleiding Vriezer
Nieuwste handleidingen voor Vriezer
8 Juni 2026
8 Juni 2026
6 Juni 2026
6 Juni 2026
5 Juni 2026
4 Juni 2026
1 Juni 2026
1 Juni 2026
1 Juni 2026
30 Mei 2026