Alphacool Core RX 9070 XT Taichi Handleiding
Alphacool Niet gecategoriseerd Core RX 9070 XT Taichi
Bekijk gratis de handleiding van Alphacool Core RX 9070 XT Taichi (4 pagina’s), behorend tot de categorie Niet gecategoriseerd. Deze gids werd als nuttig beoordeeld door 14 mensen en kreeg gemiddeld 4.1 sterren uit 6 reviews. Heb je een vraag over Alphacool Core RX 9070 XT Taichi of wil je andere gebruikers van dit product iets vragen? Stel een vraag
Pagina 1/4
Alphacool
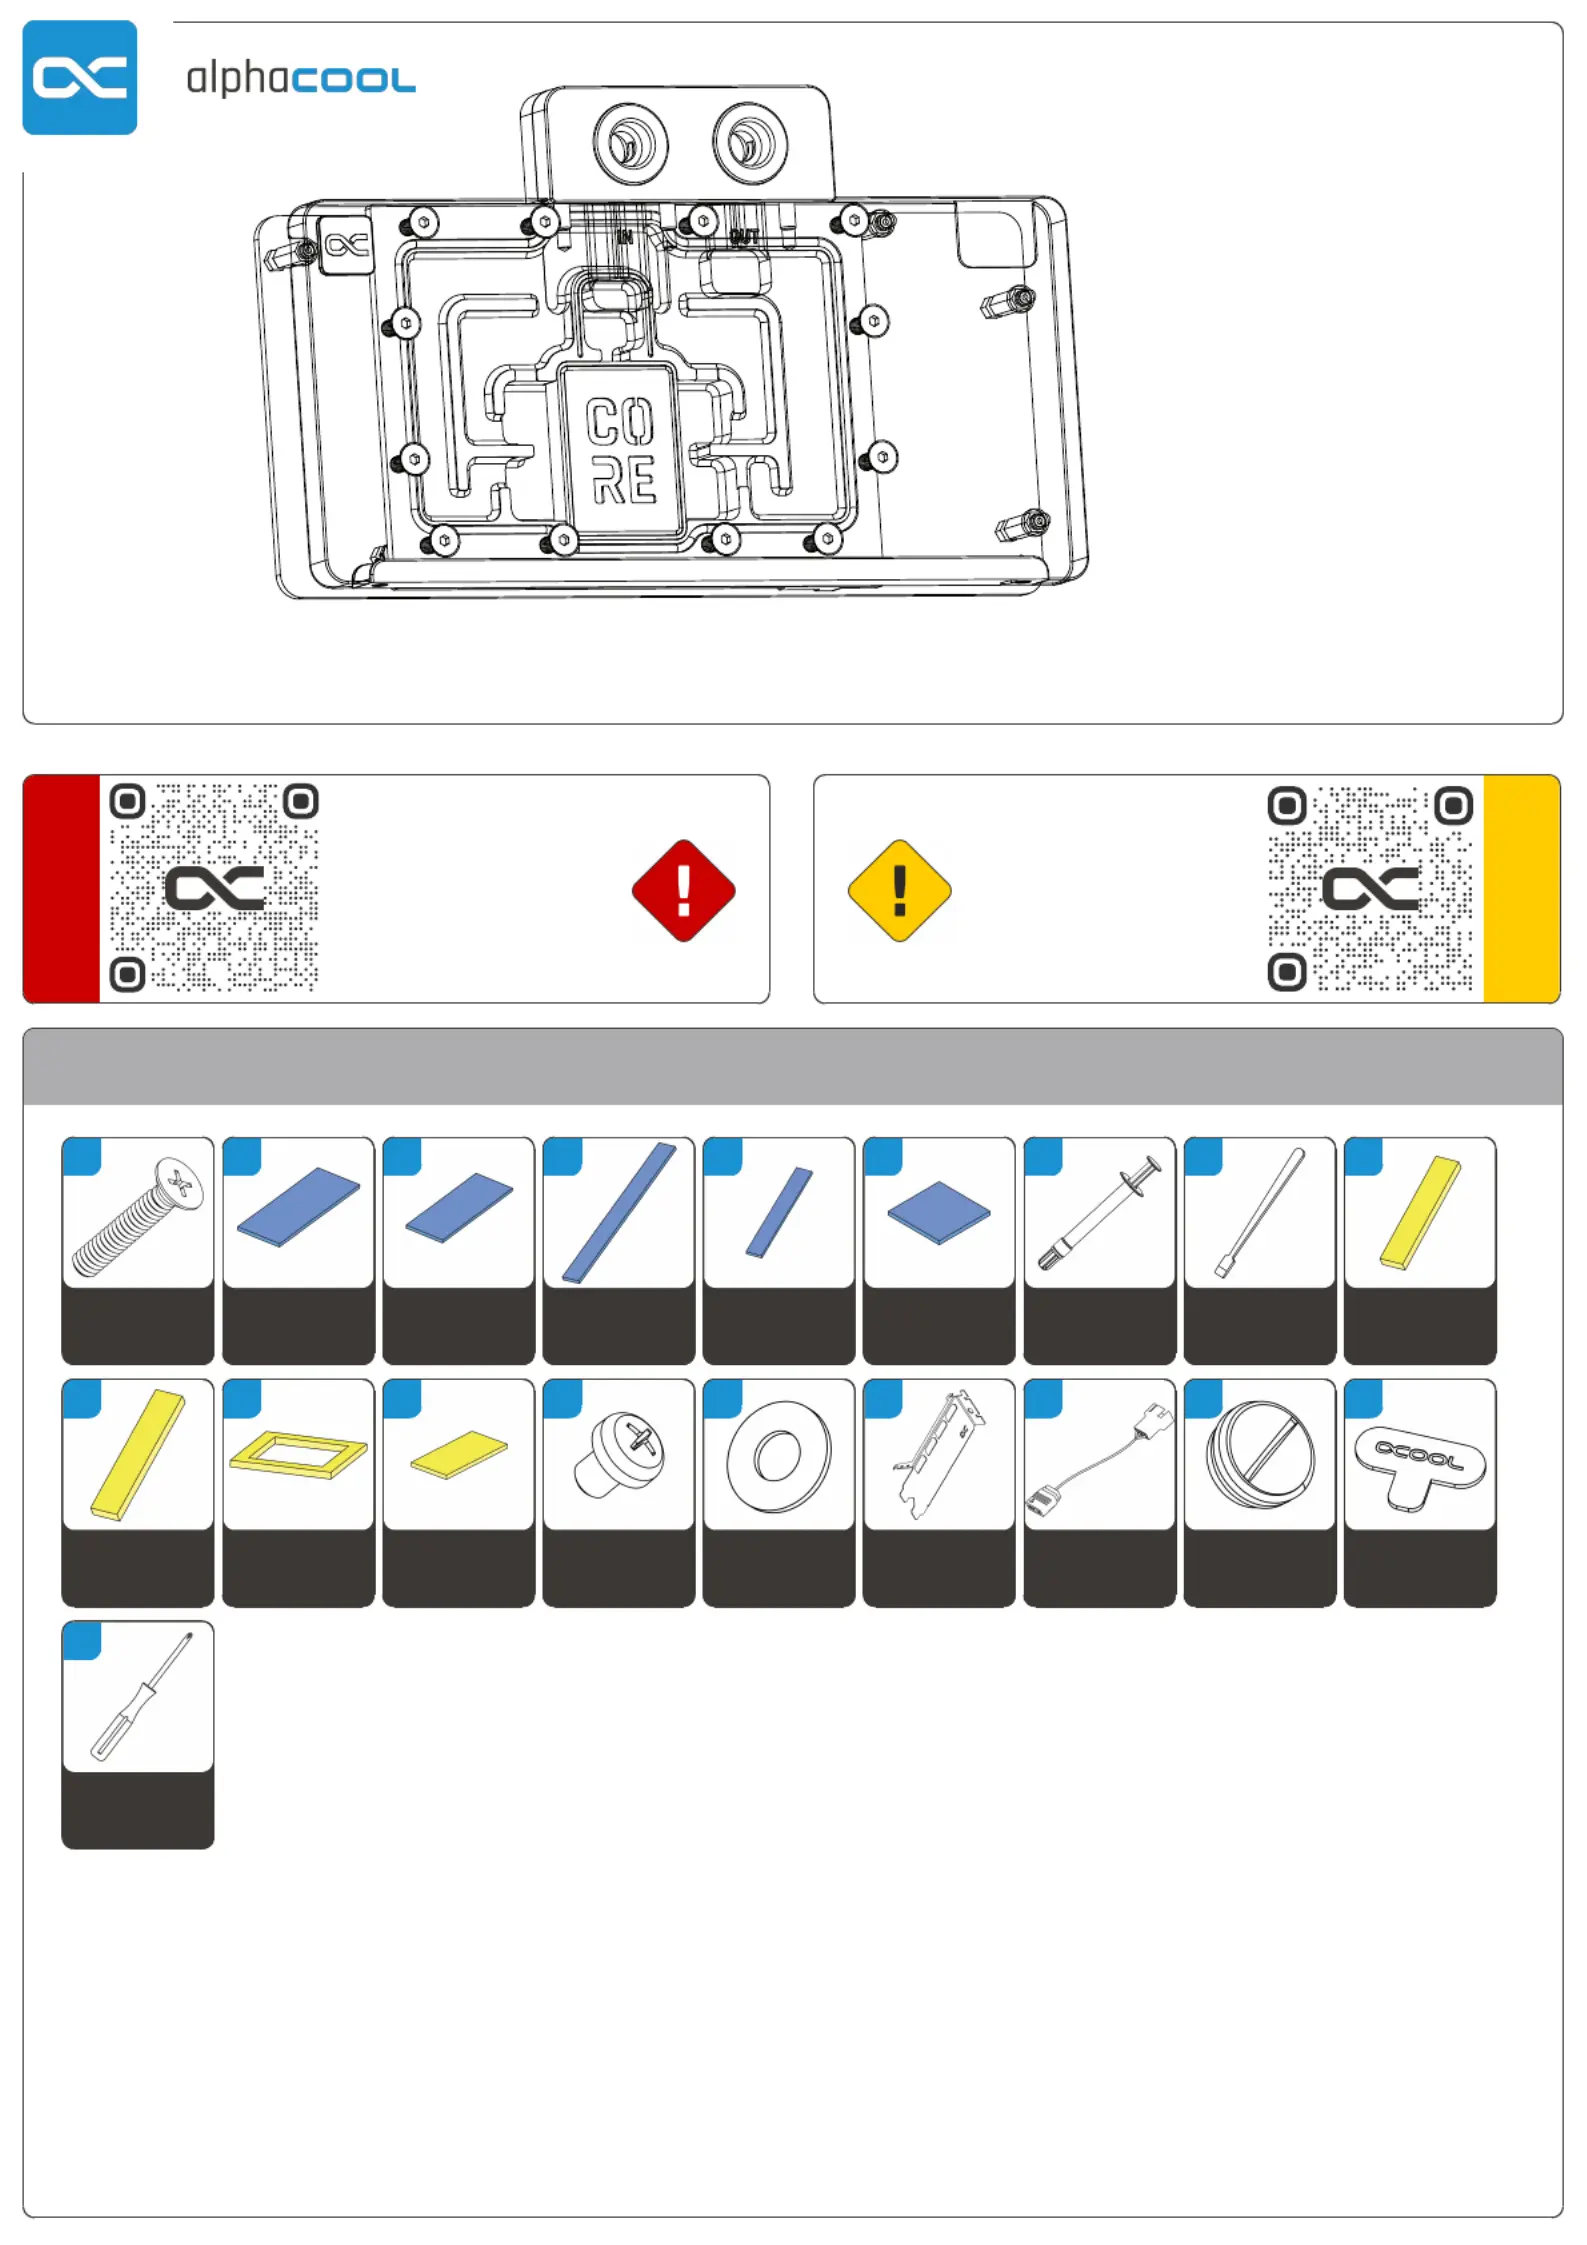
Core RX 9070 XT Taichi
with Backplate
V. 1.000 // 02.2025
Safety instructions
Sicherheitshinweise
Avis de sécurité
Digital guide
Digitale Anleitung
Guide digital
EN
Accessories
DE
Zubehör
FR
Accessoires
11x
M2x10mm
Screw
A
2x
40x15x1mm
Pad
B
1x
31,5x15x1mm
Pad
C
2x
86x8x1mm
Pad
D
2x
56x8x1mm
Pad
E
2x
8x8x1mm
Pad
F
1x
Thermal
Grease
G
1x
Putty tool
H
1x
31,5x8x3mm
Pad
I
2x
40x8x3mm
Pad
J
1x
45x45x3mm
GPU-Pad
K
1x
20x8x3mm
Pad
L
1x
M3x4mm
Screw
M
1x
Washer
N
1x
PCI Bracket
O
1x
ARGB
Adapter
P
2x
G1/4 Plug
Q
1x
Plug tool
R
1x
Screwdriver
S
Product specificaties
| Merk: | Alphacool |
| Categorie: | Niet gecategoriseerd |
| Model: | Core RX 9070 XT Taichi |
Heb je hulp nodig?
Als je hulp nodig hebt met Alphacool Core RX 9070 XT Taichi stel dan hieronder een vraag en andere gebruikers zullen je antwoorden
Handleiding Niet gecategoriseerd Alphacool

14 Maart 2026
14 Maart 2026
13 Maart 2026
13 Maart 2026
13 Maart 2026
12 Maart 2026
Handleiding Niet gecategoriseerd
Nieuwste handleidingen voor Niet gecategoriseerd
8 Juni 2026
8 Juni 2026
8 Juni 2026
8 Juni 2026
8 Juni 2026
8 Juni 2026
8 Juni 2026
8 Juni 2026
8 Juni 2026
8 Juni 2026