Vivo MOUNT-SPSB4 Handleiding
Vivo
luidsprekersteun
MOUNT-SPSB4
Bekijk gratis de handleiding van Vivo MOUNT-SPSB4 (4 pagina’s), behorend tot de categorie luidsprekersteun. Deze gids werd als nuttig beoordeeld door 5 mensen en kreeg gemiddeld 5.0 sterren uit 3 reviews. Heb je een vraag over Vivo MOUNT-SPSB4 of wil je andere gebruikers van dit product iets vragen? Stel een vraag
Pagina 1/4

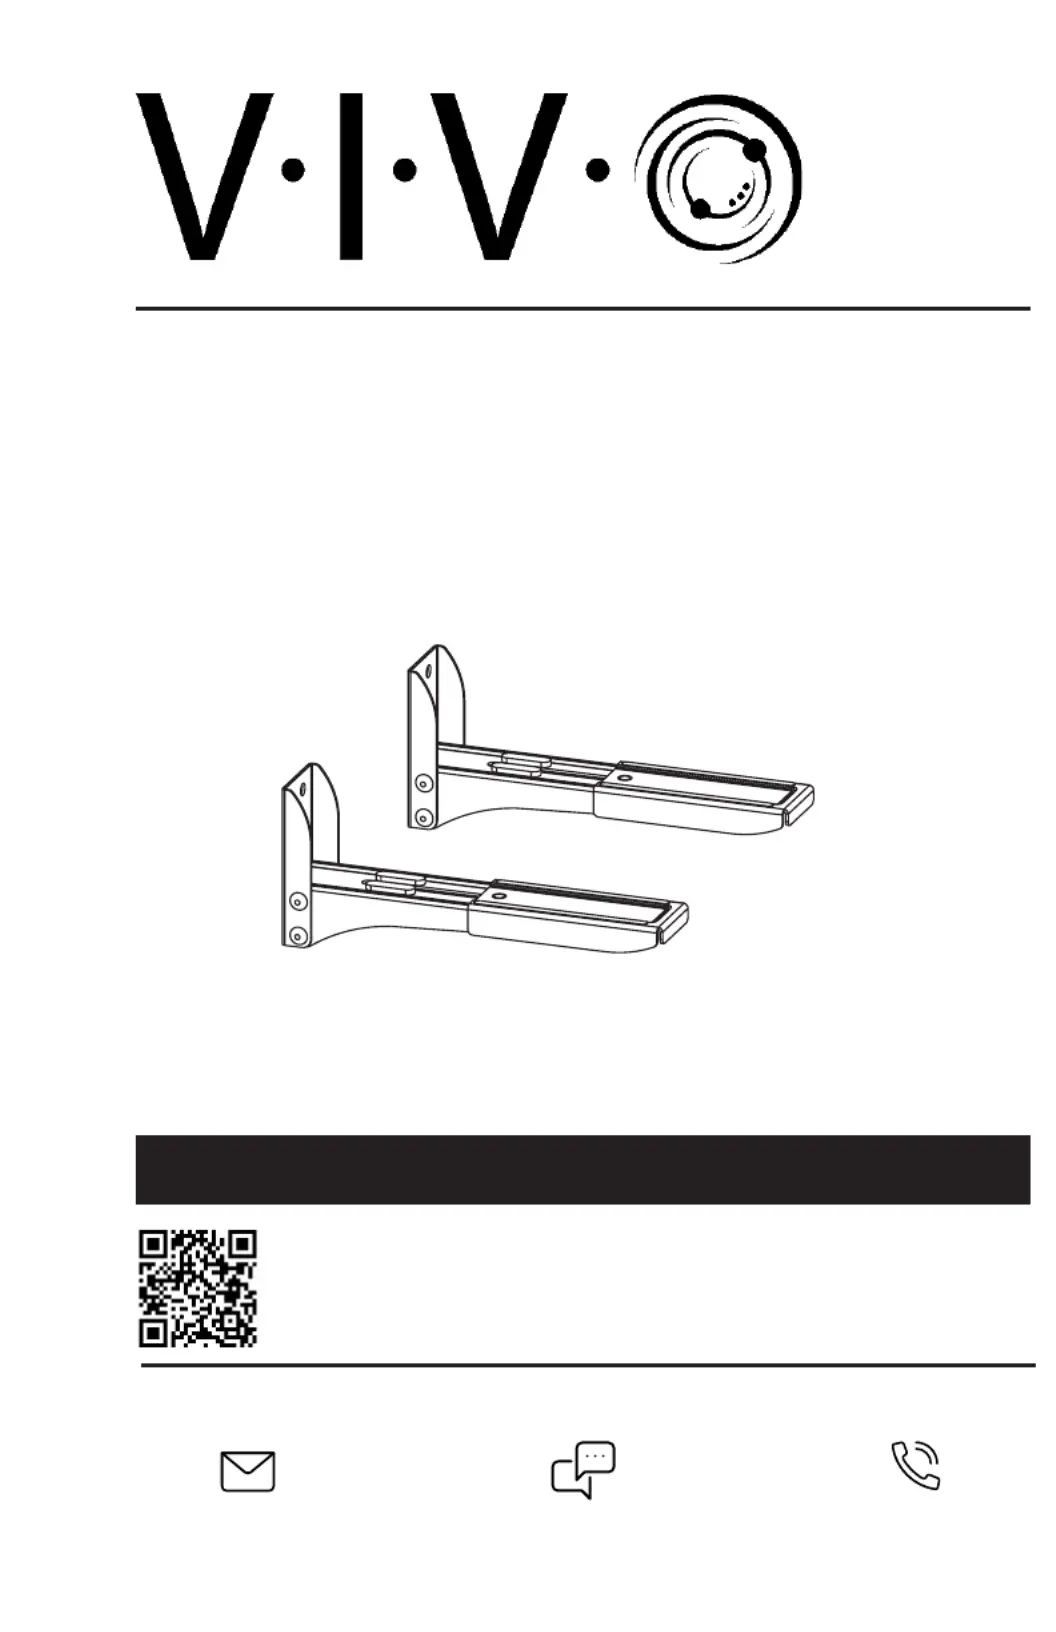
Universal Soundbar Speaker Wall Mount
Scan the QR code with your mobile device or follow the link
for helpful videos and specications related to this product.
Instruction Manual
https://vivo-us.com/products/mount-spsb4
SKU: MOUNT-SPSB4
help@vivo-us.com www.vivo-us.com 309-278-5303
Chat live with an agent!
GET IN TOUCH | Monday-Friday from 7:00am-7:00pm CST

2
ASSEMBLY STEPS
STEP 1
Measure the length of your speaker for
proper installation of the mounts to
the wall.
STEP 2a
OPTION A: Wood Stud Wall
Use mounts to mark (A)
drilling locations on wall
where studs are located,
making sure spacing of the
mounts does not exceed
the length of the speaker.
Use of a stud nder is highly
recommended. Drill 2.2”
(55mm) deep holes using
a 3/16” (4.5 mm) drill bit.
Attach mounts to wall using
screws with washers (W-A)
(W-C).
PACKAGE CONTENTS
TOOLS NEEDED
33 lbs
(15 kg)
DO NOT EXCEED WEIGHT CAPACITY.
Failure to do so may result in serious injury.
WARNING!
Phillips
A (x2)
Mount
B (x4)
Long Pad
C (x4)
Short Pad
W-A (x4)
Screw
If you do not understand these directions, or if you have any doubts about the safety of the installation, please
call a qualied technician. Check carefully to make sure there are no missing or defective parts. Improper
installation may cause damage or serious injury. Do not use this product for any purpose that is not explicitly
specied in this manual. Do not exceed weight capacity. We cannot be liable for damage or injury caused by
improper mounting, incorrect assembly or inappropriate use.
W-C (x4)
Washer
W-B (x4)
Anchor
Drill Pencil
CAUTION!
DO NOT INSTALL INTO DRYWALL ALONE. VERIFY YOUR WALL CONSTRUCTION. USE WOOD STUDS TO
MOUNT. We include mounting hardware for brick and concrete walls. If unsure, please contact us at
vivo-us.com, email at help@vivo-us.com, or call us at 309-278-5303.
Level
WARNING: CHOKING HAZARD
SMALL PARTS - NOT FOR CHILDREN UNDER 3 YEARS. ADULT SUPERVISION IS REQUIRED.
55mm
2.2”
4.5mm
3/16”

3
STEP 2b
OPTION B: Brick/Concrete Wall
Use mounts to mark drilling locations on wall, making sure spacing of the mounts does not exceed (A)
the length of the speaker. Drill 2.4” (60mm) deep holes using a 3/8” (10mm) drill bit and press anchors
(W-B) into holes. Attach mounts to wall using screws .( (W-C)W-A) with washers
STEP 3-1
Loosen the wingnut on the bottom of each mount.
STEP 3-2
Adjust length of mounts to properly support
speaker, then tighten the wingnuts.
STEP 4
STEP 5
Place speaker on mounts.
Apply long pads to front brackets (B)
of mounts, and short pads to rear (C)
brackets of mounts.
60mm
2.4”
10mm
3/8”
Product specificaties
Merk: | Vivo |
Categorie: | luidsprekersteun |
Model: | MOUNT-SPSB4 |
Heb je hulp nodig?
Als je hulp nodig hebt met Vivo MOUNT-SPSB4 stel dan hieronder een vraag en andere gebruikers zullen je antwoorden
Handleiding luidsprekersteun Vivo
25 April 2025
25 April 2025
25 April 2025
25 April 2025
Handleiding luidsprekersteun
- Sonoro
- Sonorous
- Valcom
- Extron
- Arcam
- JBL
- Konig
- USX-Mount
- QualGear
- Crestron
- LD Systems
- Vonyx
- Velleman
- Flexson
- Pyle
Nieuwste handleidingen voor luidsprekersteun
2 Augustus 2025
29 Juli 2025
29 Juli 2025
29 Juli 2025
28 Juli 2025
28 Juli 2025
22 Juli 2025
21 Juli 2025
21 Juli 2025
21 Juli 2025