Samsung Max 900 Handleiding
Samsung Audiosysteem Max 900
Bekijk gratis de handleiding van Samsung Max 900 (12 pagina’s), behorend tot de categorie Audiosysteem. Deze gids werd als nuttig beoordeeld door 91 mensen en kreeg gemiddeld 4.1 sterren uit 3 reviews. Heb je een vraag over Samsung Max 900 of wil je andere gebruikers van dit product iets vragen? Stel een vraag
Pagina 1/12
Instruction Manual
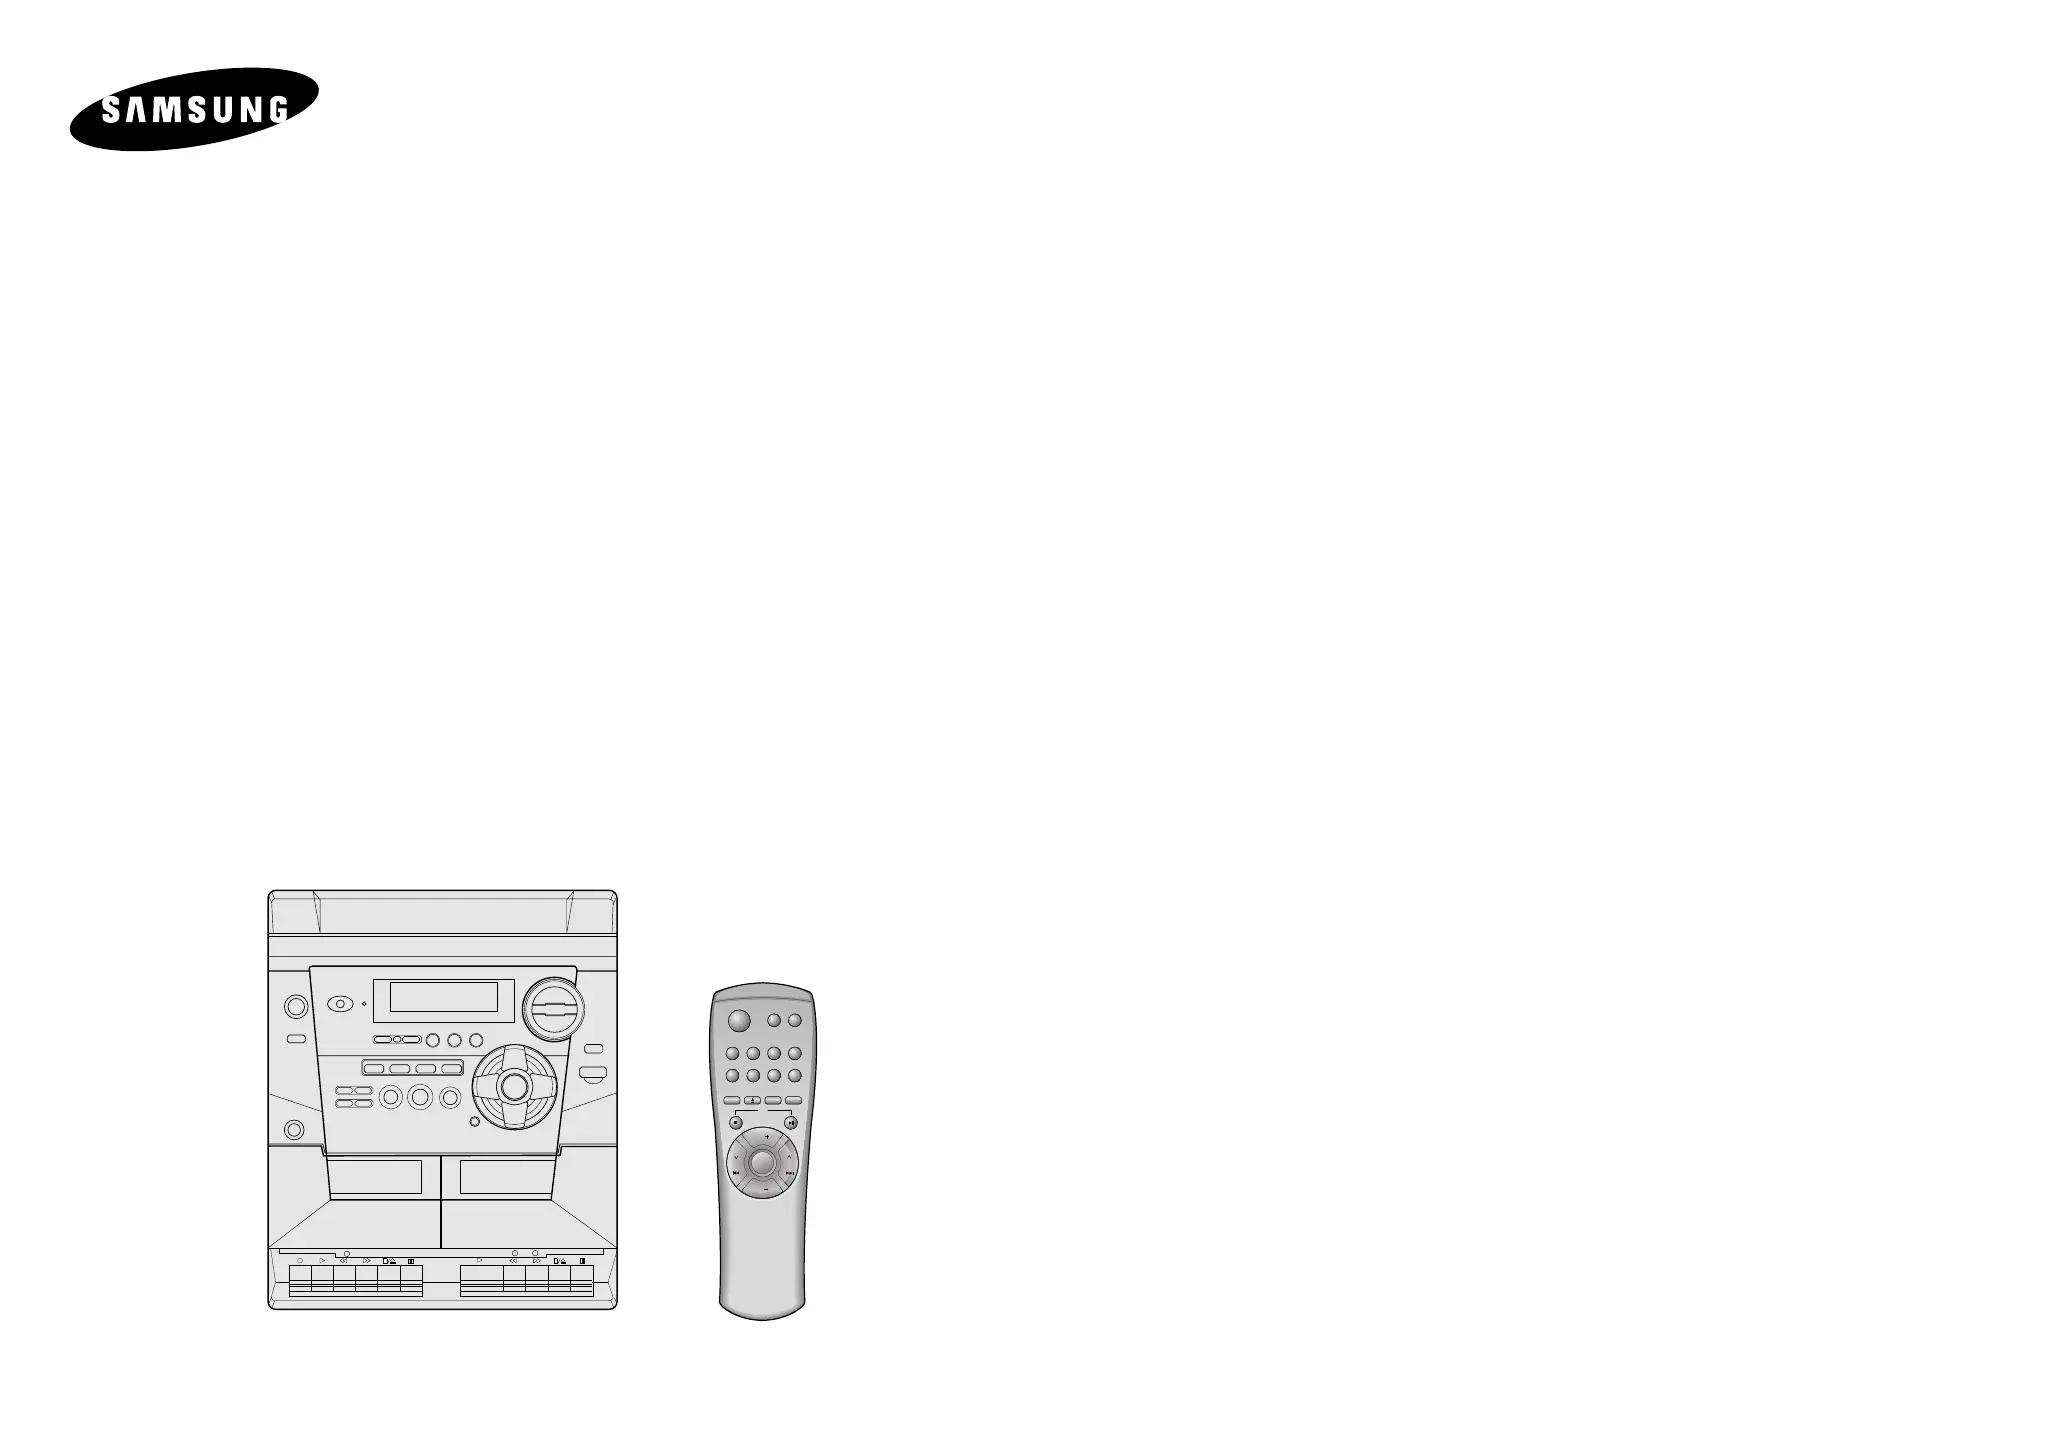
THREE-CD CHANGER
MINI-COMPACT SYSTEM
MAX-900
POWER
PRESET EQ
SLEEP
CD REPEAT
VOL.
CD
TUNING
MODE
VOL.
DISC SKIP
CD
+
10
MONO/STTUNER
BAND
PROGRAM
/SET
OPEN/
CLOSE
MUTEFUNCTIONS.BASS
TIMER
ON/OFF
TIMER
CLOCK
CD
Product specificaties
| Merk: | Samsung |
| Categorie: | Audiosysteem |
| Model: | Max 900 |
Mijn radio is is het zelfde als deze hier maar het krijgt ineens geen freqeuntie meer en alle kabels zijn correct ingestoken ik heb gezien dat in de tuner de radio receptie kan aangepast worden maar ik weet juist niet hoe dat werkt. mvg. marc ottoy.
ottoy marc - 18 Februari 2025Heb je hulp nodig?
Als je hulp nodig hebt met Samsung Max 900 stel dan hieronder een vraag en andere gebruikers zullen je antwoorden
Handleiding Audiosysteem Samsung

17 Augustus 2022
15 Augustus 2022
16 April 2022
17 April 2022
17 Augustus 2022
4 Mei 2022
16 Augustus 2022
26 April 2022
29 November 2021
Handleiding Audiosysteem
Nieuwste handleidingen voor Audiosysteem
18 Juni 2024
18 Juni 2024
9 Oktober 2023
8 Oktober 2023
8 Oktober 2023
5 Oktober 2023
5 Oktober 2023
4 Oktober 2023
1 Oktober 2023
1 Oktober 2023