Rocstor Y10E028-B1 Handleiding
Rocstor Niet gecategoriseerd Y10E028-B1
Bekijk gratis de handleiding van Rocstor Y10E028-B1 (14 pagina’s), behorend tot de categorie Niet gecategoriseerd. Deze gids werd als nuttig beoordeeld door 12 mensen en kreeg gemiddeld 5.0 sterren uit 5 reviews. Heb je een vraag over Rocstor Y10E028-B1 of wil je andere gebruikers van dit product iets vragen? Stel een vraag
Pagina 1/14
®
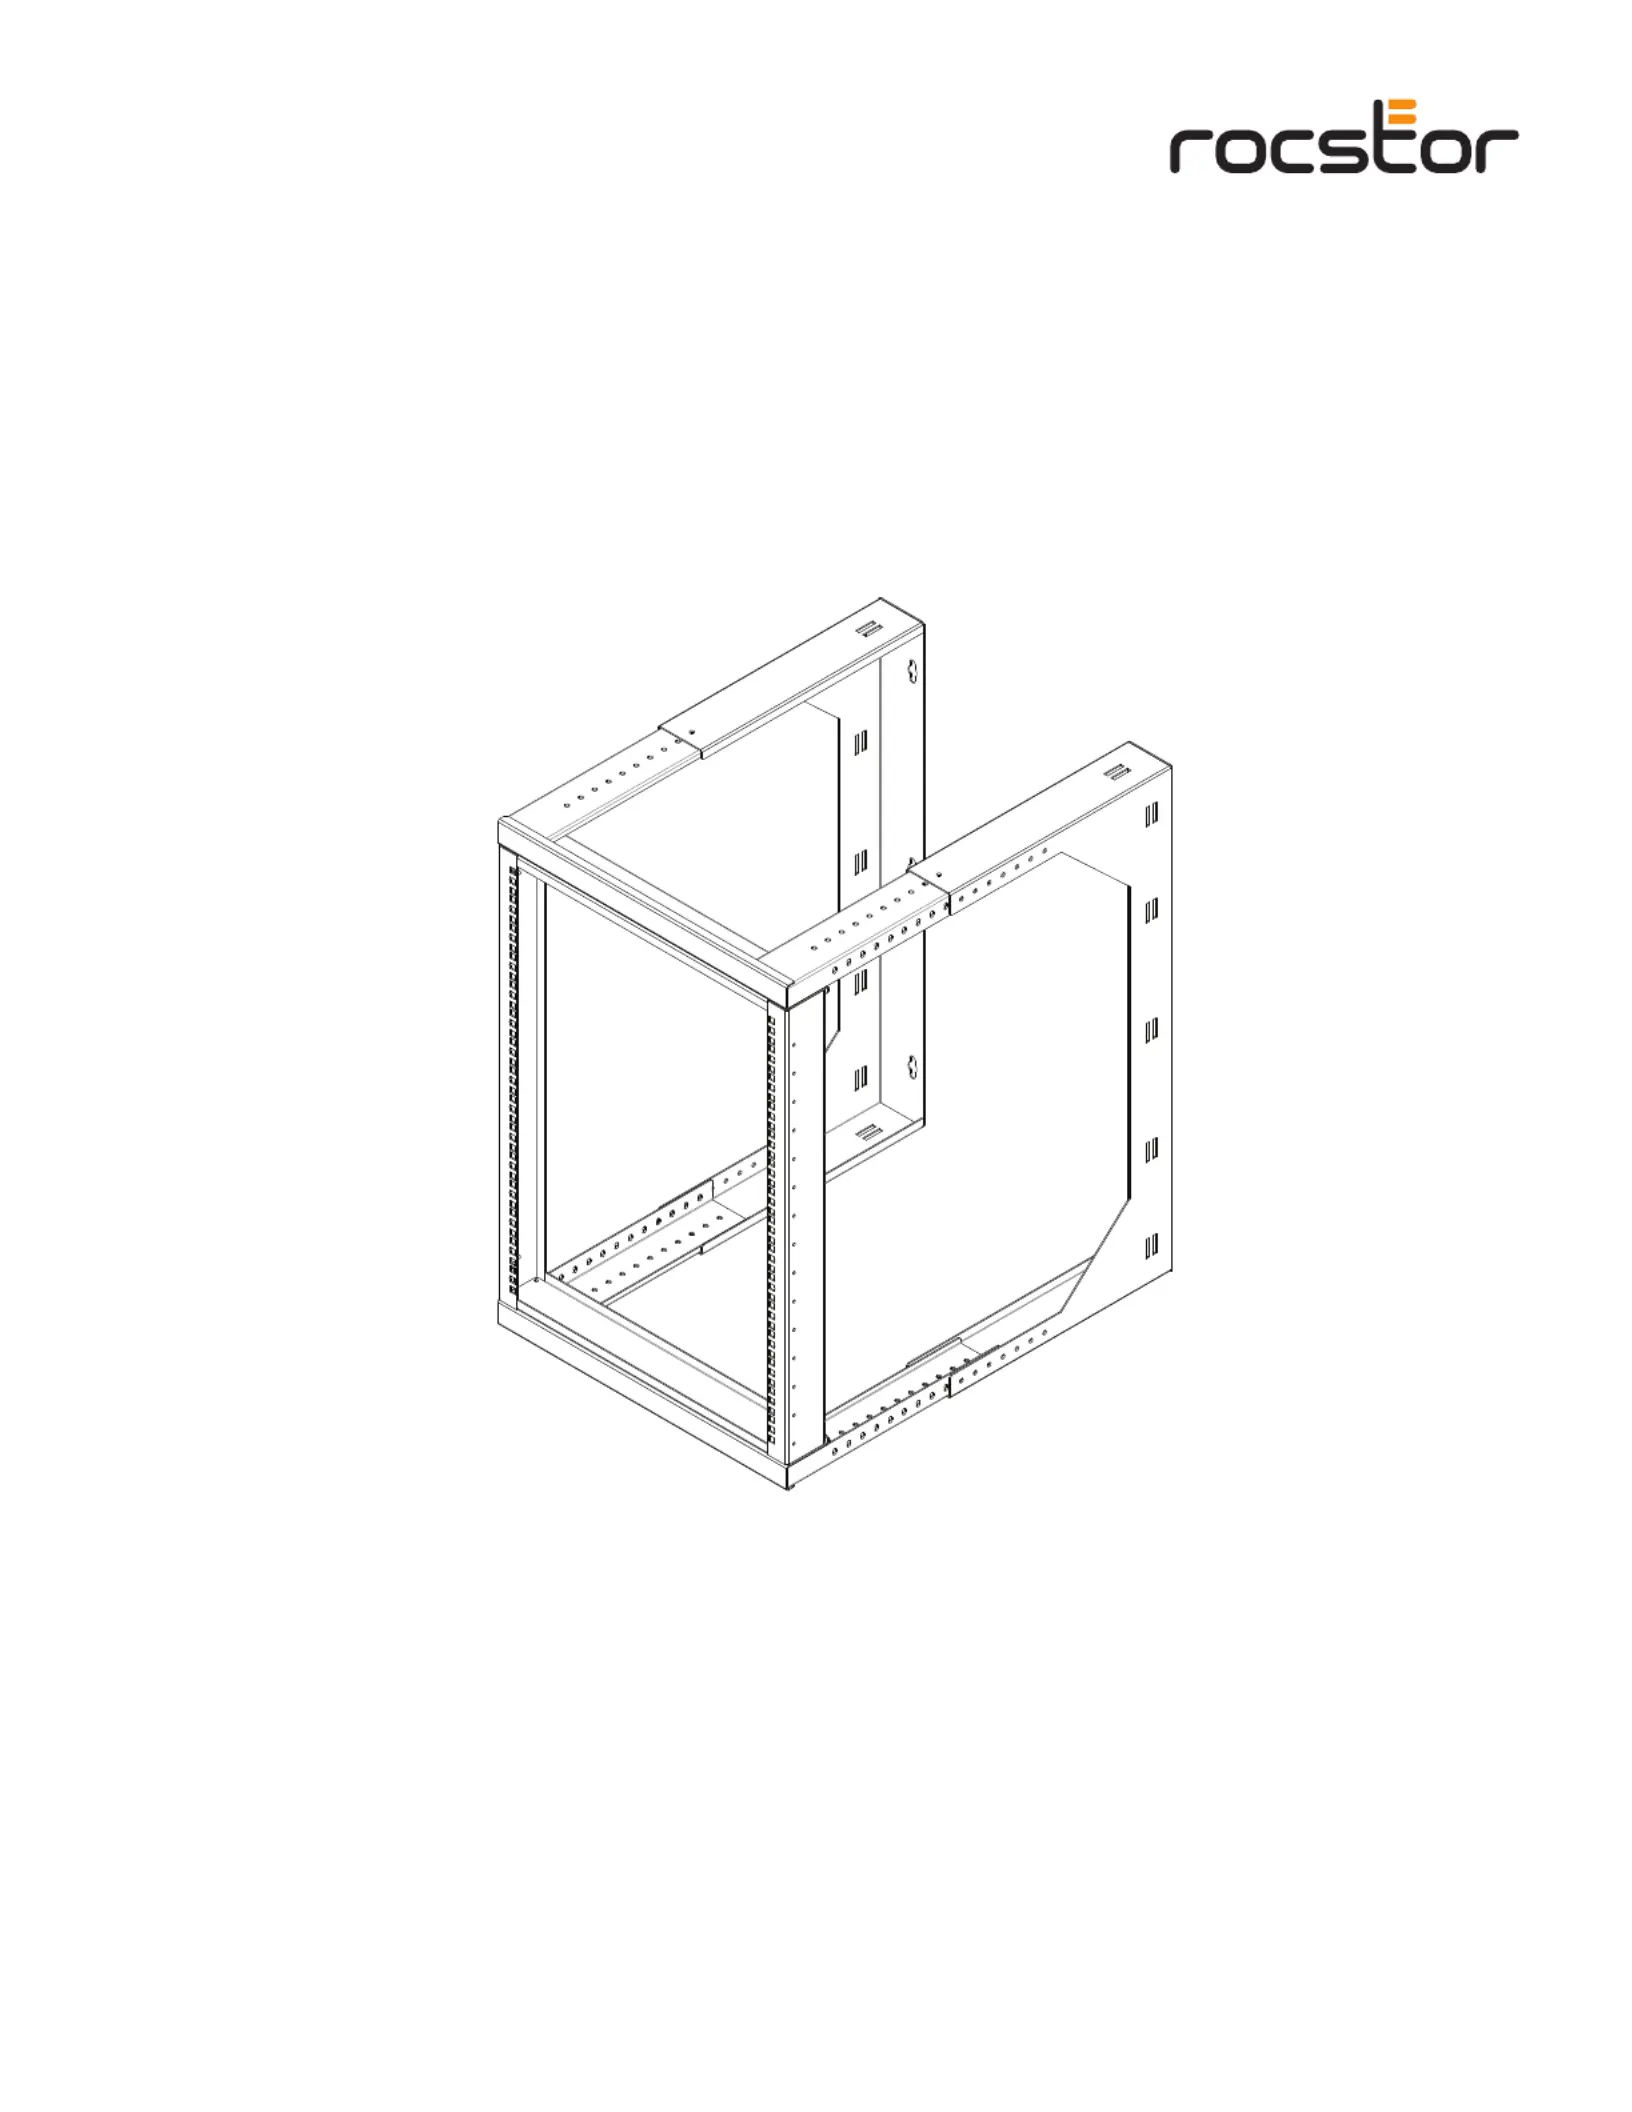
SolidRack Wall Mount Rack 2-Post Open Frame
Adjustable Depth
User Manual
Product specificaties
| Merk: | Rocstor |
| Categorie: | Niet gecategoriseerd |
| Model: | Y10E028-B1 |
| Kleur van het product: | Zwart |
| Gewicht: | 14000 g |
| Breedte: | 520 mm |
| Diepte: | 715 mm |
| Hoogte: | 654 mm |
| Gewicht verpakking: | 16000 g |
| Breedte verpakking: | 706 mm |
| Diepte verpakking: | 561 mm |
| Hoogte verpakking: | 111 mm |
| Soort: | Wandrek |
| Maximale gewichtscapaciteit: | 38.5 kg |
| Certificering: | EIA/ECA-310-E |
| Materiaal: | Staal |
| Duurzaamheidscertificaten: | RoHS |
| Montage vereist: | Ja |
| Rackcapaciteit: | 12U |
| Rekrails: | Ja |
| Moeren inbegrepen: | Ja |
| Inbouwdiepte (max): | 650 mm |
| Inbouwdiepte (min): | 457 mm |
| Maximaal draagvermogen (rollend): | 20 kg |
Heb je hulp nodig?
Als je hulp nodig hebt met Rocstor Y10E028-B1 stel dan hieronder een vraag en andere gebruikers zullen je antwoorden
Handleiding Niet gecategoriseerd Rocstor

22 Mei 2026
18 Mei 2026
31 Maart 2026
30 Maart 2026
30 Maart 2026
30 Maart 2026
30 Maart 2026
6 Januari 2026
6 Januari 2026
5 Januari 2026
Handleiding Niet gecategoriseerd
Nieuwste handleidingen voor Niet gecategoriseerd
23 Juli 2026
23 Juli 2026
23 Juli 2026
23 Juli 2026
23 Juli 2026
23 Juli 2026
23 Juli 2026
23 Juli 2026
23 Juli 2026
22 Juli 2026